Yes — it’s easy to bake your very own gluten-free breadcrumbs at home! As an experienced gluten-free cook, I know first hand how tricky it is to find fresh gluten-free breadcrumbs at the grocery store. But now in 20 minutes and using just 10 slices of any type of gluten-free bread you can DIY fresh breadcrumbs for a wide range of uses in gluten-free recipes, like meatballs, meatloaf and more!
Want to Save This Recipe?
Enter your email below & we'll send it straight to your inbox. Plus you’ll get affordable and easy gluten-free recipes delivered each week!
DIY Gluten-Free Bread Crumbs
Making easy, homemade gluten-free breadcrumbs is a great way to multipurpose all those delicious gluten-free bread recipes! Whether you are looking for gluten-free bread crumb substitutes or want to learn how to make the homemade breadcrumbs in minutes, I’ll show you how!
Put to use the kitchen equipment you already have – whether you have a food processor or not. Plus, discover easy gluten-free alternatives for breadcrumbs, how to make panko, Italian seasoned crumbs, and many more tips and tricks.
Free Guide! Receive a Free Gluten Free Dinners Cookbook
TOP 5 Highest Rated Recipes!
What are gluten-free bread crumbs made of?
To make GF breadcrumbs the only ingredient you will need is gluten-free bread. You may use a homemade bread recipes, store-bought, or even other GF breads, such as leftover hamburger buns or dinner rolls.
Don’t throw away any bread past it’s prime! Simply transfer bread that would normally go to waste to freezer ziplock bag. When you are in need of breadcrumbs, pull out slices, quickly thaw, and make a batch!
Equipment Needed
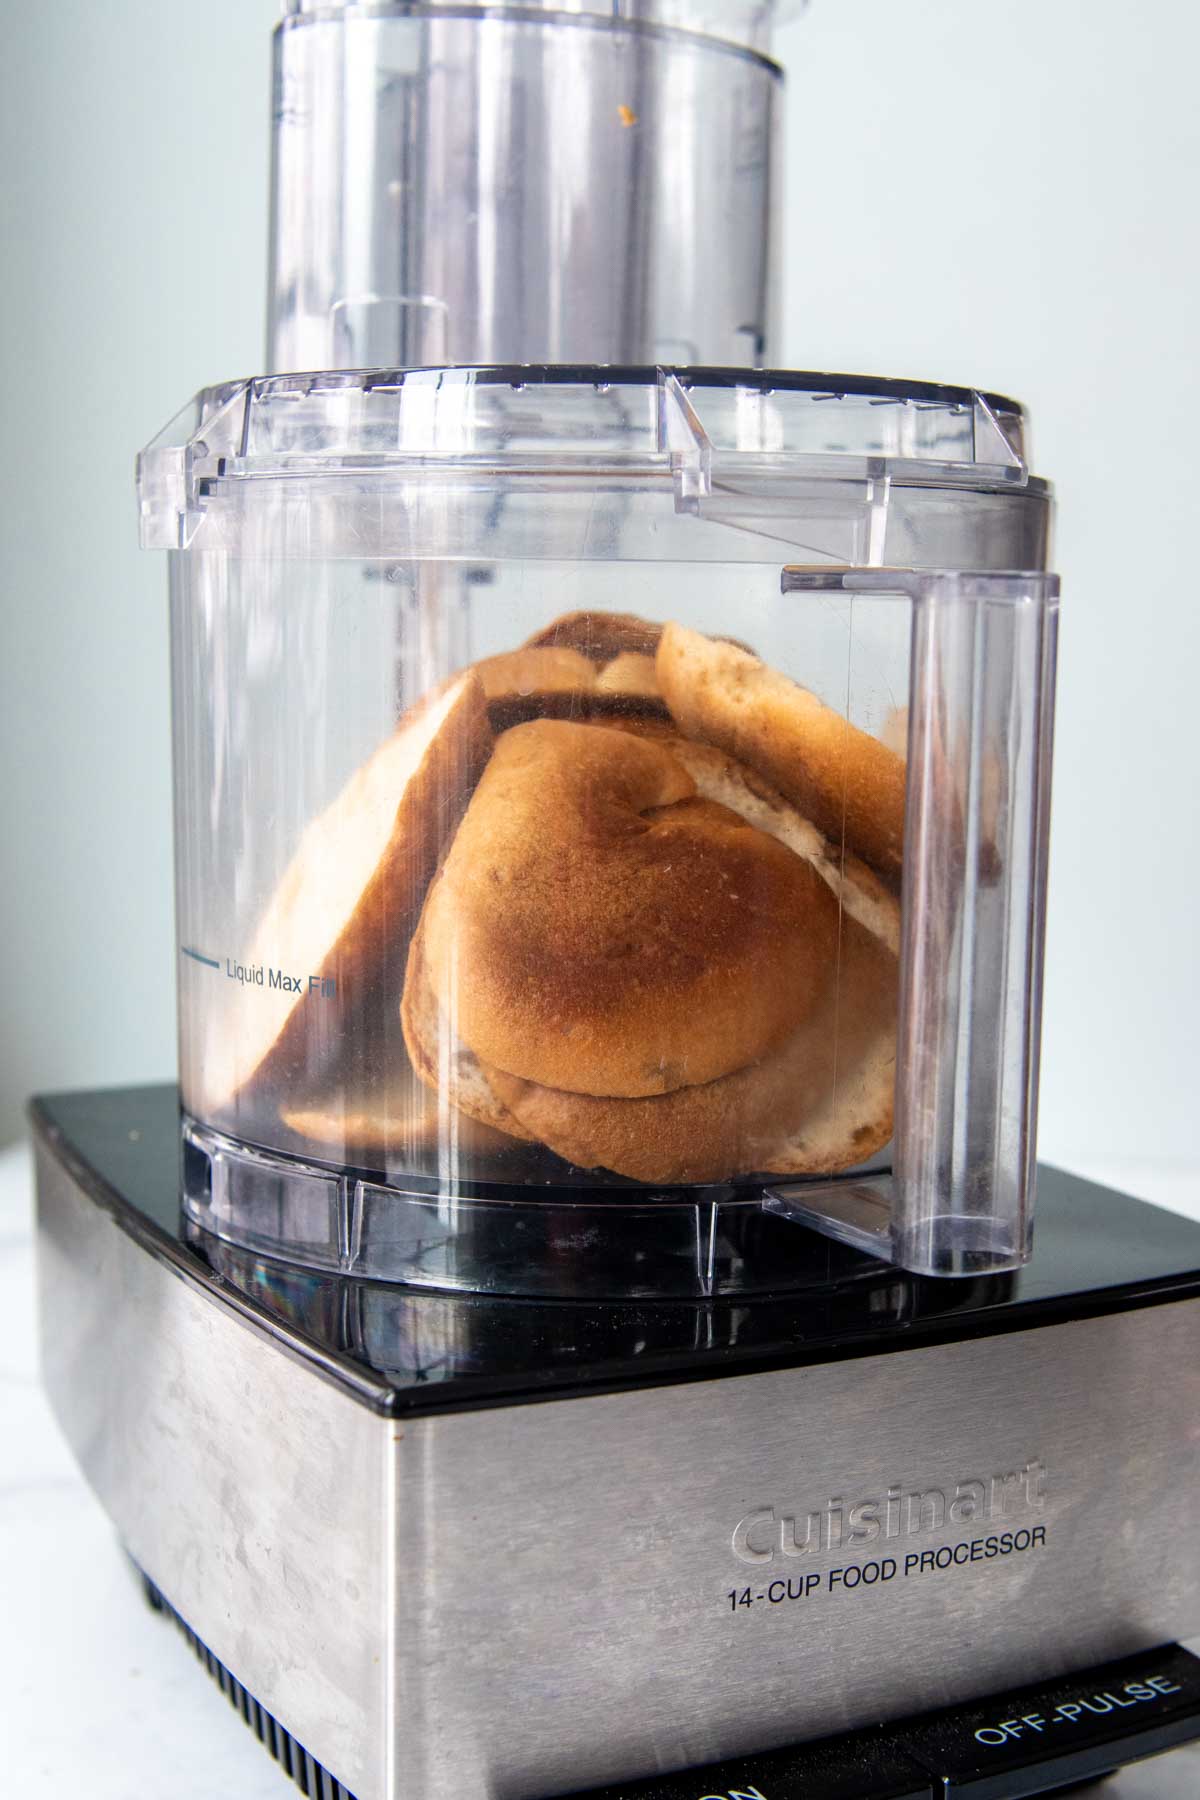
Making wheat-free bread crumbs requires either a food processor or a blender and a baking sheet. However, if you don’t own a food processor or blender, read below on how you can still make breadcrumbs without any special equipment!
Making breadcrumbs without a food processor
Although using a food processor is the most efficient way, there are many different options!
For fresh or stale cubed bread, use a blender, spice grinder, or coffee grinder to make your breadcrumbs. Process and pulse in smaller amounts and then transfer to a baking sheet.
Wipe down the inside of the spice grinder or coffee grinder thoroughly first. Otherwise, your bread crumbs may end up tasting a little more like oregano and coffee than you hoped.
If you are using dry, toasted bread to make breadcrumbs, you have a few more options – most of which you probably have on hand in your kitchen. Ideally, the bread would sit out for a couple of days and then be toasted before using one of these methods.
- Rolling pin with bread placed inside ziplock bag.
- Cheese box grater
- Mallet with bread placed inside ziplock bag.
- Heavy pot with bread placed inside ziplock bag.
How To Make Gluten-Free Bread Crumbs
Not only is making homemade gluten-free breading easy, but it can also be made with leftover bread, crust, or croutons that often gets thrown away. When I’m able to use food that would otherwise go to waste, it definitely puts a smile on my face knowing I’m being resourceful and saving our family money.
Use any leftover gluten-free bread you have on hand, even stale bread, as long as there is no mold.
It is also a good use of bread heels, as those are often discarded. I keep a ziplock bag in my freezer with heels I add to with every loaf. Once I have a supply, I’ll make a quick batch of gluten-free bread crumbs to store back in the freezer.

Substitution / Alternatives For Gluten-Free Breadcrumbs
If you don’t have any bread crumbs on hand, here are some easy gluten-free substitutes. If using cereal, pretzels, nuts, or chips crush them finely in a food processor or place them in a ziplock bag and crush with a rolling pin or mallet.
- Homemade almond flour or almond meal
- Corn flakes (not all corn flakes are gluten free, so be sure to check ingredients)
- Gluten-free crackers
- Rolled oats (used certified gluten free)
- Crushed nuts
- Gluten free pretzels
- Potato chips
- Rice or Corn Chex cereal
- Crushed pork rinds
What Type of Bread Should I Use?
When making this recipe, use any bread that is gluten-free, either one type or a mixture. This applies if you are making breadcrumbs that aren’t gluten-free as well.
Frozen, stale, gluten-free bread failures (both store bought or homemade) and heels all work well. So don’t throw away anything!
If you know you will be making the recipe in a few days, you can also let the bread sit out so it hardens. After processing the bread, the crumbs will take a shorter time to toast and dry out in the oven.
How many bread crumbs in one slice of bread?
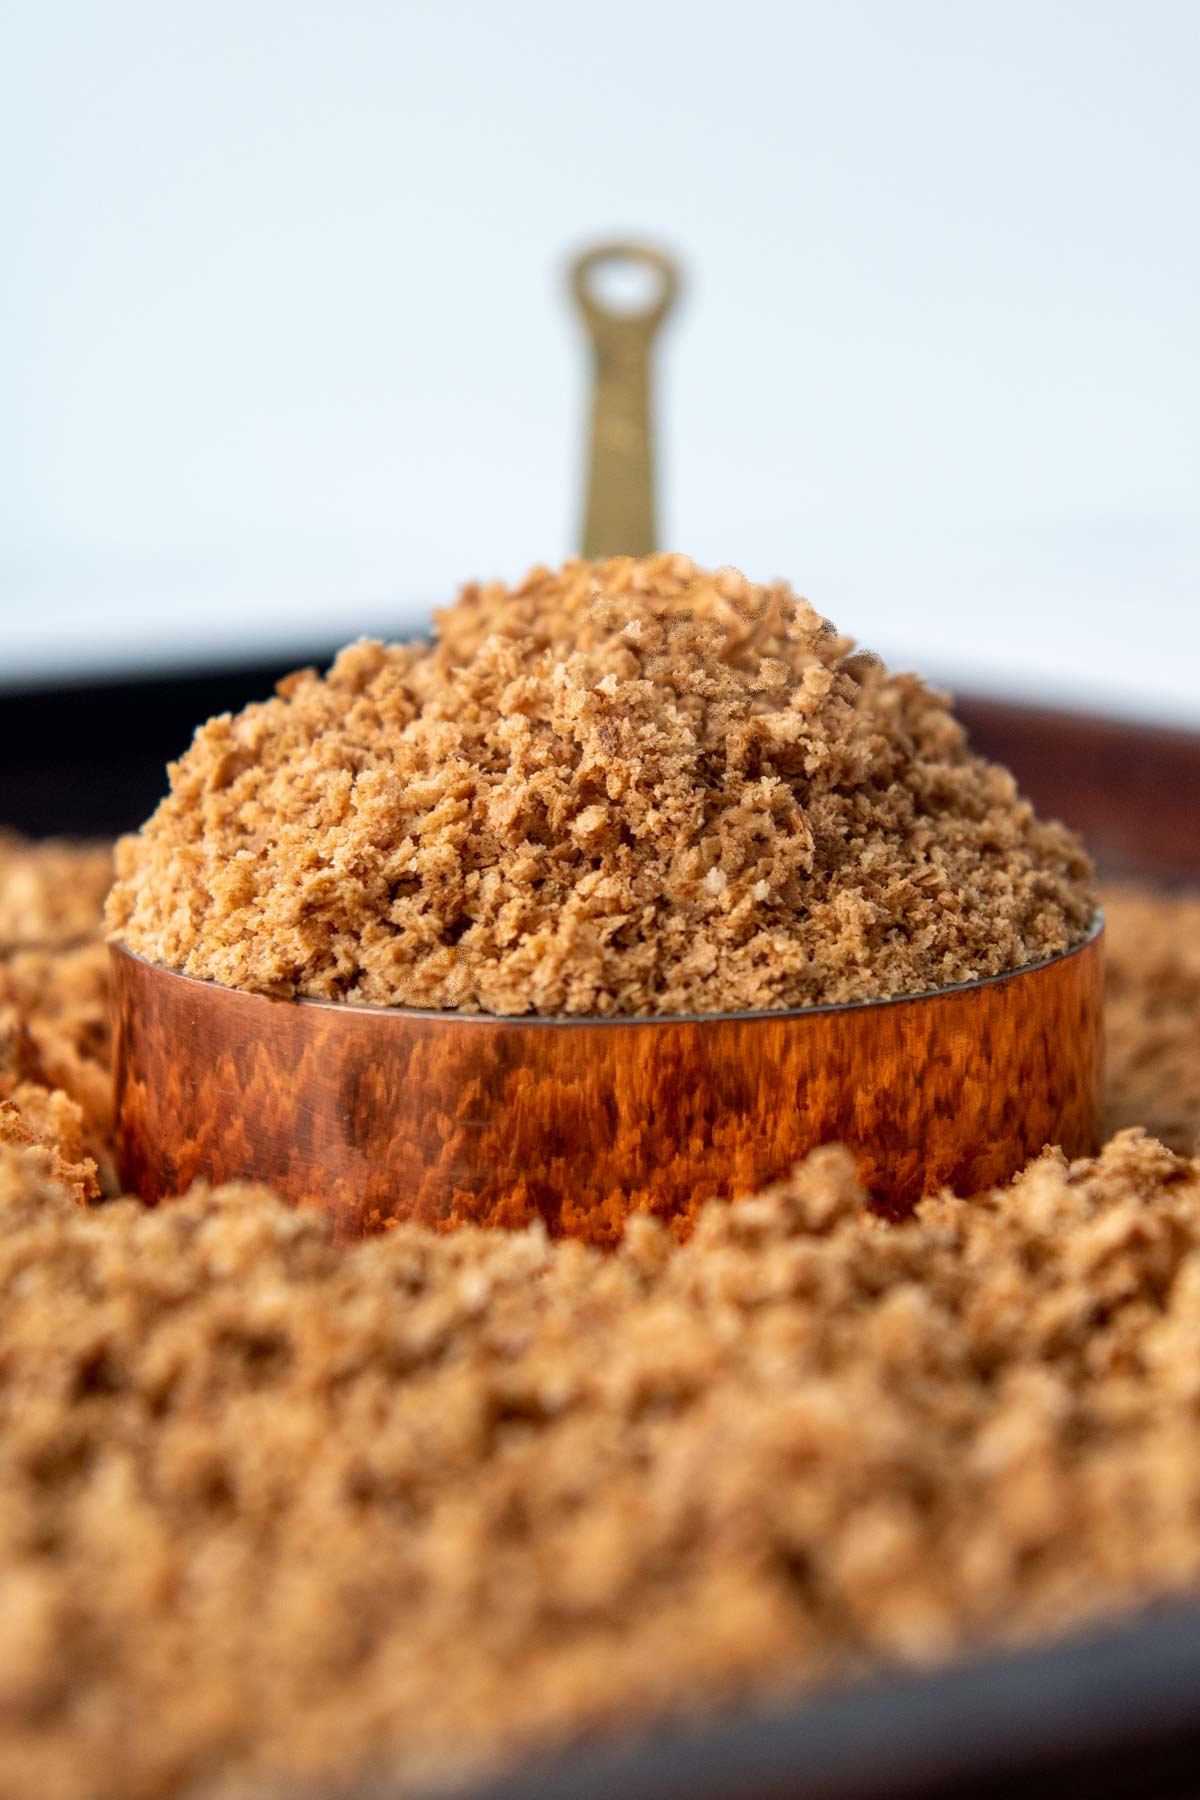
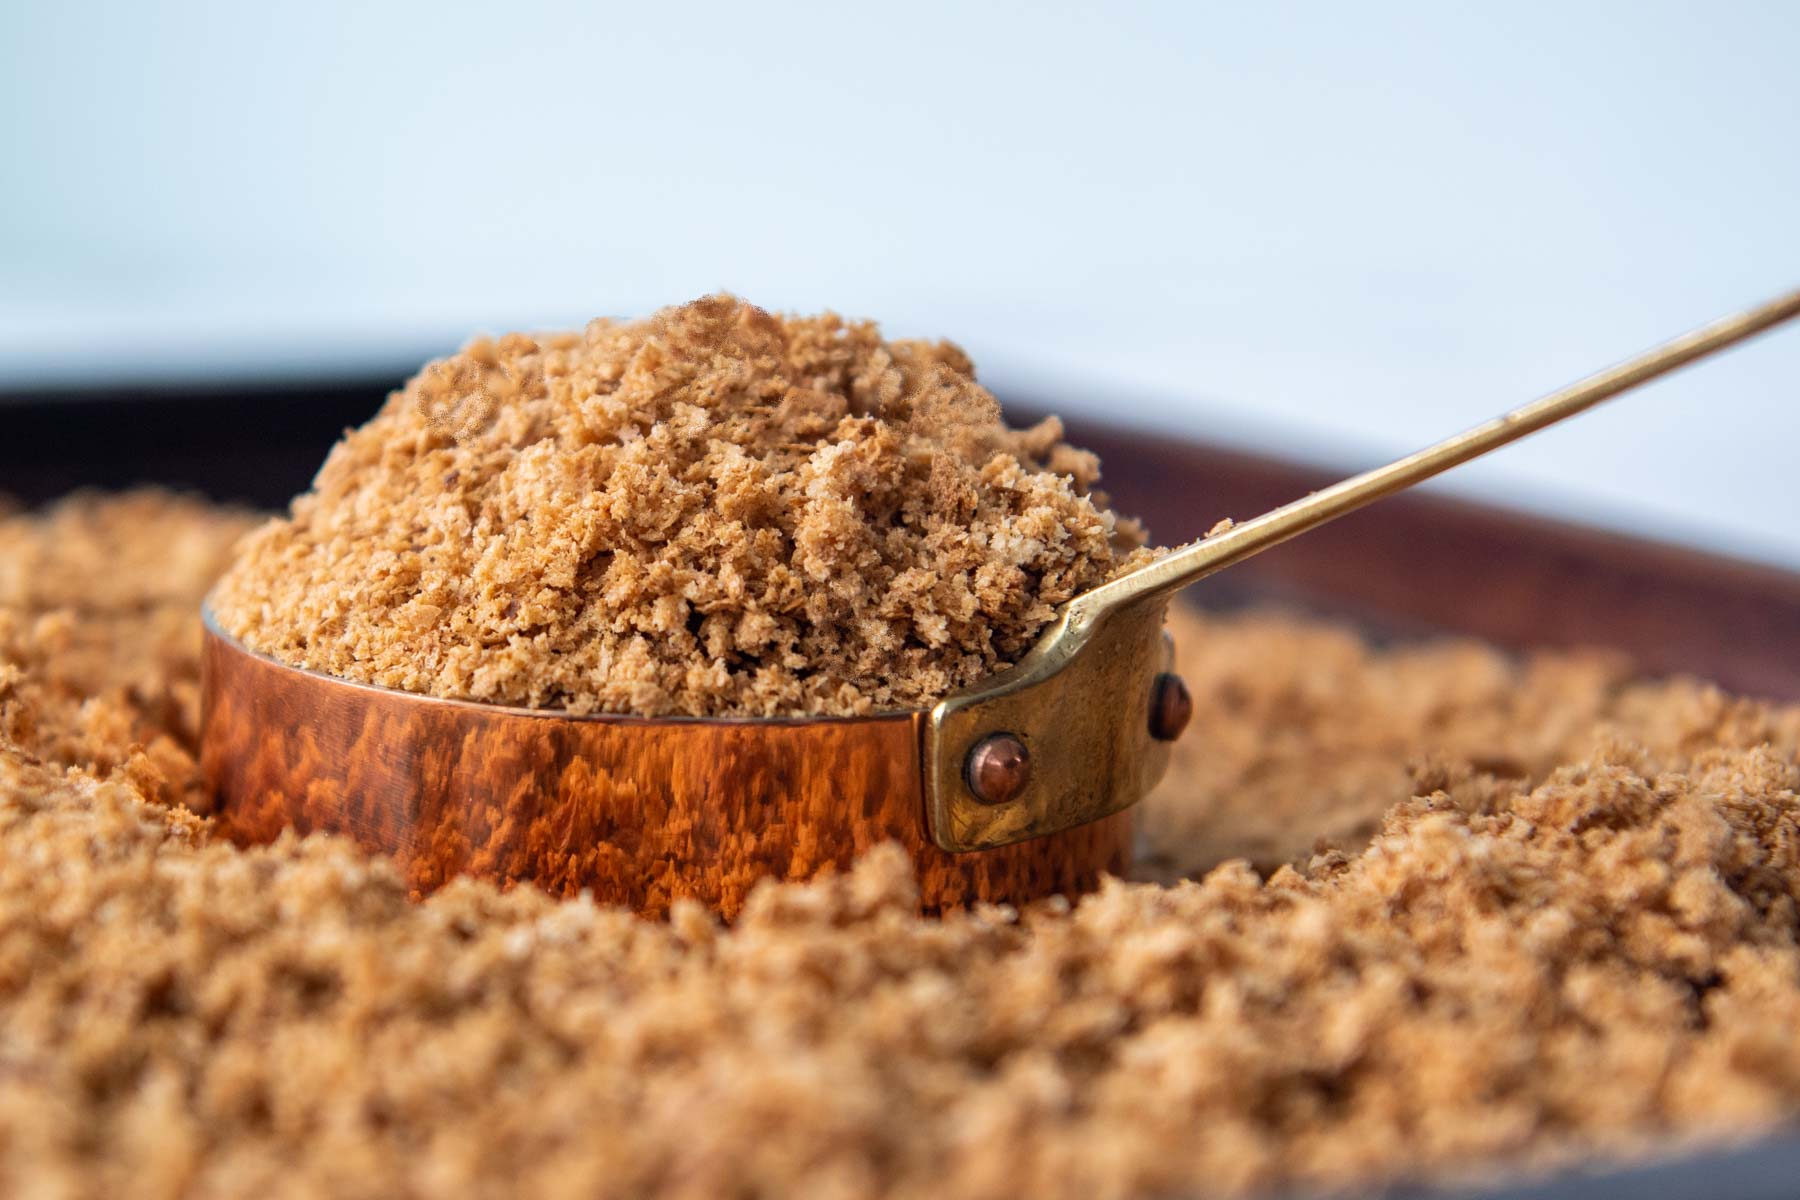
One slice of fresh bread will equal about ⅓ cup soft, fresh bread crumbs. After they have been toasted or dried the amount will decrease to ¼ cup.
Therefore, you will need about 4 slices of bread to equal 1 cup of toasted breadcrumbs.
Storing and freezing tips
Store breadcrumbs in an air-tight container in the refrigerator for up to one month, the freezer up to six months, or the pantry for up to two weeks.
Regardless of your method of storage, be sure there is no moisture in the container and label the container with the date.
How to Make Gluten-Free Panko
Originating in Japan, Panko is made of white bread and is typically airier, lighter and more coarse in texture. Panko bread crumbs are not gluten free on their own, but can easily be made with gluten free white bread.
To make gluten-free Panko grate the bread into coarser crumbs. The best method is to use the grater disc with the food processor.

Italian Bread Crumbs
To season your bread crumbs, consider turning them into a seasoned Italian version. When grinding the bread in the food processor add garlic powder, onion powder, and Italian seasoning. (Amounts are shown in recipe card below).
Transfer the crumbs to a baking sheet and bake in a 400ºF oven for 10-15 minutes, stirring halfway.
Easy Tips and Tricks
- Save bread heels, stale bread, or bread failures in a freezer bag. When you have enough, make a batch of bread crumbs, and store crumbs back in the freezer.
- After the bread crumbs have been made, they do not have to be thawed before using in recipes. Just take what you need from the freezer bag and use immediately.
- If using frozen bread, thaw before processing so crumbs will be uniform.
- Make as little or much as you want. Generally, one piece of bread will make 1/4 – 1/3 cup bread crumbs, based on the size of the slice.
- If using more than 10 bread slices, split the crumbs between two pans. Overcrowding the pan will cause the crumbs to steam rather than toast.
Recipes using Gluten-Free Bread Crumbs
Once you have a batch of homemade breadcrumbs, you can swap them out and enjoy your favorite recipes again!
- Chicken Parmesan
- Casserole Toppings, such as mac and cheese
- Meatloaf
- Salisbury Steak
- Eggplant Parmesan
SAVE This How to Make Gluten-Free Bread Crumbs TO YOUR PINTEREST BOARD!
Let’s be friends on Pinterest! I’m always sharing great recipes!

Quick-Baked Gluten-Free Breadcrumbs Recipe
Ingredients
- 10 slices gluten-free bread (heels or slices),, any kind
Optional Italian Bread Crumbs (add for every 2 cups bread crumbs)
- ½ teaspoon salt
- ½ teaspoon garlic powder
- 1 teaspoon onion powder
- 1 teaspoon Italian seasoning
Equipment
Instructions
- Preheat oven to 400°F. Set oven rack to center position.
- Thaw bread, if frozen. Place bread in food processor or Vitamix. If making Italian bread crumbs, add seasonings. Pulse for coarse bread crumbs or process up to 1 minute for fine bread crumbs.
- Transfer breadcrumbs to an ungreased baking sheet. Bake for 10 minutes. Remove from oven and stir. Bake for 3-5 minutes longer, or until bread crumbs are toasted and dry to the touch.
- Cool completely on baking sheet. Transfer to an airtight container to store in the freezer, refrigerator, or pantry.
- DID YOU MAKE THIS RECIPE?? DON'T FORGET TO LEAVE FEEDBACK AND RATE BELOW!
Notes
What Type of Bread Should I Use?
Use any bread that is gluten free, one type or a mixture. Frozen, stale, gluten-free bread failures (both store bought or homemade) and heels all work well. So don’t throw away anything! If you know you will be making the homemade breadcrumbs in a few days, you can also let the bread sit out so it hardens. After processing the bread, the crumbs will take a shorter time to toast and dry out in the oven.How to Store
Store in an air-tight container in the refrigerator for up to one month, the freezer up to six months, or the pantry for up to two weeks. Regardless of your method of storage, be sure there is no moisture in the container and label the container with the date.Tips and Tricks
- After the bread crumbs have been made, they do not have to be thawed before using in recipes. Just take what you need from the freezer bag and use immediately.
- If using frozen bread, thaw before processing so crumbs will be uniform.
- Make as little or much as you want. Generally, one piece of bread will make 1/4 – 1/3 cup bread crumbs, based on the size of the slice.
- If using more than 10 pieces of bread, split the crumbs between two pans. Overcrowding the pan will cause the crumbs to steam rather than toast.
- To make panko bread crumbs, cut the crusts off first, use slices rather than heels, and grind into coarser crumbs before drying in oven.
This post contains affiliate links. My opinions are always my own. If you purchase a product through an affiliate link, I make a small commission – at no cost to you. Read full disclosure policy here.
This post contains affiliate links. My opinions are always my own. If you purchase a product through an affiliate link, I make a small commission – at no cost to you. Read full disclosure policy here.


Hi Melissa,
Thanks so much for this. Do you have a recommendation as to which gluten-free bread substitute would go best in meatloaf? This is a somewhat silly question, but would I toast the substitute as well?
Thanks,
Stephanie
Hi Stephanie,
I’d be happy to help. I use quick oats in meatloaf, and you don’t have to do anything to it, just dump it in! I have a gluten-free meatloaf recipe (using oats) on the site if you want to use it or make sure the ratio of meat to oats is the same in whichever recipe you are adapting.
Best,
Melissa
I was super hopeful but when I checked on them at nine minutes all the edges were burned. I think 400° could be too high.
Hi Emily,
I’m so sorry to hear this! Especially with precious GF bread! It sounds like your oven might run a little hot, but they do toast from the outside in. If I accidently leave them in too long I usually just give them a stir to disperse the overcooked edges to the middle and re-toast so everything is even. Does that make sense?
Best,
Melissa