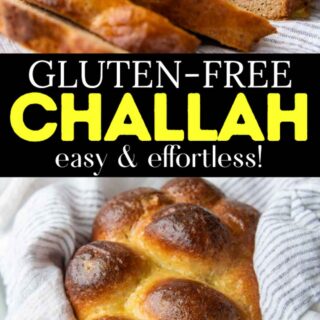
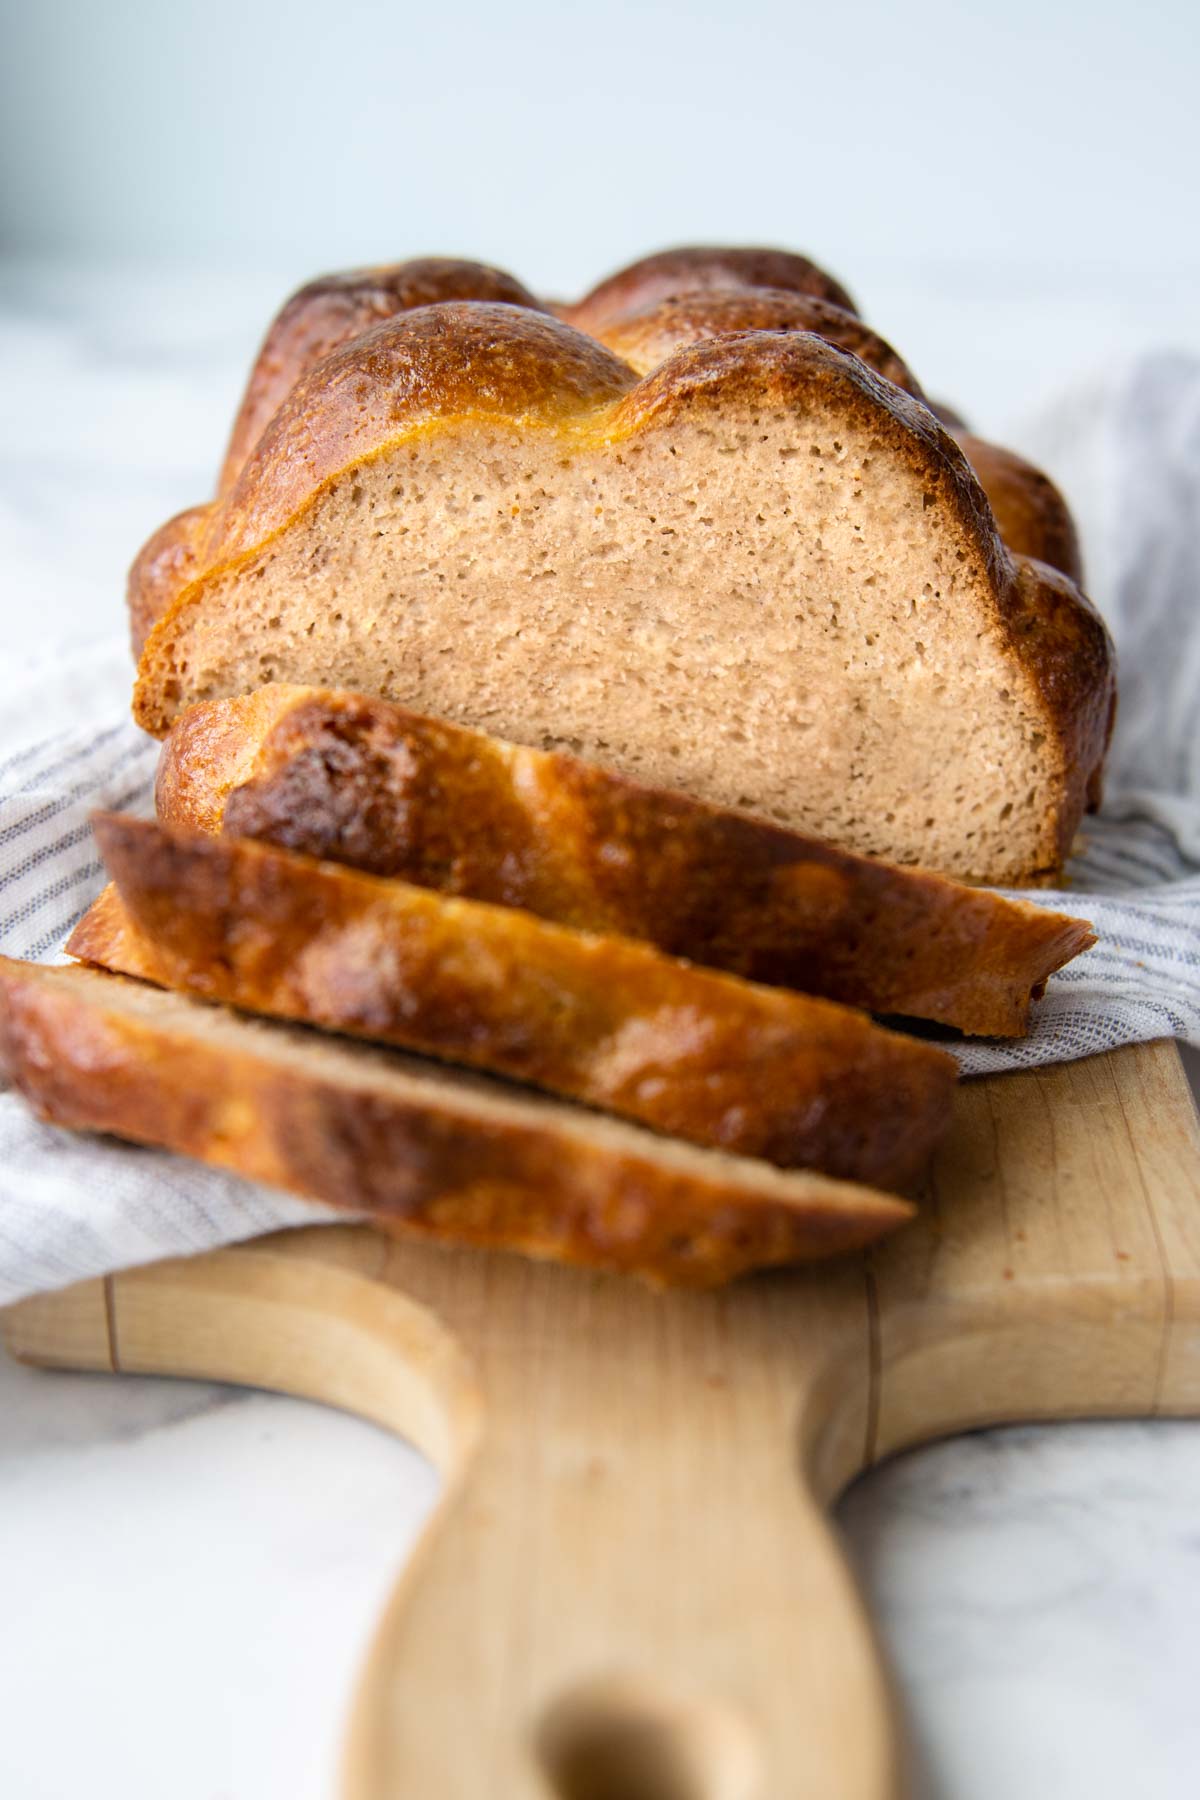
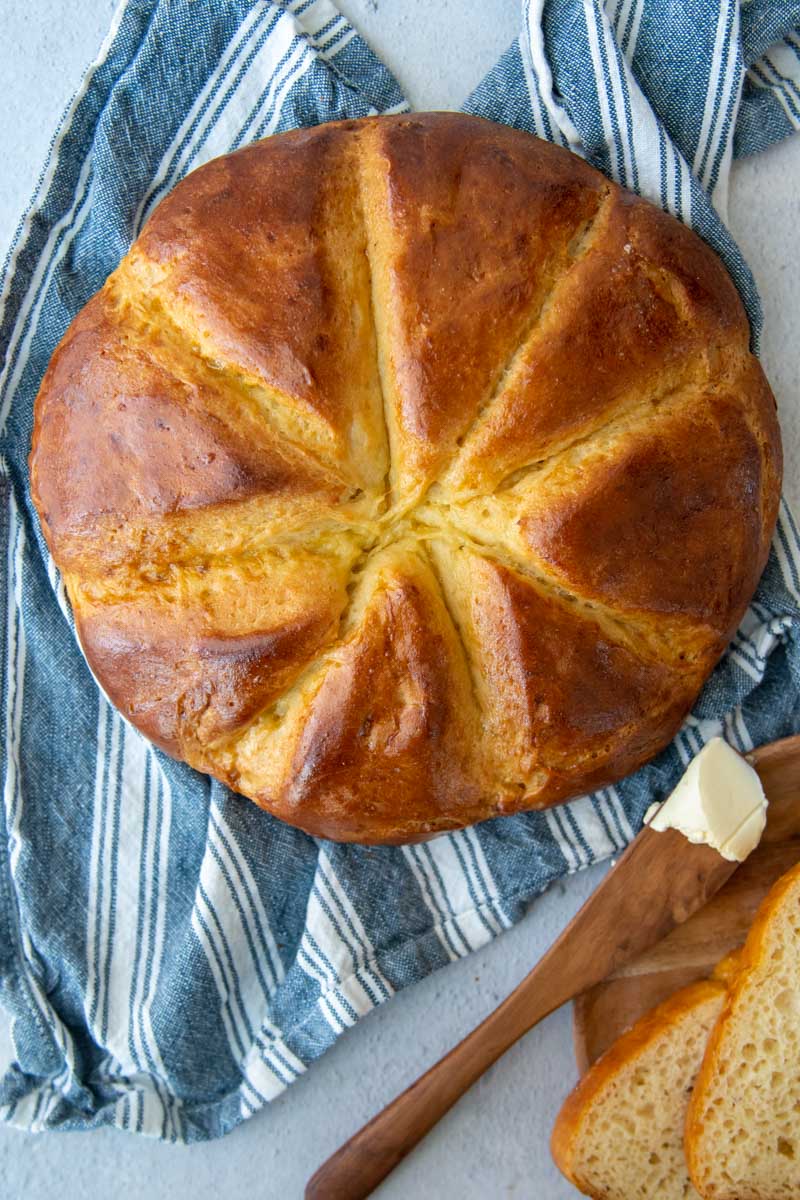
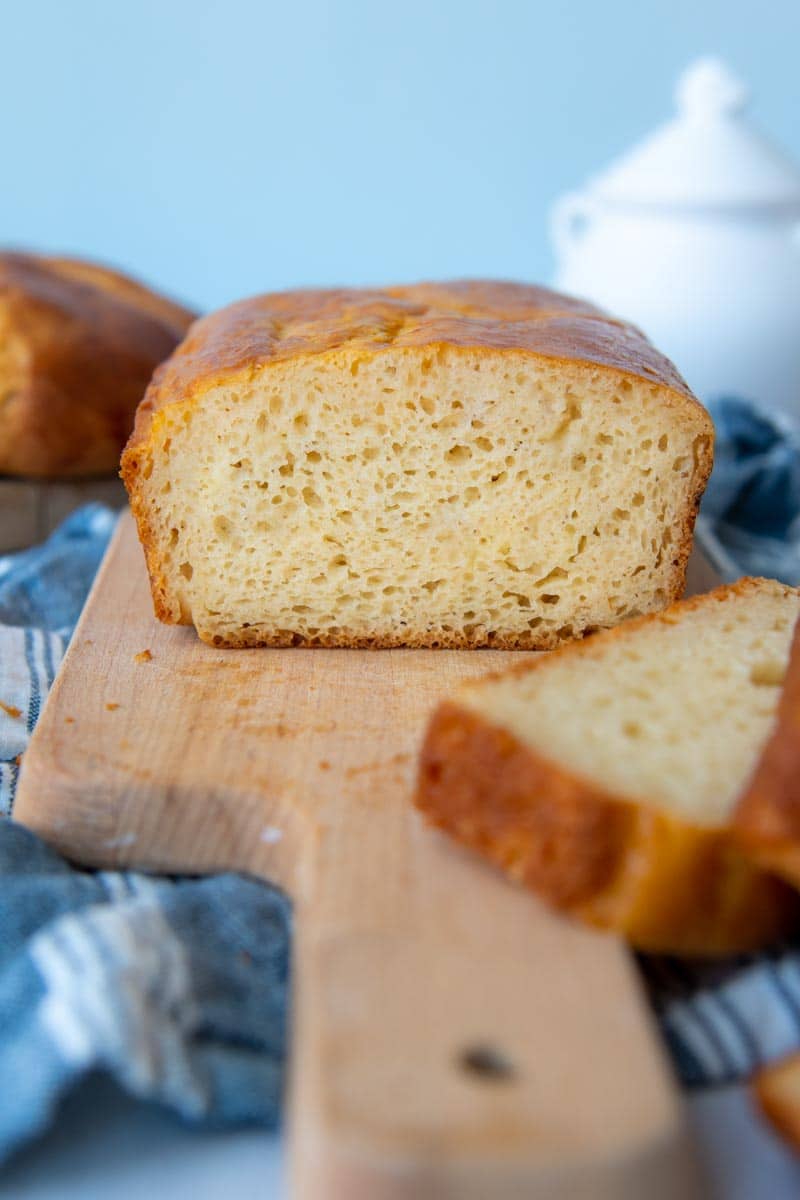
Learn how to bake fresh gluten-free challah bread at home with this easy and effortless recipe! Challah bread is slightly sweet with a golden, shiny crust and soft, tender crumb. This make-ahead overnight challah recipe is made with all-purpose gluten-free flour, psyllium husk, instant yeast, and eggs, and is the perfect addition to your holiday table.
Want to Save This Recipe?
Enter your email below & we'll send it straight to your inbox. Plus you’ll get affordable and easy gluten-free recipes delivered each week!
easy Gluten-free Challah bread recipe
If you are Jewish, or simply love the taste of an egg-enriched sweet bread, than this easy gluten-free challah bread recipe is for you! Just like many other popular gluten-free bread recipes, this challah loaf requires no kneading and replicates the softest, tender crumb.
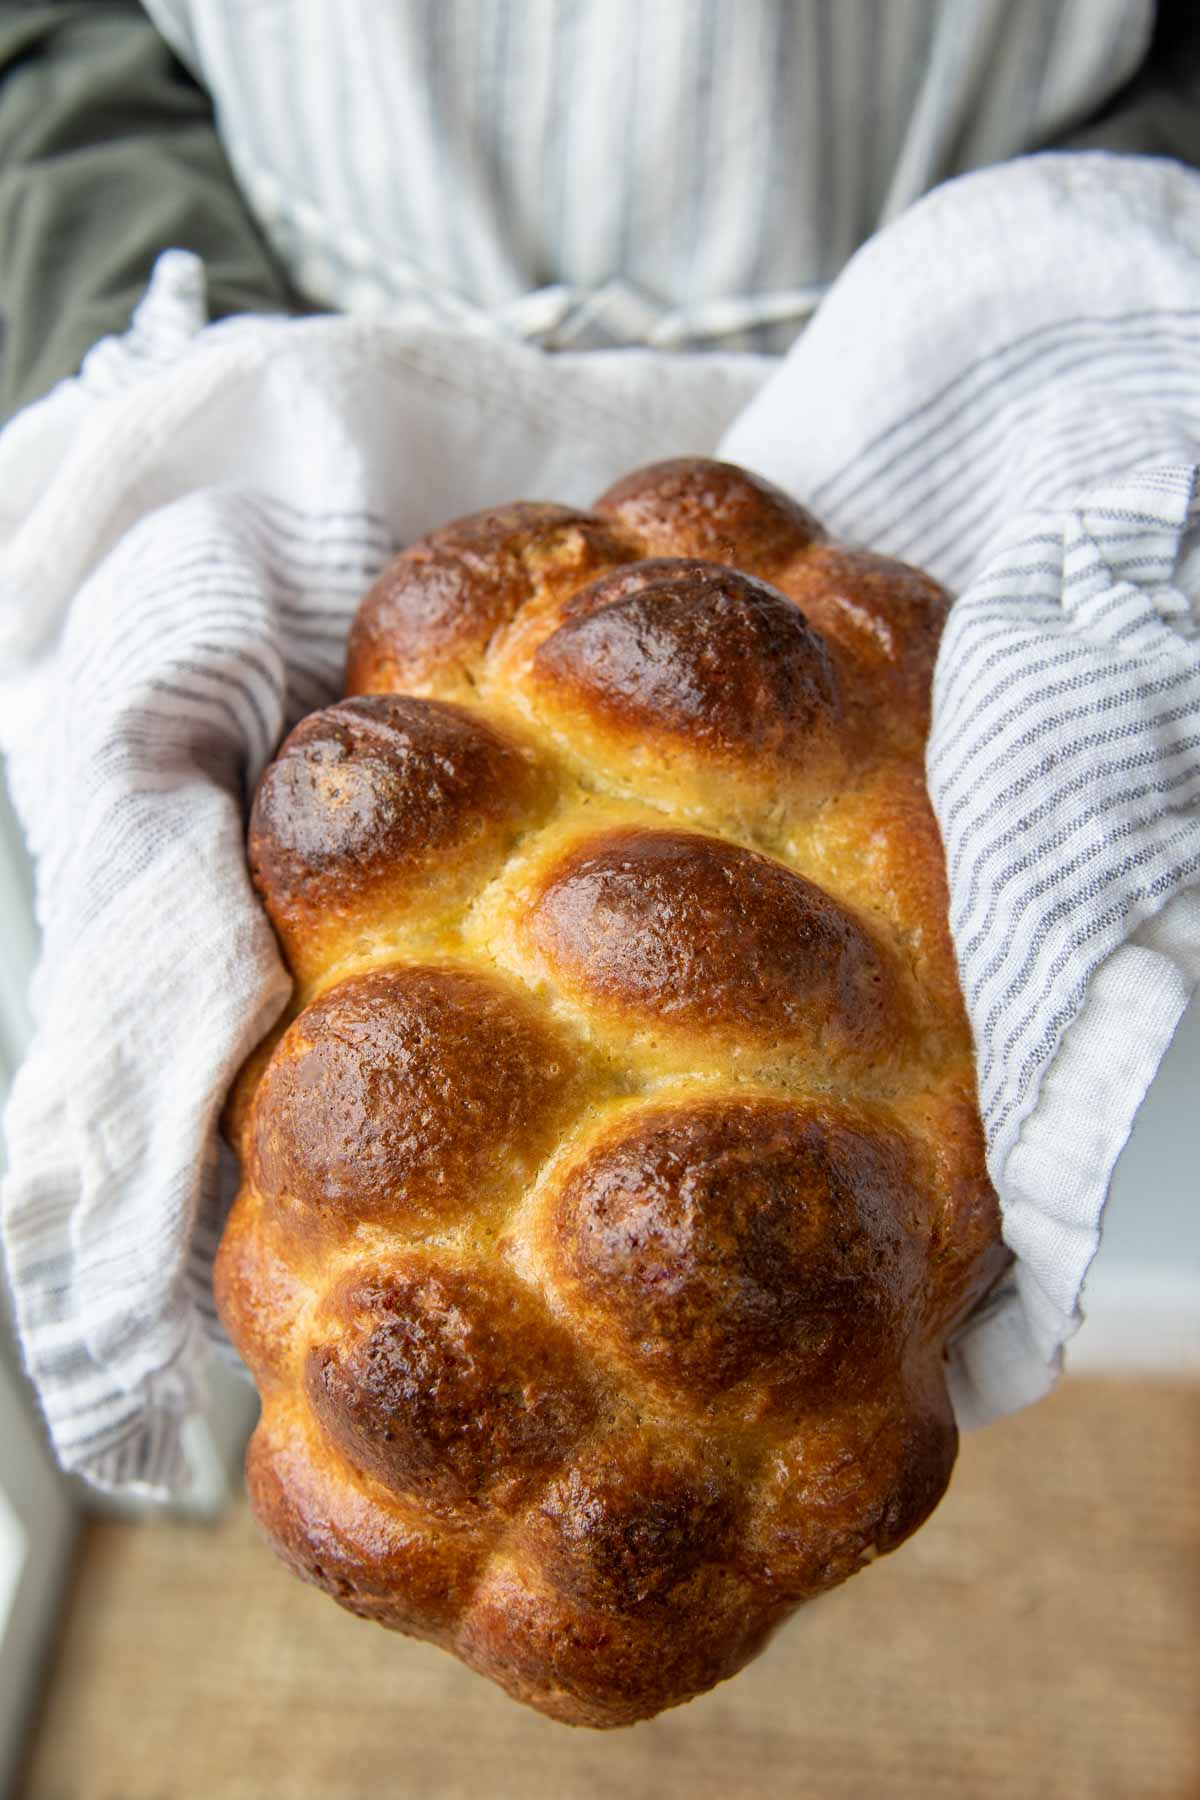
Typically challah is braided to represent significance in the Torah, but some home bakers simplify the process by baking it in challah molds. This recipe for gluten-free challah does not require braiding, so it is simple, easy, and feasible for any level of baker!
When I developed this recipe I did give a valiant effort to shape and braid it like Jewish challah bread. However, to compensate for the lack of elasticity in gluten-free flour, so much more had to be added to make a pliable dough. Even then, it was very frustrating to work with, had inconsistent results, and made for a very dense, heavy crumb.
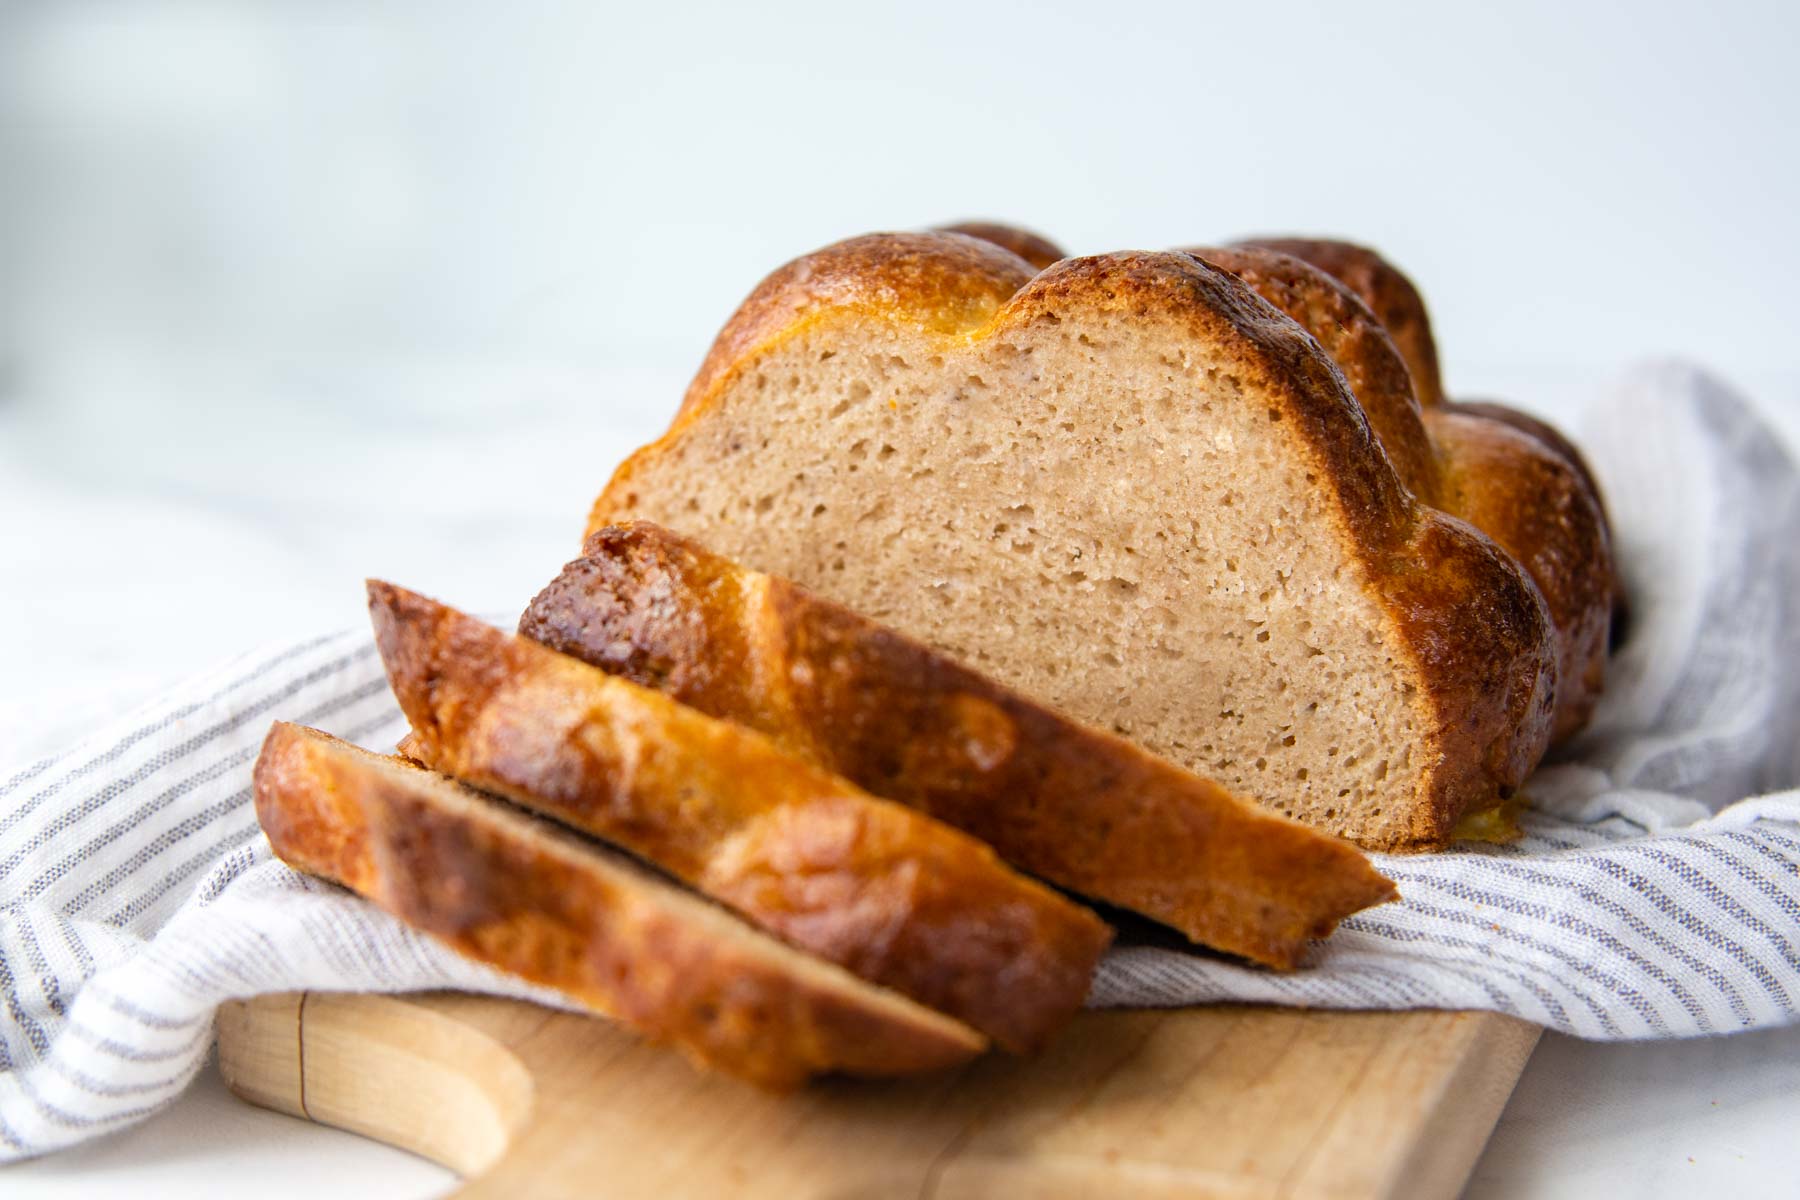
I am not Jewish, and was more concerned about replicating the sweet, airy taste and texture (much like these gluten-free dinner rolls!) than following tradition. This recipe is straightforward and simple to make, and you can mimic the beautiful humps by using this affordable challah mold. If you would rather use what you have on hand, simply dump the dough in two 8X4 loaf pans to rise and bake.
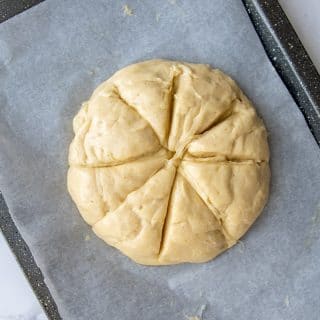
Alternatively, bake this easy challah recipe on a baking sheet. Shape into a round loaf and use a greased sharp knife to slice a star pattern before the second rise. This will mimic the humps without having to roll and shape the dough.
With this beginner’s guide to homemade gluten-free challah, you do not have to be an expert or even well-versed with gluten-free baking! Similar to this extraordinarily easy gluten-free focaccia bread, it’s possible to achieve bakery-style results the very first time!
Free Guide! 5 easy tips for baking like a gluten-free pro!
Simple hacks for fail-proof gluten-free dishes every time!
What Is Challah?
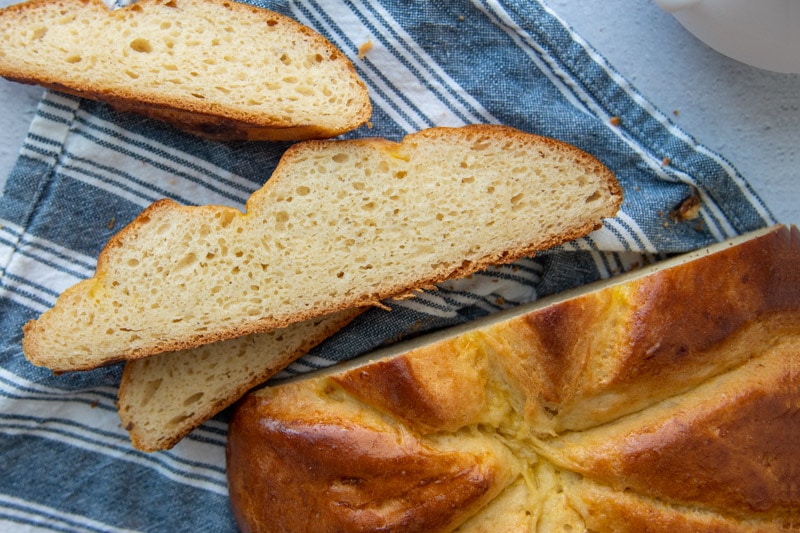
Traditionally challah represents a shiny braided loaf, similar tasting to brioche or Hawaiian bread, but baked to celebrate the Jewish holidays or shabbat. Challah may be braided, shaped in round, oblong, or rectangular loaves.
The shape of loaf coincides with symbolizing representing different Jewish holidays. For instance, for Rosh Hashanah round loaves symbolize continuity.
Braided bread represents arms intertwined, symbolizing love, truth, peace and justice. Sometimes the tops are sprinkled with poppy or sesame seeds. These symbolize the manna that fell from heaven.
Ingredients notes
The only speciality item needed for GF challah bread is psyllium husk powder, which helps maintain moisture and prevents the bread from becoming crumbly. It’s pretty affordable to buy and really helps mimic regular bread’s structure. I also use it in my soft, white gluten-free bread recipe.
- Gluten-free all purpose flour – I use and recommend Cup4Cup gluten free flour, which has xanthan gum included. This gluten-free flour blend does contain a small amount of milk powder, so I recommend Cup4Cup Wholesome blend or King Arthur Measure-for-Measure gluten-free flour for dairy-free challah.
- Sugar – Adjust amount for desired sweetness with 1 cup resulting in a sweeter tasting bread, to 1/2 cup adding a hint of sweetness
- Instant yeast (rapid rise) – This challah requires a slow rise, which is aided by the yeast. Instant yeast does not require proofing in water first.
- Psyllium Husk Powder – The linked brand in my favorite because it doesn’t turn baked breads a dark, purplish color, which some darker-colored brands can. If you would like to learn more about using psyllium in gluten-free breads and how it maintains moisture and builds elasticity, see the linked guide.
- Baking powder – This is one of my expert gluten-free baking tips. Adding baking powder with the yeast helps with an airy texture and rise.
How to make Gluten-free challah
Make-ahead challah requires an overnight rise in the refrigerator so be sure to prepare the dough the day before you need to bake it. Rising overnight in the fridge, makes a softer texture with a more enriched flavor.
(Note: This is a step-by-step tutorial with pictures. For more specific instructions, along with ingredient amounts, see the recipe card at the bottom of the post.)
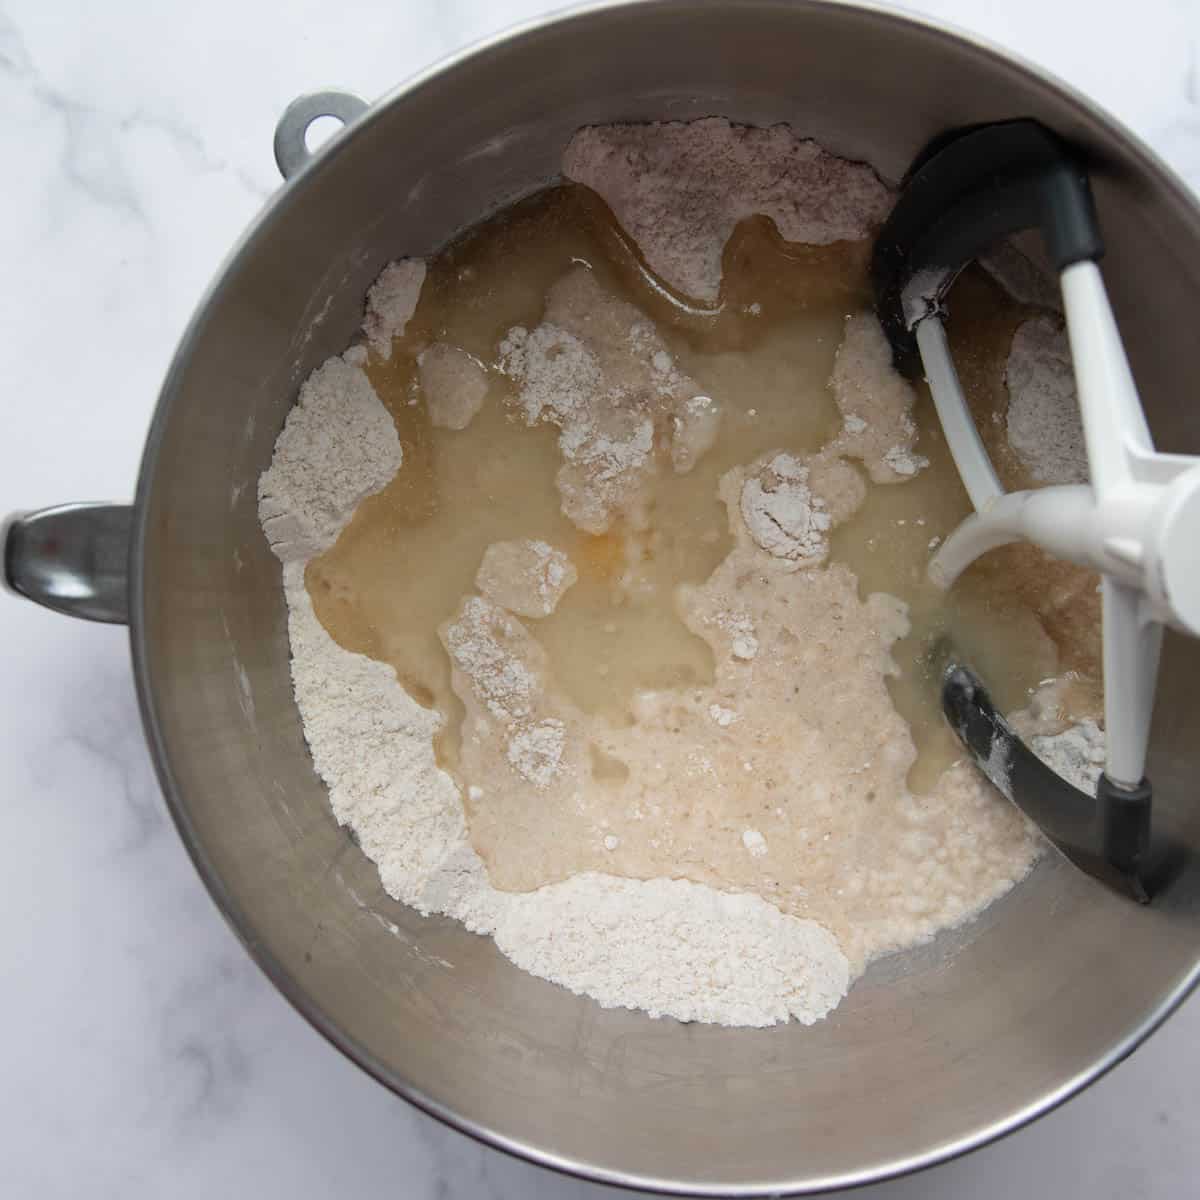
- In the bowl of a stand mixer add the dry ingredients – gluten-free flour blend, sugar, yeast, psyllium husk powder, baking powder, and salt. Mix on low speed.
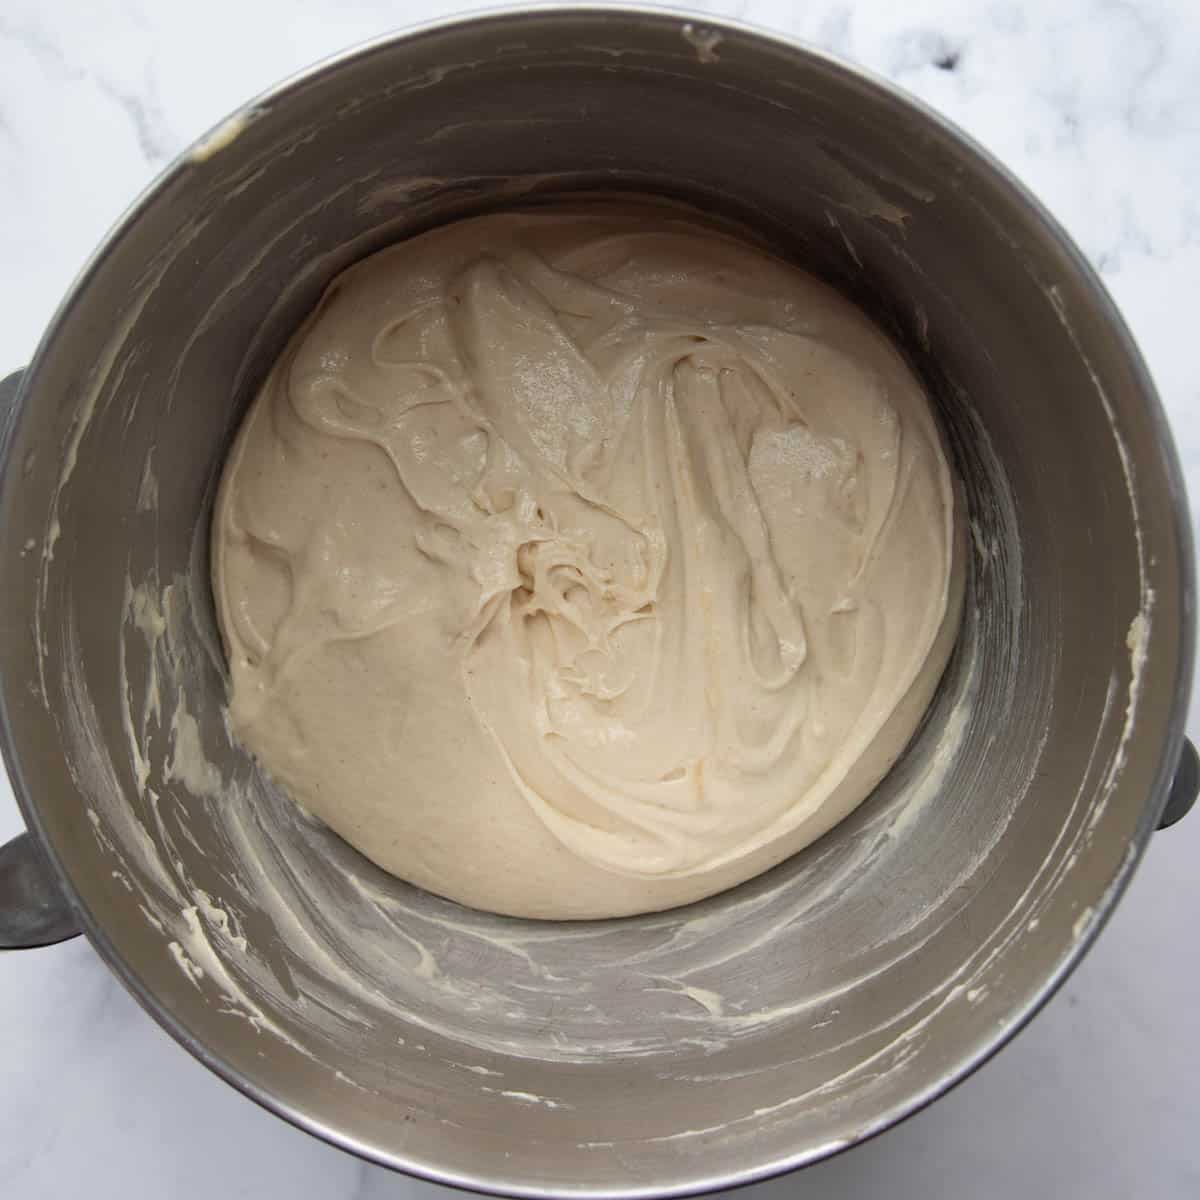
- To the mixture add the warm water, oil, eggs, and egg yolk and mix to combine. Then, increase the speed to medium-high and beat for 4 minutes.
- Use a rubber spatula to scrape the dough into the center of the bowl. Cover securely with plastic wrap and refrigerate overnight, or up to 2 days.
- When ready to bake, line baking sheets with parchment (for round shaped bread), grease two 8X4 loaf pans (for loaves), or grease a large challah mold (or two small molds) with cooking spray (for traditional shaped challah).
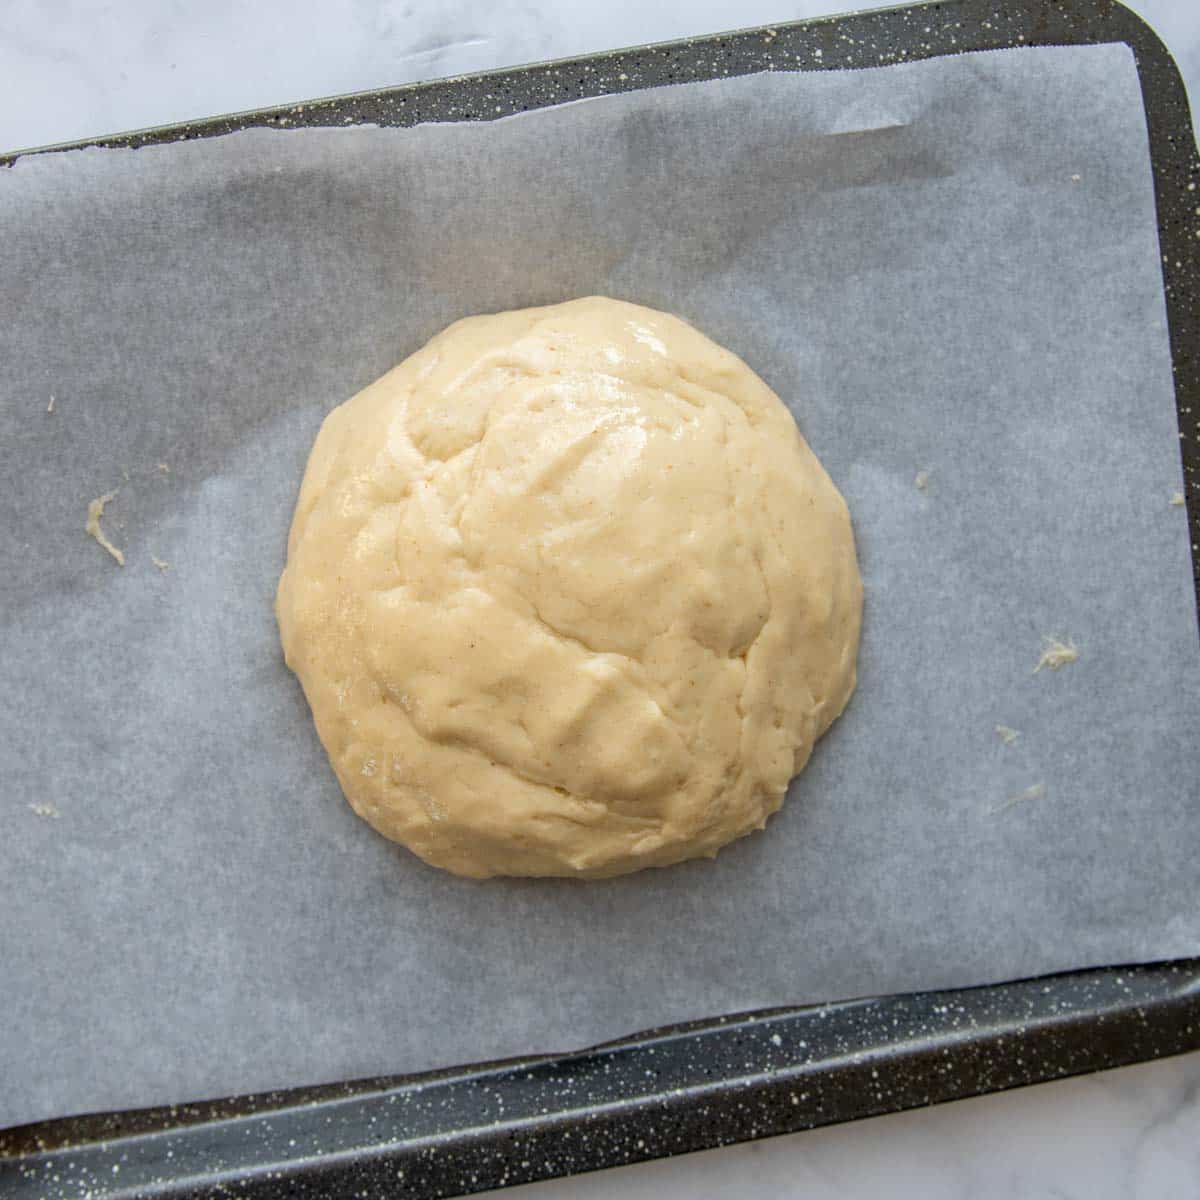
- Divide the dough between the loaf pans or into two loosely shaped balls on the baking sheets, or fill 2/3 of the mold with dough. Spray your hands with cooking spray, and shape the dough into smooth balls or smooth the top of loaves evenly.
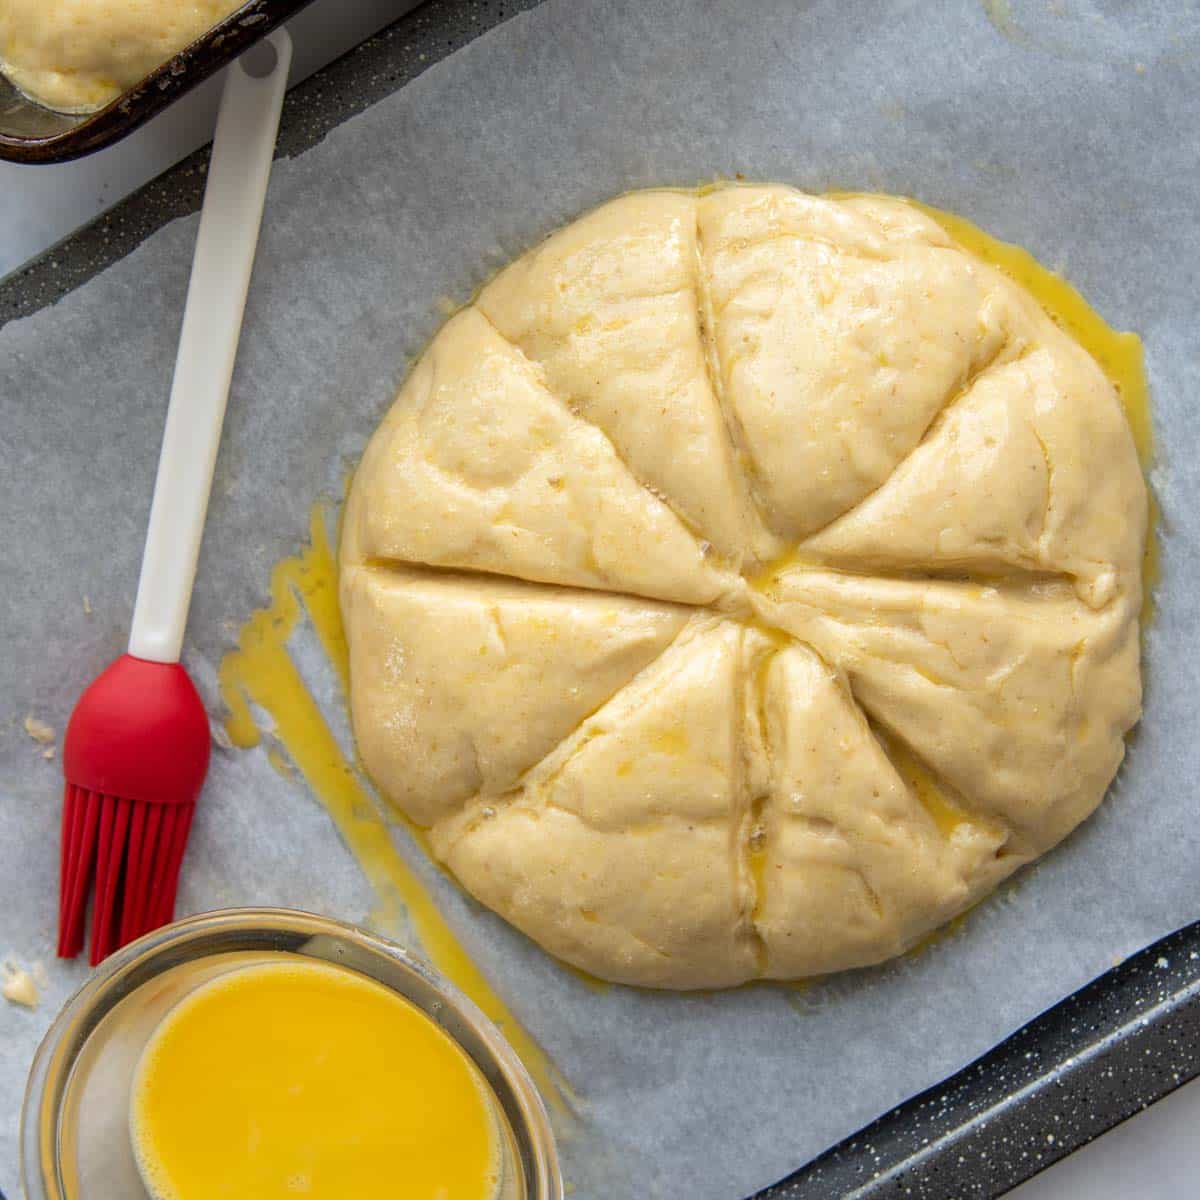
- For the round challah, if you would like to give a more decorative top, spray a sharp knife with cooking spray and cut through in a star pattern. This will mimic the humps without having to roll and shape the dough.
- Spray two large pieces of plastic wrap with cooking spray and then cover the loaves. Let the dough rise in a warm, draft-free place for 1 hour.
- Preheat the oven to 375ºF. Use a pastry brush to brush the loaves thoroughly with the egg wash (omit this step if using molds). Reserve the remaining egg wash for later use.
- Place the bread in the hot oven and immediately turn down the heat to 350ºF. Bake for 25 minutes. Remove the bread from the oven and rebrush with the egg wash. If using molds, overturn on a baking sheet lined with parchment and release from the mold. Brush the top with egg wash.
- Return to the oven for another 20-25 minutes. If the top of the bread becomes too brown, loosely cover with foil for the last 10 minutes. The interior temperature of the bread should be at 205ºF.
- Remove from the oven, cool for 5 minutes, and then transfer to a cooling rack to cool completely. For best results, serve the same day and freeze any leftovers.
recommended gluten-free flour
Usually I test baking recipes with a couple different gluten-free flours to see how they compare. However, for this one I went straight for Cup4Cup since I had done a thorough testing in many gluten-free bread recipes.
I do want to point out that Cup4Cup does contain a small amount of milk powder in it, since traditional challah recipes are dairy-free. Check out this helpful article on the best gluten-free flour to see how they compare and which allergens they contain.
How To Know When Challah is Done
Personally, I like to take the guesswork out of knowing when gluten-free breads are done. Often golden brown exteriors can be deceptive, while the inside is undercooked and gummy.
Therefore, I also use an instant read thermometer. When inserted in the middle it should read 190-200ºF. I rely on this method from quick breads, yeast breads, to bagels and breadsticks.
storing and freezing tips
Like other GF bread recipes, this challah recipe has a short shelf life. For best texture, enjoy the bread the same day it is baked or freeze leftovers.
Freeze either whole or sliced. Either way, wrap the bread securely to prevent ice crystals forming, and freeze up to 3 months.
What to make with Challah
This Jewish challah bread makes two loaves, which is about 24 servings. Since challah has a short shelf life, either freeze leftovers immediately or use in on of the suggestions below.
- Gluten-free bread pudding
- French toast
- Strata or gluten-free french toast casserole
- Kugel
- Stuffing or Dressing
- Croutons
- Bread crumbs
- Grilled cheese
Bread pan options
- For the most traditional looking loaf use a large challah mold or two small molds.
- To make this recipe extremely easy, simply divide the dough between two 8X4 inch loaf pans.
- Alternatively, shape the dough into a round loaf and place on a parchment-lined baking sheet. Spray a sharp knife with cooking spray and cut through in a star pattern before the second rise.
Why rise dough overnight?
Generally a low, slow rise in the refrigerator makes for a richer, better tasting end result. With gluten-free bread recipes it is even more helpful because it gives a softer texture with a more enhanced flavor.
Using an egg wash on bread
Brushing the bread with an egg wash gives an ultra shiny crust. To make it really stand out, I brush the bread twice – once before baking and once halfway through.
Save this recipe for gluten-free challah to your PINTEREST board!
Let’s be friends on Pinterest! I’m always sharing great recipes!
Did you make this recipe? I love hearing from you! Leave a star rating and comment below the recipe card. It helps others when searching for recipes and I appreciate feedback from our community. You will always hear back from me! -Melissa

Gluten-Free Challah Bread: A Beginner’s Guide
Ingredients
- 3 ¼ cup (473 g) gluten free all purpose flour, I recommend using Cup4Cup gluten free flour but see recipe notes for dairy-free
- ¾ cup (150 g) granulated sugar
- 2 tablespoons (22 g) instant (rapid rise) yeast
- 2 tablespoons (22 g) psyllium husk powder, (what is psyllium husk?)
- 2 teaspoons baking powder
- 1 teaspoon table salt or kosher salt
- 1 ¼ cup (300 g) water
- ½ cup (107 g) canola or vegetable oil
- 2 large eggs + 1 yolk
- egg wash: 1 egg lightly beaten with 1 tbsp water
Equipment
Instructions
- In the bowl of a stand mixer add the gluten-free flour, sugar, yeast, psyllium husk powder, baking powder, and salt. Use a paddle beater attachment to blend on low speed.3 ¼ cup gluten free all purpose flour, ¾ cup granulated sugar, 2 tablespoons instant (rapid rise) yeast, 2 tablespoons psyllium husk powder, 2 teaspoons baking powder, 1 teaspoon table salt or kosher salt
- Add the water, oil, eggs, and egg yolk. Mix the liquids in on low speed. Scrape the bowl and beater down, then increase the speed to medium-high and beat for 4 minutes.1 ¼ cup water, ½ cup canola or vegetable oil , 2 large eggs + 1 yolk
- Use a rubber spatula to scrape the dough into the center of the bowl. Cover securely with plastic wrap and refrigerate overnight, or up to 3 days.
- When ready to bake, line baking sheets with parchment (for round shaped bread), grease two 8X4 loaf pans (for loaves), or grease a large challah mold or two small molds with cooking spray (for traditional shaped challah).
- Divide the dough between the loaf pans, into two loosely shaped balls on the baking sheets, or fill 2/3 of the mold with dough. Spray your hands with cooking spray, and shape the dough into smooth balls or smooth the top of loaves evenly.
 For the round challah, if you would like to give a more decorative top, spray a sharp knife with cooking spray and cut through in a star pattern. This will mimic the humps without having to roll and shape the dough. You might have to wipe the blade several times and respray.
- Spray two large pieces of plastic wrap with cooking spray and then cover the loaves. Let the dough rise in a warm, draft-free place for 1 hour.
- Preheat the oven to 375ºF. Use a pastry brush to brush the loaves thoroughly with the egg wash (omit this step if using molds). Reserve the remaining egg wash for later use.egg wash: 1 egg lightly beaten with 1 tbsp water
- Place the bread in the hot oven and immediately turn down the heat to 350ºF. Bake for 25 minutes. Remove the bread from the oven and rebrush with the egg wash. If using molds, overturn on a baking sheet lined with parchment and release from the mold. Brush the top with egg wash.
- For round loaves or the bread pan, return to the oven for another 20 minutes. If the top of the bread becomes too brown, loosely cover with foil for the last 10 minutes. The interior temperature of the bread should be at 200ºF. For the challah molds, return to the oven for 15 minutes, remove and rebrush with egg wash, then bake again for 10-15 minutes longer. Depending on the size of the challah mold used, the baking time with increase or decrease. For best results, use a thermometer to see if the internal temperature reaches 200ºF.
- Remove from the oven, cool for 5 minutes, and then transfer to a cooling rack to cool completely. For best results, serve the same day and freeze any leftovers.
Notes
Gluten-Free Flour Recommendations
I use and recommend Cup4Cup gluten free flour, but I want to point out that Cup4Cup does contain a small amount of milk powder in it, since traditional challah recipes are dairy-free. For dairy-free challah, I recommend Cup4Cup Wholesome GF blend or King Arthur Measure-for-Measure gluten-free flour.Storing Tips
Like other gluten free breads, this challah recipe has a short shelf life. I recommend enjoying it the same day it is baked and freezing any leftovers. Challah may be frozen whole or sliced. Either way, make sure the bread is protected, wrapped securely, and freeze up to 3 months. Recipe adapted from Let Them Eat GF CakeThis post contains affiliate links. My opinions are always my own. If you purchase a product through an affiliate link, I make a small commission – at no cost to you. Read full disclosure policy here.


Hey! I tried this recipe with the measure for measure King Arthur flour. It really didn’t work well, it was very dry. I understand that you make it originally with cup4cup, so I am not sure how yours turned out, but it didn’t turn out very well for me. Although the bread rose very nicely turning proofing. I always like to rise it in my warm oven (I preheat to 200F then turn it off then put the bread in so it can rise nicely. Thanks for the recipe anyway! I have been binge trying all gf bread recipes to see where the best one is. I’ve gotten pretty close,but am still looking.
Hi Agnes,
I’m sorry to hear this! I wish there wasn’t such a difference in GF flours. As if it’s not hard enough! Have you tried my GF sandwich bread recipe? It is very versatile with different GF flour brands and gets awesome reviews!
Best,
Melissa
Thank you so much for this easy, yummy recipe. I made once just as written for the High Holidays and again yesterday, both delicious. In yesterday’s batch, I substituted most of the water with homemade sugar pumpkin purée, added about 2t cinnamon and an egg white (because I had an extra one to use up). Baked in challah mold from Amazon. Gluten free pumpkin spice mini challahs!
What an amazing idea, Susannah! Thanks for taking the time to let me know because I’m definitely trying this!
Best,
Melissa