Gluten Free Baking Tips
5 Easy Secrets for Foolproof Gluten-Free Baking
Sick of gluten-free baking failures? I have been researching and developing GF recipes for over 15 years and along the way I have discovered many easy tips and tricks for not only avoiding tears of frustration, but mimicking the taste and texture of baked goods just like you remember.
Learn how to make stellar gluten-free breads, cookies, muffins, cakes, and more with my top five super simple tips.
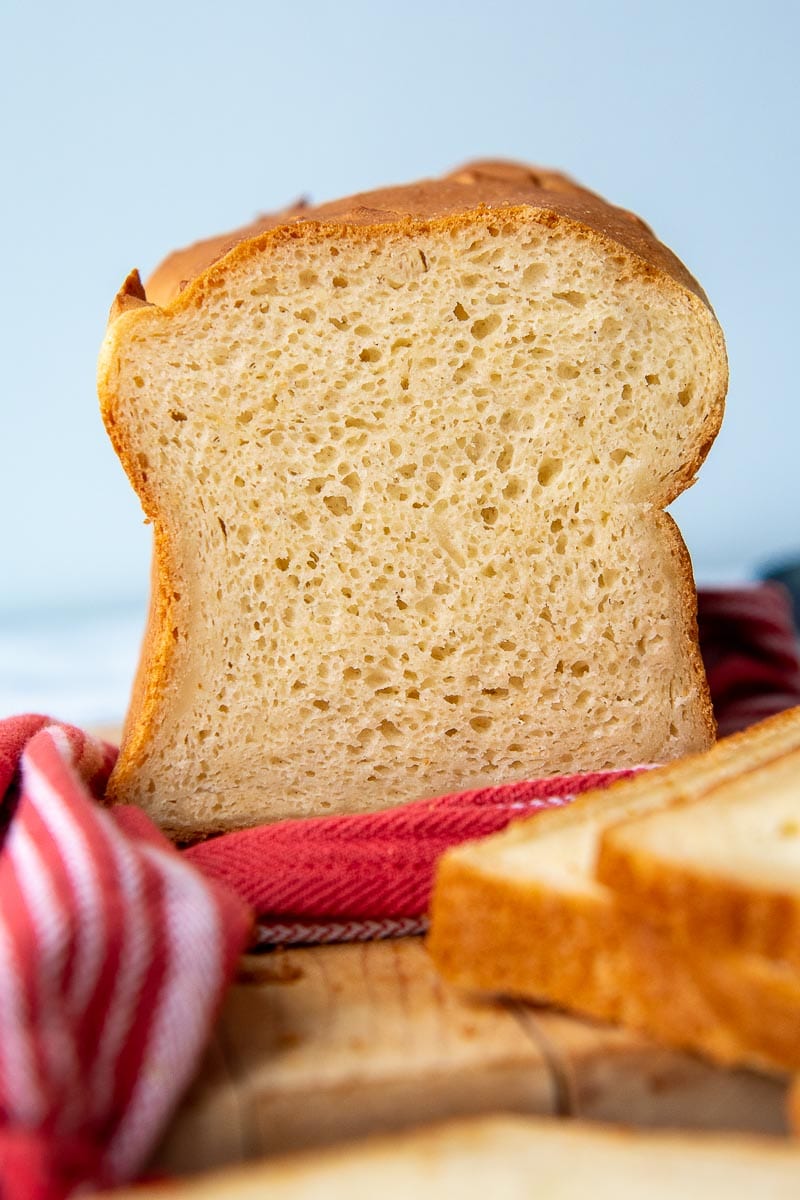
Table of Contents
- Biggest mistake beginning gluten-free bakers make
- Go-To Gluten-Free Baking Tips
- Over mix gluten-free batters
- Let the batter rest
- Extend gluten-free baking time
- Mix in other starches
- Add some elasticity insurance
- My Recommended Gluten-Free Flour
- Troubleshooting – When things go awry
- Gluten-Free Breads or Cakes Sinking
- Dense or Gummy crumb
- Dry and Crumbly texture
Biggest Mistake Beginning Gluten-Free Bakers Make
Whether you are just starting to dip your toe in the gluten-free waters or have been living with celiac disease or gluten allergy for years, there’s always something to learn. I have been gluten-free baking and cooking for decades, published a gluten-free cookbook, and developed hundreds of recipes, but it’s still a continual evolution!
Although the popularity and availability of gluten-free flour has certainly been a god-send, this magical ingredient also leads to many baking disasters. Unfortunately a simple swap of GF flour for wheat flour isn’t the end all solution for everything. If you are reading this article you are probably giving me an “Amen!” right about now.
GF flour blends are made up of naturally gluten-free starches along with xanthan gum added as a binding agent, which should give doughs elasticity, chewiness, and structure. This leads to the biggest mistake gluten-free bakers make – thinking a gluten-free flour blend alone will fix their woes.
In its defense, the mixes will mostly get you there. But if you want your baked goods to go from a subpar GF stand-in to gloriously soft and squishy gluten-free bread that doesn’t crumble, a flaky, tender gluten-free pie crust, or pillowy, fluffy gluten-free rolls, there’s some other simple (I promise!) tricks to knock it out of the park. I’m talking the legit-tears-of-joy park.
Below I’ll share my easy secrets for success, including simple tweaks to make my favorite gluten-free bread recipes soft and fluffy, easy gluten-free desserts without gumminess, cookies tender and chewy, and everything in between. These easy tips are simple for a novice baker, but lead to consistent and fail-proof results!
Free Digital Cookbook 10 quick & easy gluten-free dinners
Delicious gluten-free recipes ready in 30 minutes or less!
Go-To Gluten-Free Baking Tips
The tricks to being successful with baking gluten-free are quite simple, but some are counter-intuitive to traditional baking. This is where a lot of baking mishaps come in. Following the simple tips below will avoid dense, gummy textures, grittiness, or issues with rise and structure.
These tips and tricks will not work for every recipe, but they are a great general guide for becoming more familiar with gluten-free recipes and what makes a recipe successful. I find them particularly helpful when converting a traditional recipe to gluten-free.
Over mix gluten-free batters
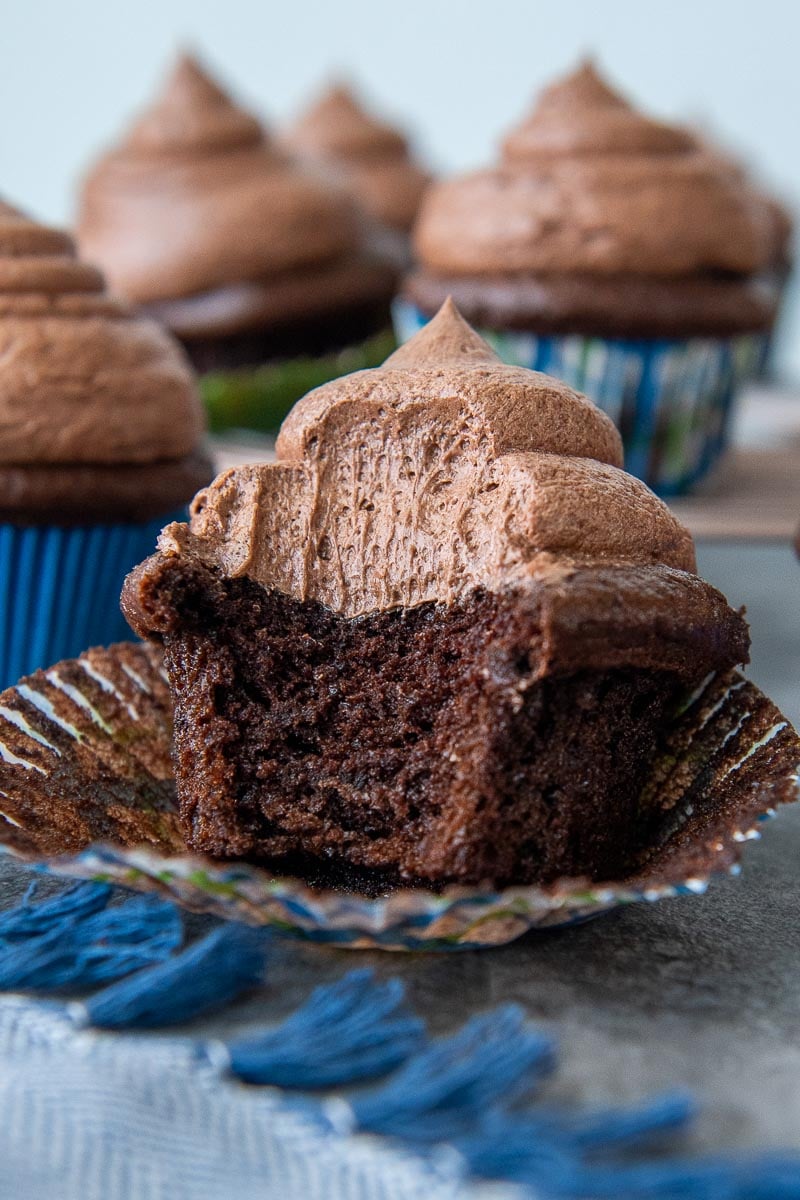
This goes against a traditional baking “rules.” Usually over mixing makes baked goods dense and rubbery. It has the opposite effect with gluten-free recipes, especially cakes and breads.
Mixing batters longer aerates the starch fibers. An extra long stir gives baked goods a better rise, lighter crumb, and better structure, like nice domed tops. Liquids don’t have the easiest time emulsifying into the dry ingredients, which is why things can become gummy. The extra mix time is good insurance to combat this.
Let the batter rest
Gluten-free flours do not absorb liquids or fats as well as regular flour. Allowing time to rest gives the starches time to hydrate and soften, which helps offset a gritty texture and taste.
Cover the bowl with plastic wrap and let the batter sit for 15-30 minutes before baking. Usually I pop it in the fridge to make the dough easier to work with. This is especially helpful when shaping gluten-free cookies, biscuits or scones. For muffins, I distribute the batter in the muffin tins and let it sit while the oven preheats.
Extend gluten-free baking time
Inserting a toothpick or testing for spring back when touched are standard cues for knowing when something is ready to be pulled from the oven. These tests are unreliable with gluten-free baking, though.
As mentioned previously, gluten-free starches do not absorb liquids as well. Therefore, some GF recipes seem done by looks and touch, but are actually undercooked in the middle. Therefore, I always error on the side of slightly over baking to make sure the moisture has evaporated.
To throughly check use a long cake tester and insert further down than a toothpick. A more reliable method, especially with breads and cakes, is to use an instant read thermometer. It should read around 200ºF.
As long as the baked good aren’t burning, it will not harm to bake longer, and it will offset grittiness or gumminess. A gentle method of doing this is to turn off the oven at the end of baking and let it sit for a few minutes longer.
Mix in other starches
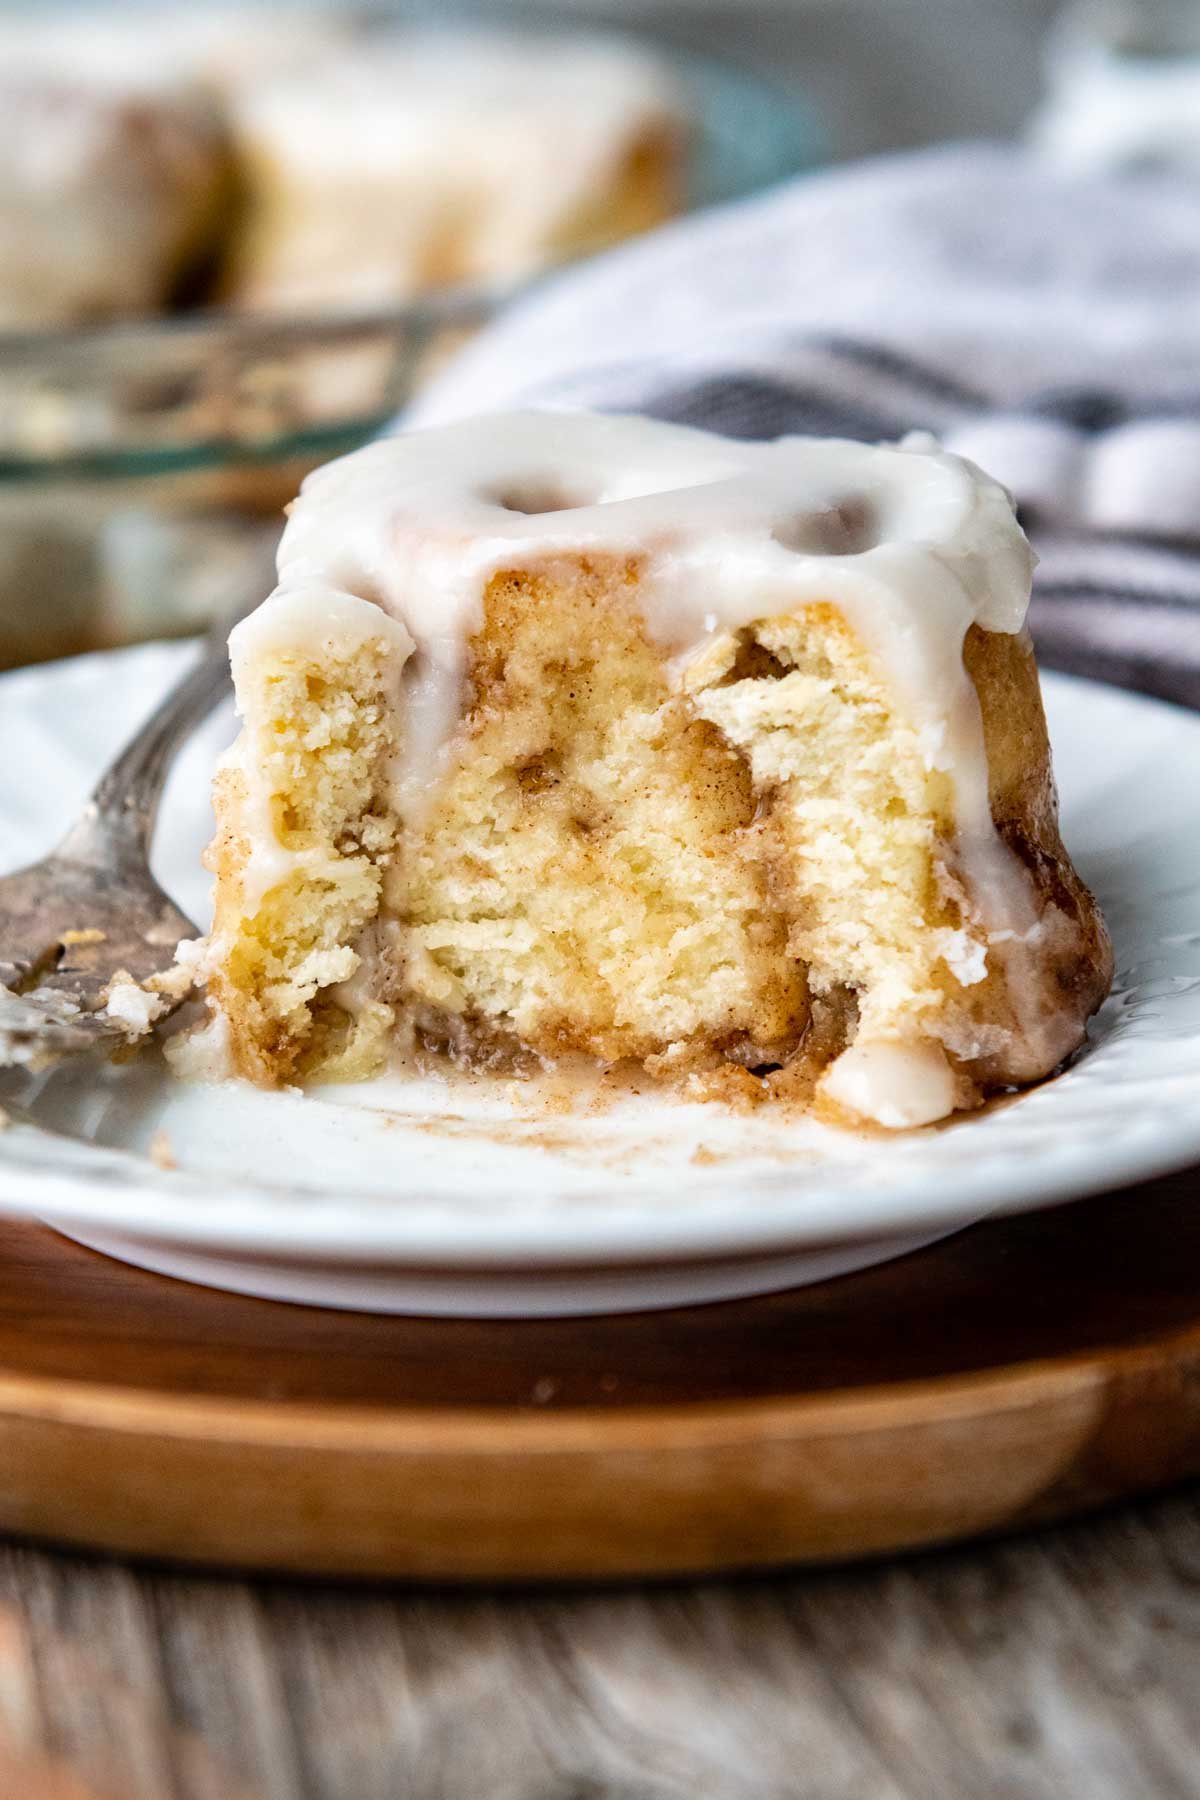
I mentioned earlier learning how to bake gluten-free is a never-ending science. Sometimes I exhaust all my tricks of the trade and I’m still not getting the desired texture. When developing these copycat Cinnabon gluten-free cinnamon rolls I had to overcome a dry, crumbly road block.
I needed the dough to be stiff enough to shape, but adding additional flour would dry them out after baking. What was the trick? I replaced some of the flour with potato starch, which helped absorb the moisture, keep the dough supple enough to shape, and also added a fluffy texture. Now it’s one of my favorite hacks, especially for doughs that need to be shaped!
Add some elasticity insurance
Here’s a little tidbit about me – I hate overcomplicating things. When it comes to extra steps, ingredients, or fussy prep, I’m out. However, once I learned more about the benefits of psyllium husk in gluten-free baking I was SOLD.
Basically, it helps aid moisture absorption, helps with elasticity, and makes a softer, airy crumb. I like to use powdered psyllium because it can be added with the dry ingredients, requiring minimal extra effort. However, I wouldn’t just throw in any psyllium husk you come across at a health food store or online retailer.
If the psyllium is a darker color it won’t effect the taste or texture, but it will turn your baked goods a weird purplish hue. It’s a little unsettling. Therefore, there are specific brands I use to make sure my baked goods stay light, and well, normal looking.
This organic psyllium husk powder is my favorite, but unfortunately it is not always in stock. Recently I discovered another brand of psyllium that appears to be just as light and I’m confident it will do the trick as well!
My Recommended Gluten-Free Flour
Luckily it’s now easy to find all-purpose gluten-free flour blends right in your local grocery store. Unfortunately, they aren’t all created equal.
Poor quality gluten-free flours taste gritty and leave baked goods flat. Plus, there’s inconsistency among the brands. Since they are made up of varying ratios of starches, like brown rice flour, tapioca starch, potato flour, and many others, there isn’t a standard taste, texture, or quality to be expected.
Therefore, I wrote a more elaborate guide on the best gluten-free flour, sharing my baking experiments and how blind taste-testers judged on taste, texture, and appearance. Cup4Cup gluten-free flour was the clear winner when it came to breads, cookies, cakes, and biscuits.
However, the mix does contain milk powder, so if you are dairy-free and gluten-free, I recommend using King Arthur Measure-for-Measure. With any flour you choose, be sure to read the ingredient label and double check for possible allergens.
Troubleshooting – When Things Go Awry
Hey, we’ve all been there. I know how frustrating it is to spend the money and time on a recipe you have such high hopes for, but instead brings on the tears. Below are the most common GF baking mishaps and how to fix them.
Gluten-Free Breads or Cakes Sinking
This is most likely a leavening, timing, or temperature problem, leaving the center underbaked. Gluten-free baking requires a longer bake time because moisture doesn’t evaporate as quickly. If you are questioning if it is done or not, turn the oven off and let it sit with the door closed for a few additional minutes.
If there was too much leavening agent (baking powder or soda) or too high of a temperature, it will rise too quickly, sinking after it cools. This could also happen if there are too many disruptions in temperature, such as opening and closing the oven door frequently.
To offset this, reduce the oven temperature slightly and let your baked goods cook longer, extending time for moisture to evaporate and making a more gentle rise.
Dense or Gummy crumb
This happens when there is too much moisture or it didn’t have enough bake time to evaporate. Since liquids don’t absorb in GF starches as well, recipes with a lot of liquid have a tendency to be gummy.
Swapping some of these liquids for yogurt or sour cream helps maintain moisture, while building structure and a fluffy texture. You can also experiment with reducing the amount of liquid, but keep the amount of dry ingredients the same.
Reducing the oven temperature and baking longer also helps. Once it’s done baking, turn off the oven and let it sit for a couple minutes to ensure it is done baking. Then use a long cake tester to be sure it’s done throughout.
Dry and Crumbly texture
GF doughs are harder to shape since they don’t have gluten’s natural elasticity. When something is too soft or sticky, most bakers have a tendency to just add more flour to stiffen the dough which “makes it look like” traditional wheat dough.
You’ll end up with a more manageable dough, but after it’s baked it will be so dry and crumbly you won’t want to eat it. So what’s the fix?
Instead of increasing the amount of flour, try out two of my favorite tricks explained above. One is to replace some of the flour with a more forgiving starch, like potato starch or tapioca starch. Also adding an additional binding agent, like psyllium husk powder, will help absorb moisture without adding extra flour.


