
Learn how to make pillowy soft gluten-free angel food cake from scratch. My detailed recipe is full of tips and tricks to help you successfully make the best homemade with a copycat taste and texture. The delicate airy crumb is achieved with specific ingredients and mixing methods — all of which I share below – but are easy enough for a novice baker to pull off with success.
Want to Save This Recipe?
Enter your email below & we'll send it straight to your inbox. Plus you’ll get affordable and easy gluten-free recipes delivered each week!
Gluten-Free Angel Food Cake Recipe – Just Like You Remember!
This is always the goal, right? Any time I create cake recipes from my gluten-free collection, I don’t stop testing until the texture and flavor are just as good as the homemade versions I grew up on. When developing this gluten-free angel food cake recipe the texture was so light and fluffy, my guests had no idea it was GF!
How is this possibly when making a sponge cake? To be completely honestly not a lot of adjustments had to be made, mainly because of the type of gluten-free flour used. I highly recommend using Cup4Cup gluten-free flour, which really shines in this recipe because of the addition of cornstarch in its blend.
Typically sponge cakes use cake flour, which isn’t gluten-free, but we can replicate it by adding a little extra cornstarch and sifting it with the dry ingredients. Lately I’ve really been leaning into cornstarch to lighten GF cakes’ texture. It especially works great in a lemony almond flour cake.
You’ll need about 10-12 egg whites for the recipe to beat with the sugar to form a stiff meringue. To be precise, though, you should measure the egg whites to get 1 ½ cups. What to do with all those yolks? Put them to use in these homemade gluten-free lemon bars!
You’ll also need a little longer baking time for a GF angel food cake. Because of this, be sure to bake on the lower oven rack, so the top doesn’t become overly brown before it’s baked through.
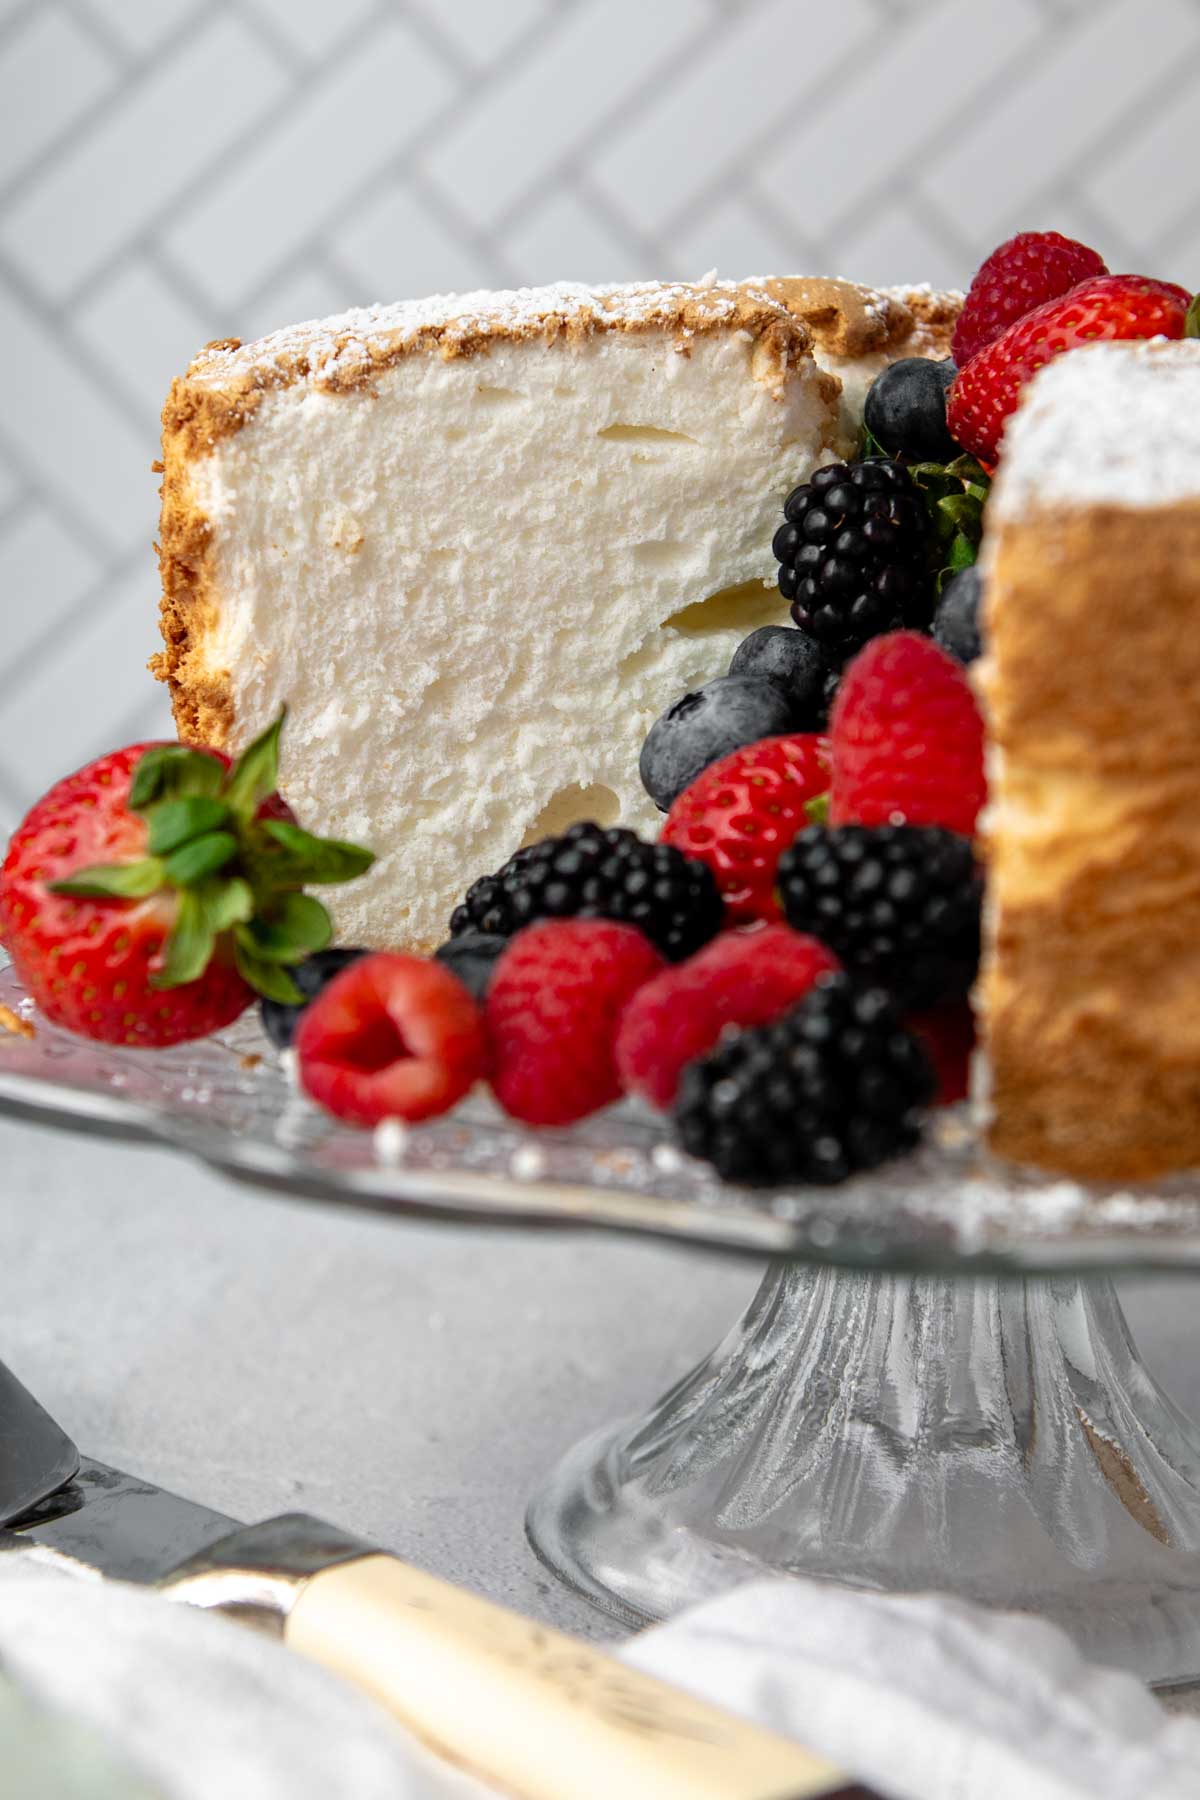
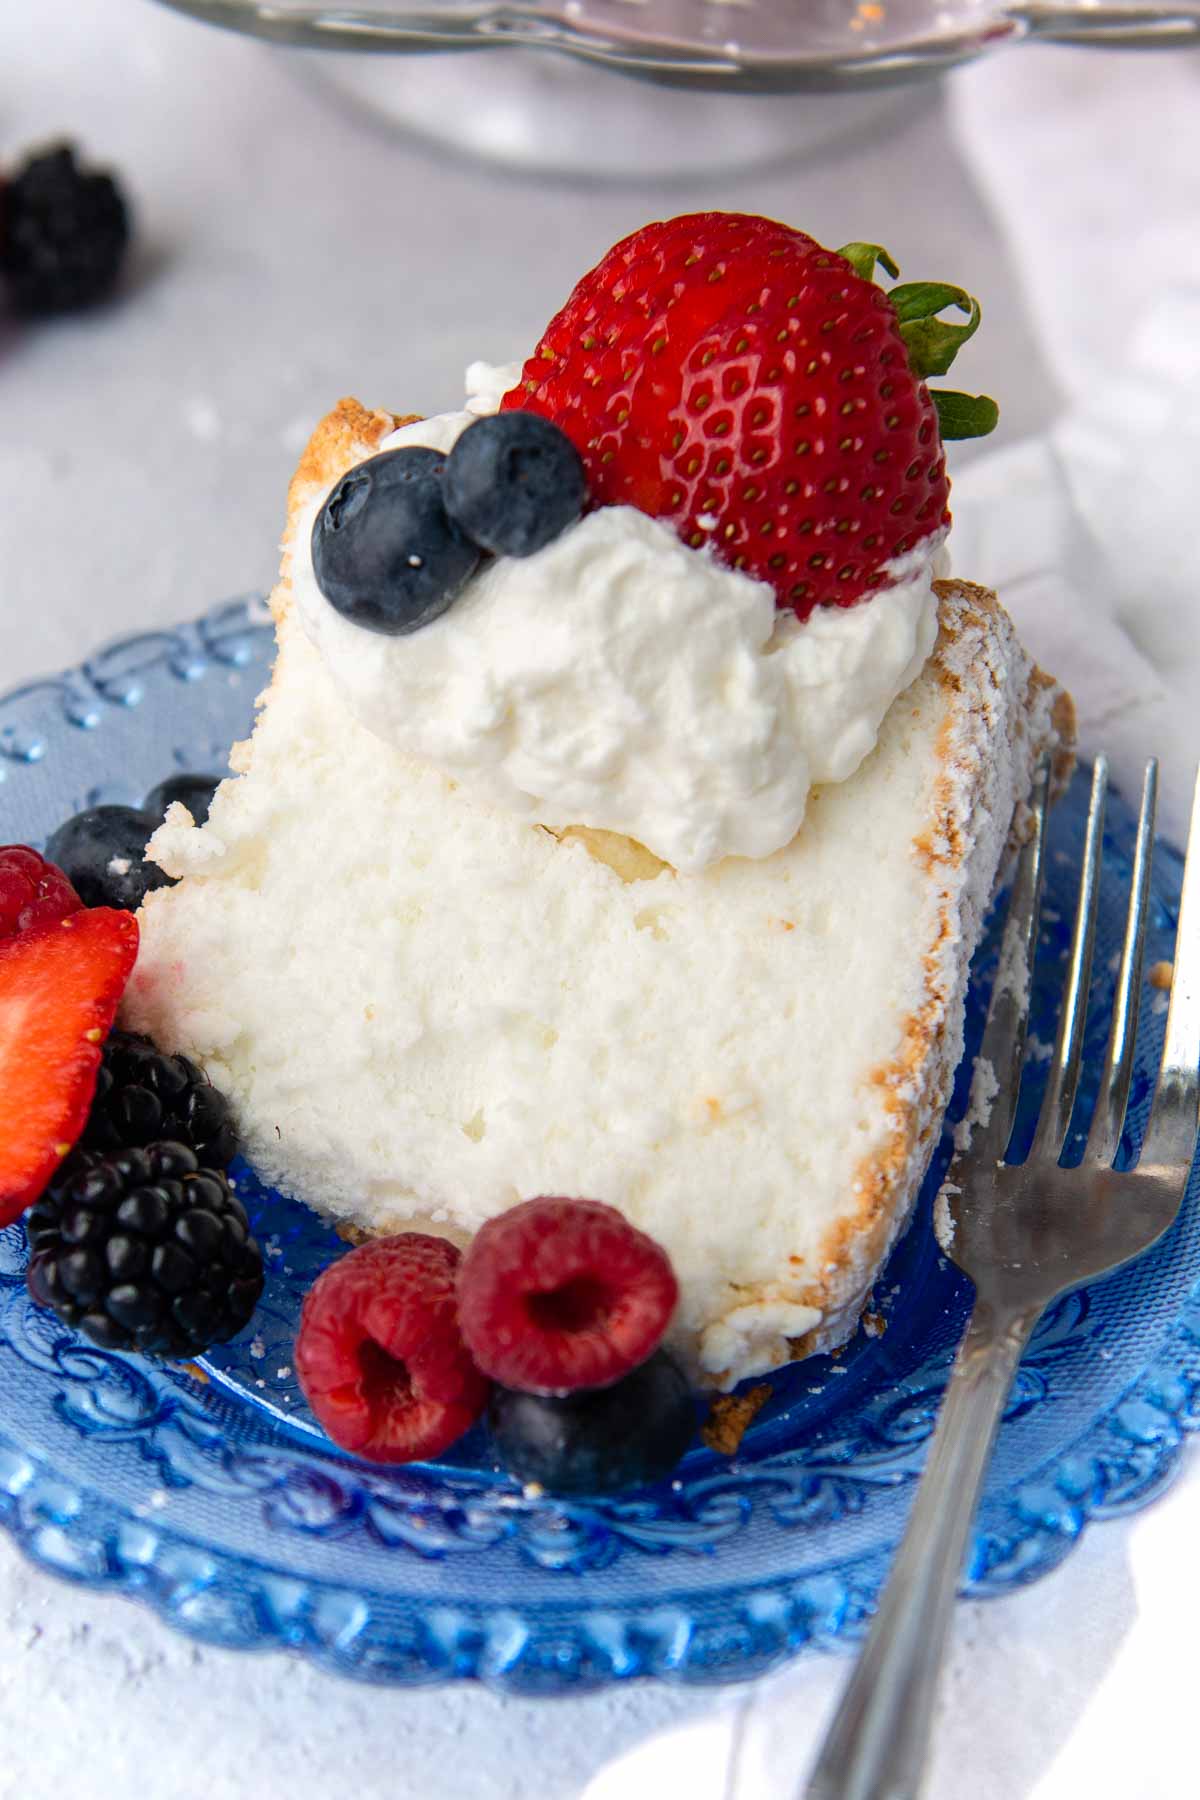
After cooling is the best part – when you get to taste your efforts! We serve ours with fresh berries and whipped cream, or if I want to step it up, this easy chocolate whipped cream frosting. For a shortcake experience slice and layer with macerated strawberries, whipped cream, and serve with strawberry syrup.
My son is celiac, which means, we’re all basically GF. This was the first GF cake I have made which turned out delicious, way better than expected. So much so that guests went for seconds and were totally surprised it was gluten free. I can’t tell you how grateful I am to you and the time and effort in coming up with a delicious recipe.
—Erika
Free Guide! 5 easy tips for baking like a gluten-free pro!
Simple hacks for fail-proof gluten-free dishes every time!
Let’s Make This Together!
(Below shows step-by-step photos and modified instructions. For the complete recipe, along with ingredient amounts, scroll down to the recipe card.)
Separate egg whites like a pro
This trick comes in handy when making another GF sponge recipe – moist and airy gluten-free tres leches. To separate the whites easily, do it when the eggs are cold, and then allow them to come to room temperature. The most important thing to remember when separating eggs is to not let any yolk get into the whites. If even a small amount of yolk sneaks in, the whites won’t beat up stiffly.
So, it’s best to not separate eggs over your mixing bowl. If any yolk accidentally slips through, you will ruin the whole batch and have to start again. Use your fingers to transfer the egg yolk back and forth (pictured below), letting the egg whites drip into a bowl.
So, what do you do with the extra yolks? Store them in either an airtight freezer bag or in ice cube trays and label with the date. Freeze up to one year. When you are ready to use, thaw overnight in the refrigerator or run bag under cold water until thawed. They work well in puddings, hollandaise, or lemon curd.

Sifty time with dry ingredients
Now it’s time to sift together the dry ingredients – gluten-free flour, cornstarch, sugar, and salt. Use a sifterto run it through a couple times, which makes a light and airy crumb instead of dense. This is especially important when using gluten-free flour, which has a tendency to be heavier.

Make the meringue
If you are intimidated by the word “meringue,” I got you! Use a whisk attachment in a very large bowl to beat the egg whites with cream of tartar and extracts. First it will becomes very foamy. Then you start gradually adding the sugar, a couple tablespoons at a time. This gives time for the sugar to absorb into the whipped egg whites and to not become grainy. Beat until all the sugar has been incorporated and glossy soft peaks form.


Fold and bake
Now the gluten-free flour mixture gets folded into egg whites, a few tablespoons at a time until it is all gently mixed. Folding means going around the edge of the bowl and working the mixture into the middle.
Spoon the batter into an UNGREASED angel food cake cake pan and smooth the top with a rubber spatula. Bake it on the LOWER rack for 50-55 minutes. Not sure when it’s done? I have some tips on that below.👇
After the cake is finished baking, invert the cake pan onto the counter cool completely before serving, at least 2 to 3 hours. This is the hardest part…waiting.


When Is This Cake Done Baking And More!
Typically, you would insert a toothpick into a cake to see if it’s done, but this isn’t the case with a porous cake like angel food recipes. So how do you know?
When it’s is done, it will spring back when lightly touched. You should not see any type of indentation left from your finger – if you do, place it back in the oven to bake a little longer. The outside should also be a beautiful golden color.
Another way to test is using a thermometer. When inserted in the center it should read at least 205℉ to keep it from collapsing.
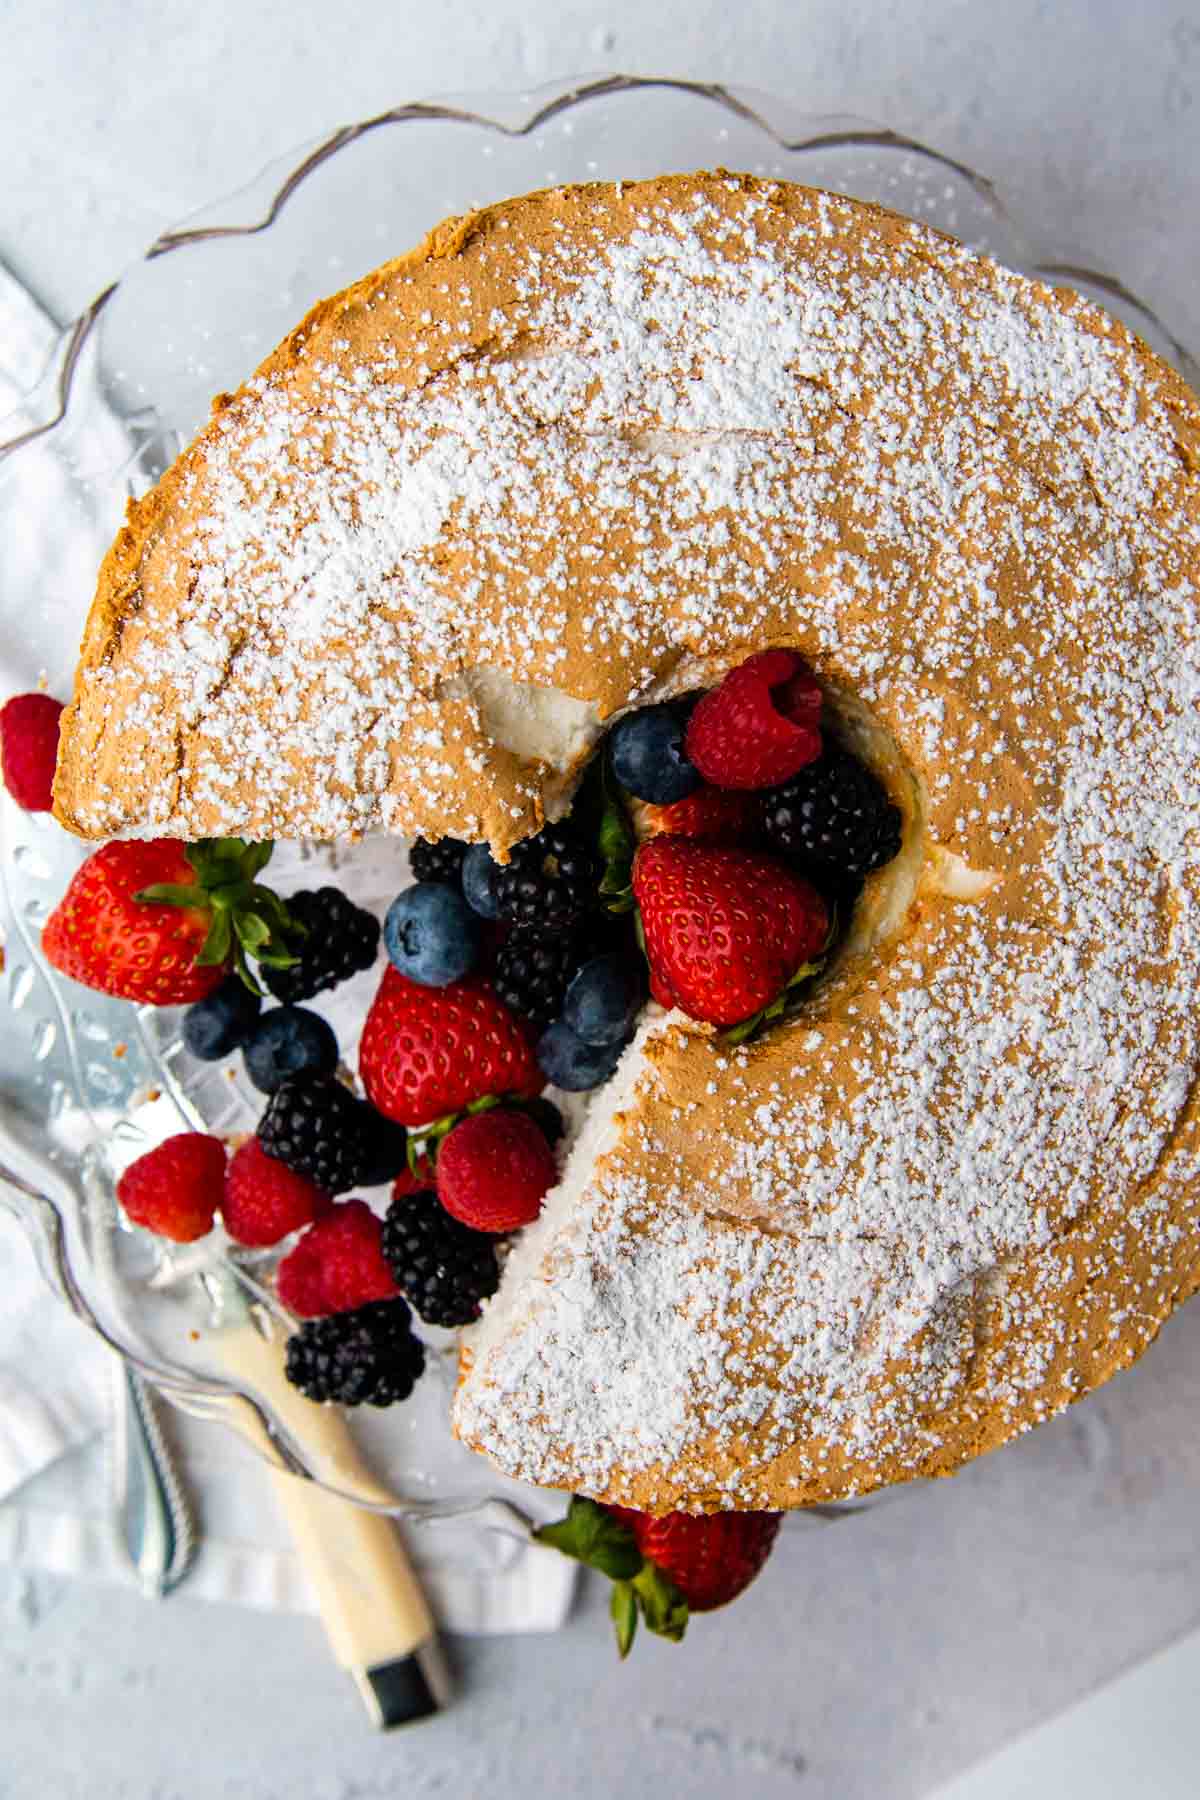
The cake then gets inverted, while still in the pan, for a few hours to cool completely. This keeps it extra fluffy and tall. Once you are ready to remove it, use a knife to go around the outer and inner ring of the pan completely. Turn the cake onto a wire rack or a cake platter.
To maintain its lovely tall height, use a serrated knife to gently saw the cake into slices.
Save this recipe to your pinterest board!
Let’s be friends on Pinterest! I’m always sharing great recipes!
Did you make this recipe? I love hearing from you! Leave a star rating and comment below the recipe card. It helps others when searching for recipes and I appreciate feedback from our community. You will always hear back from me! -Melissa

Extra Soft, Fluffy Gluten Free Angel Food Cake
Ingredients
- 1 ½ cups egg whites (from 10-12 eggs), room temperature
- ¾ cup (107 g) gluten free all purpose flour, I recommend using Cup4Cup GF flour
- 1 ½ cup (300 g) granulated sugar, divided
- 3 tablespoons (26 g) cornstarch
- ½ teaspoon salt
- 1 ½ teaspoon cream of tartar
- 1 ½ teaspoon vanilla extract
- ½ teaspoon almond extract, or use additional vanilla extract
Equipment
Instructions
- Preheat oven to 350°F. Sift together flour, 3/4 cup sugar, cornstarch, and salt together into a medium bowl. Repeat sifting again for a total of 2 times. Set aside.¾ cup gluten free all purpose flour, 3 tablespoons cornstarch, ½ teaspoon salt
- In a large bowl of a stand mixer fitted with a whisk, or a very large mixing bowl and hand mixer, mix together egg whites, cream of tartar, vanilla extract, and almond extract on medium-low speed until foamy.1 ½ cups egg whites (from 10-12 eggs), 1 ½ teaspoon cream of tartar, 1 ½ teaspoon vanilla extract, ½ teaspoon almond extract
- Increase speed to medium high and gradually mix in remaining 3/4 cup sugar, a couple tablespoons at a time, until stiff glossy peaks form, about 2-3 minutes.
- Remove bowl from stand mixer. Add flour mixture, 3 tablespoons at a time, using a rubber spatula to gently fold in each addition.
- Spoon batter into an UNGREASED angel food cake tube pan. Smooth top with a rubber spatula. Gently tap pan on counter to release air bubbles. Bake cake on LOWER-MIDDLE rack for 50-55 minutes, or until top is golden brown and cake springs back when pressed.
- Invert cake pan on counter, keeping it slightly elevated with the prongs around rim. If there are no prongs, use a bottle or funnel to invert the cake on and allow air to circulate. Let cool completely, at least 2-3 hours. Run a knife around the outer and inner edges to loosen. Turn pan upside down to release cake and transfer cake to a platter.
Notes
Baking Tips and Storage
- Leave the tube pan ungreased so the cake can “climb” the sides as it bakes
- Sifting the dry ingredients a couple times first is crucial for making the texture airy
- Use a very large bowl for the egg whites, at least 5 quarts. You will need plenty of room for the egg whites to volumize and room to fold in the flour mixture.
- Separate the egg whites while they are cold, but then let the come to room temperature before mixing. This is how to achieve voluminous, stiff peaks during mixing.
- Be sure to bake the cake on the LOWER RACK of the oven so the top doesn’t become overly brown before the middle is cooked.
- When your cake is done, it will spring back when lightly touched. You should not see any type of indentation left from your finger – if you do, return to the oven to bake a little longer.
- Wrap leftover cake securely and leave on the counter up to two days. The cake may also may be frozen up to 3 months.
This post contains affiliate links. My opinions are always my own. If you purchase a product through an affiliate link, I make a small commission – at no cost to you. Read full disclosure policy here.


Fantastic recipe, I love your step by step instructions. 1st time making an Angel food cake, and It came out perfect. Moist and light inside
Thank You!
This is great, Diana! Thanks for taking the time to leave me this note. I appreciate it!
Best,
Melissa
This angel food cake is tasty and has a perfect texture. My family loves it!
Love hearing this! Thanks, B. King.
Best,
Melissa
I wish that the instructions and baking notes matched on which rack to place it. Your instructions say LOWER-MIDDLE, but it should definitely be lower. My cake rose a little too quickly and browned too quickly since I didn’t put it on the very bottom.
Is there supposed to be baking powder in the recipe? I’m noticing the instructions talk about adding flour and baking powder but then it’s not in the actual recipe. I have it in the oven without, so really hoping it still turns out!
Hi Sara,
Thanks for bringing that to my attention. Nope, that was a mistake I made in the post, but luckily not in the recipe card. Let me know how it turns out!
Best,
Melissa
It turned out great, thank you for the recipe!! It did rise high while baking and then sink while still baking, but it was still perfect texture and taste!
So happy to hear, Sara! Thanks for taking the time to let me know!
Best,
Melissa
My son is Celiac, which means, we’re all basically GF. This was the first GF cake I have made which turned out delicious, way better than expected. So much so that guests went for seconds and were totally surprised it was Gluten Free. I can’t tell you how grateful I am to you and the time and effort in coming up with a delicious recipe. I’ve got your webpage flagged and am trying your cinnamon rolls next!
This makes me so happy, Erika! I hope you try many more recipes here. I know what it’s like feeding a mixed diet family, so I never want the recipes to taste “gluten-free” because that means potentially making the same thing in two versions, and no one wants to do that!
Best,
Melissa
Angel food cake was my husband’s request for his birthday cake this year, as he was avoiding dairy. I don’t eat gluten, so this recipe worked out perfectly. Apart from separating all of the eggs, this was relatively easy to make. I don’t own a sifter, so used a medium mesh strainer to sift the dry ingredients twice as directed (I used King Arthur gluten free flour). It turned out exactly as pictured, was light, fluffy and tasted amazing! I don’t know that anyone would be able to tell that it was gluten free. The cake was great with raspberry sauce, and was gone in 2 days. Thanks for this great recipe!
Hi Christine,
Thanks so much for writing and letting me know! I’m glad the recipe was a hit and thanks for the tip about the mesh strainer. What a good hack!
Best,
Melissa