
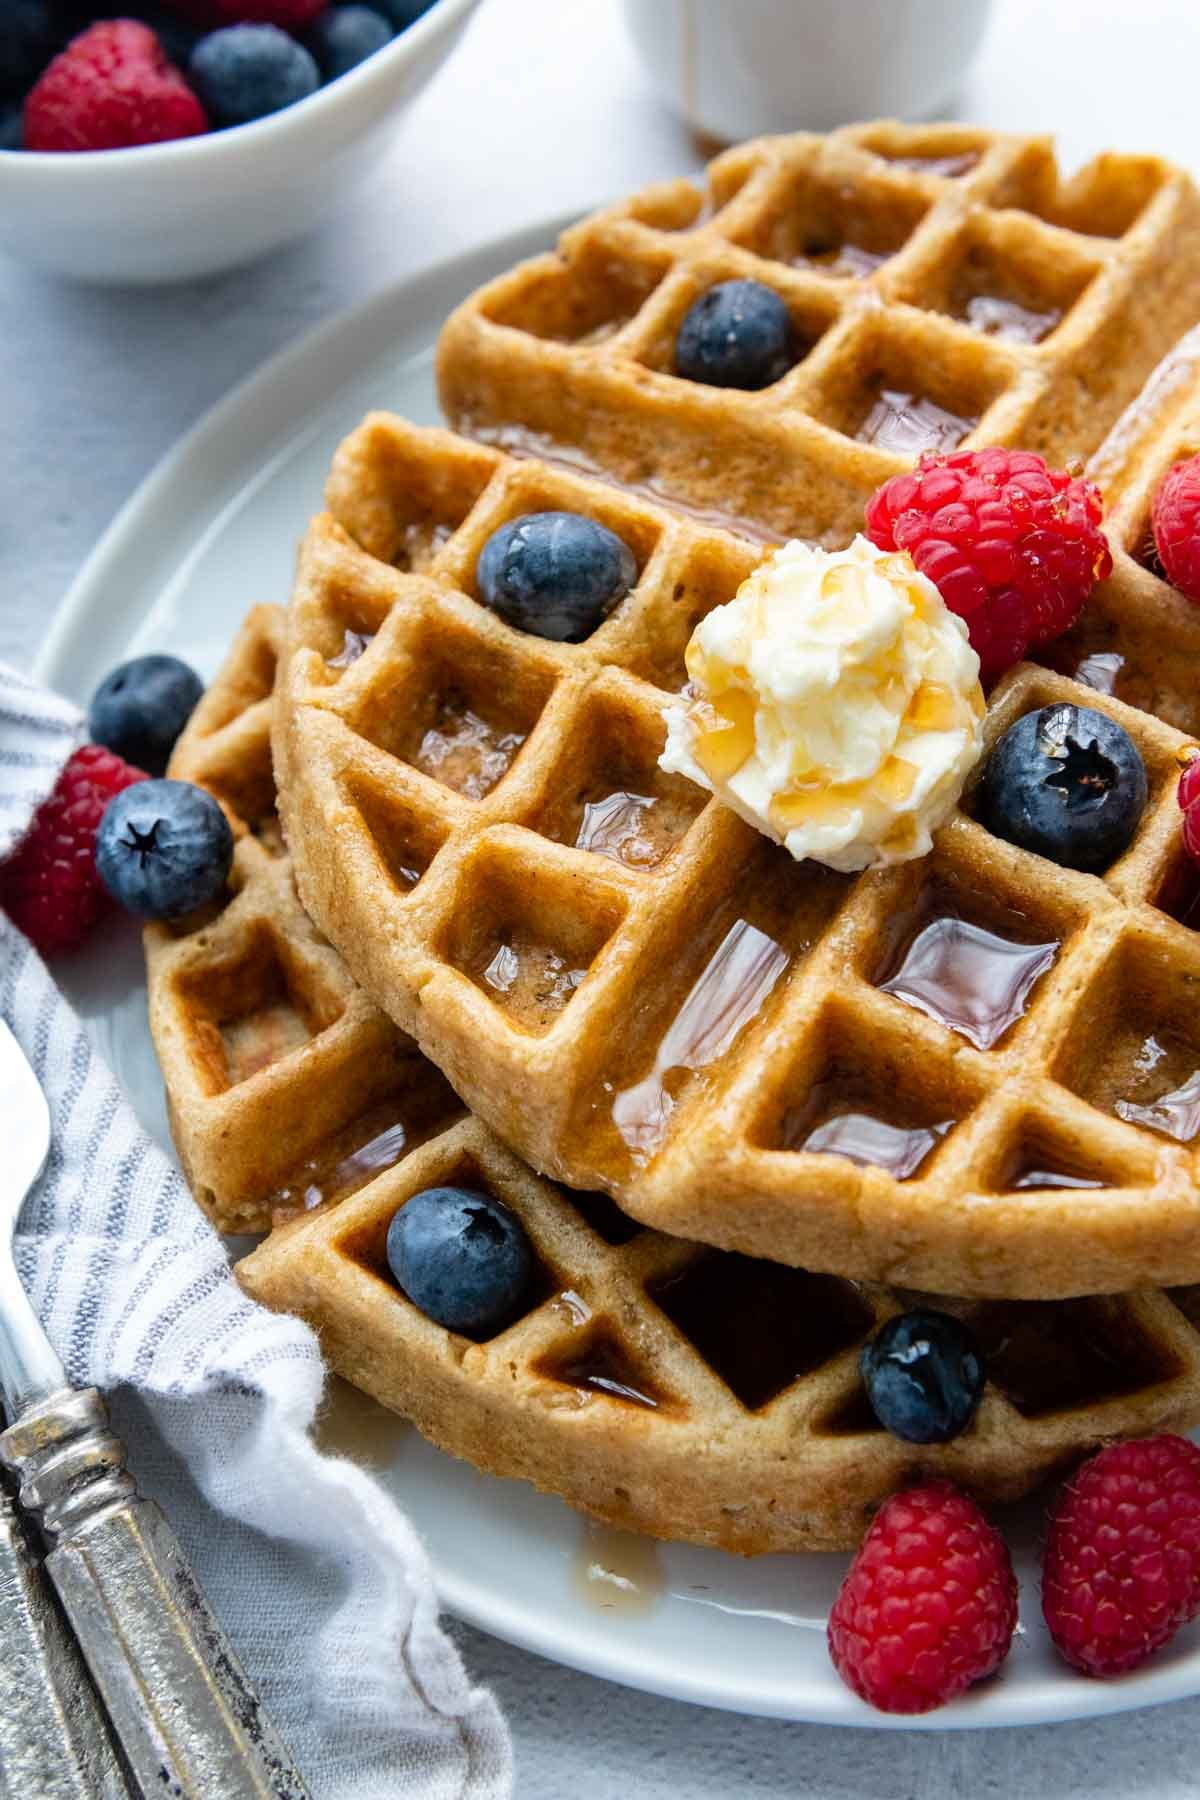
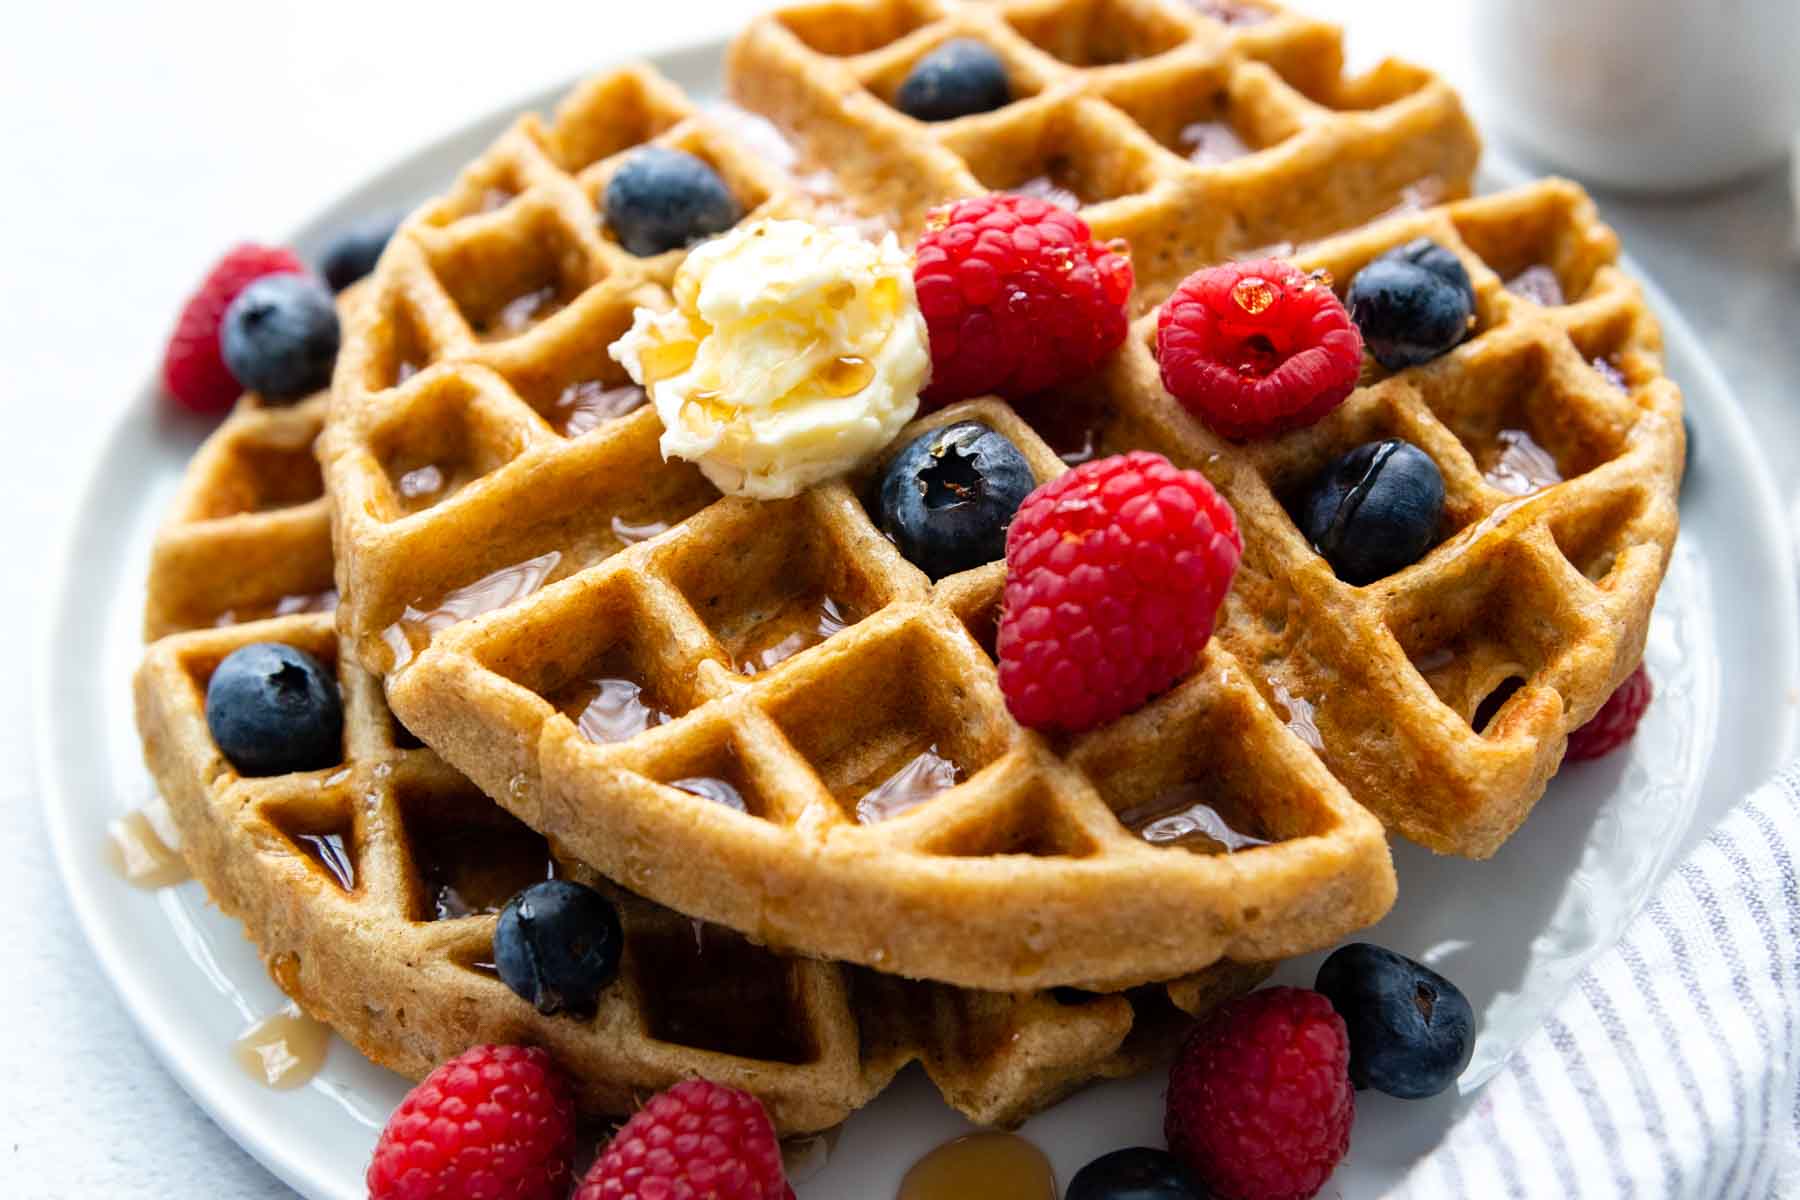
Enjoy fluffy, yet crispy oat flour waffles with this easy gluten-free breakfast idea. Making waffles with no flour, only oats, might seem like a tough sell, but my family actually prefers these over traditional ones. Using oat flour adds a mildly sweet, wholesome taste, and even with no refined sugar, these waffles taste like an upgrade, never a compromise.
Want to Save This Recipe?
Enter your email below & we'll send it straight to your inbox. Plus you’ll get affordable and easy gluten-free recipes delivered each week!
Our Family’s Favorite Oat Flour Waffles Recipe
What better way to start the day than with light, fluffy whole grain oat flour waffles? Not only do they taste decadent, but are also nutritious! This is one of my favorite easy gluten-free breakfast ideas that tastes anything but. Once you dive in it will be hard to believe these fluffy oat waffles use no flour, only oatmeal.
Whether you make your own homemade oat flour or use your favorite store-bought brand, this recipe uses affordable, kitchen-staple basics because no one wants to run to the store for last minute ingredients, especially when making breakfast on lazy Sunday mornings.
Just like my legendary flourless pancake recipe blended oatmeal is a tasty alternative for gluten-free flour or all-purpose flour. Because oats absorb liquid and bind ingredients, there is no need to add additional starches, making this a 100% oat flour recipe.
Free Guide! Receive a Free Gluten Free Breakfasts Cookbook
TOP 5 Highest Rated Recipes!
Ingredient Tid Bits
- Oat flour – For gluten-free waffles be sure to use certified GF oat flour. You may also make your own flour by placing certified gluten-free oats in a blender and blending into a fine flour.
- Sweetener – Use honey, pure maple syrup, coconut sugar, or brown sugar. Also, the sugar may be eliminated completely.
- Eggs – Although the eggs help bind the ingredients, they may also be made egg-free. Either omit the eggs, or replace them with a mashed banana or 1/4 cup unsweetened applesauce. This will replace some of the moisture.
- Butter / Oil – I prefer melted butter for added flavor, but this recipe also works well with and equal amount of any preferred oil. Try melted coconut oil, canola oil, avocado oil, or grapeseed oil.
Let’s Make This Together!
(Below shows step-by-step photos and modified instructions. For the complete recipe, along with ingredient amounts, scroll down to the recipe card.)
Whiz up oat flour
If you are not using pre-made oat flour, begin by making the oat flour. Place the rolled oats in a high-powered blender, such as a Vitamix and process until it becomes a fluffy powder.
Typically I don’t recommend using a food processor for making oatmeal flour because the results are not as fine and large unprocessed specks remain. Finely ground flour is what makes my bakery-style chocolate chip oat flour cookies out of this world. #justsayin

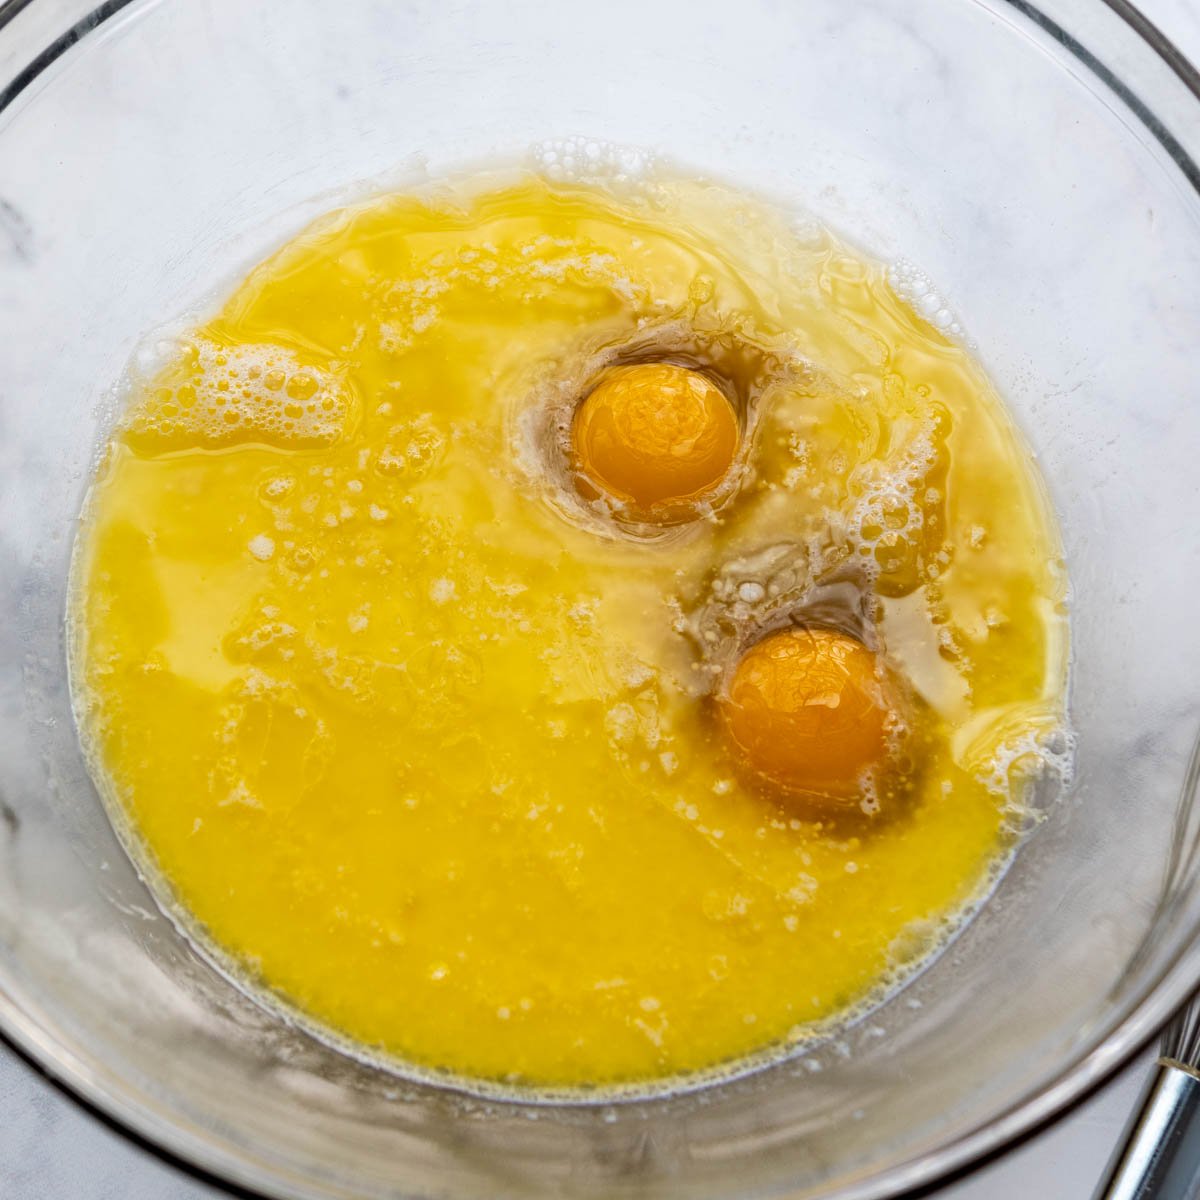
Whisk wet ingredients
Next, in a medium mixing bowl whisk together the wet ingredients – milk or dairy-free milk, eggs, sweetener, vanilla extract, and melted and cooled butter.
Secret to fluffiest waffles
Stir in the oat flour, baking powder, cinnamon, and salt. The batter will be thin and pour easily from the spoon. No worries!
While the waffle iron preheats, let the batter rest for 10 minutes. This allows time for the oats to hydrate and makes the waffle’s texture light instead of heavy, which a lot of oat flour recipes have a tendency to bet. As it sits the oat flour will absorb the liquid and thicken slightly.
If the batter rests too long, the oats will continue to absorb the moisture making the batter too thick. This is an easy fix, though. Simply add a splash of milk to thin the batter back out and continue cooking in batches.

Time to cook
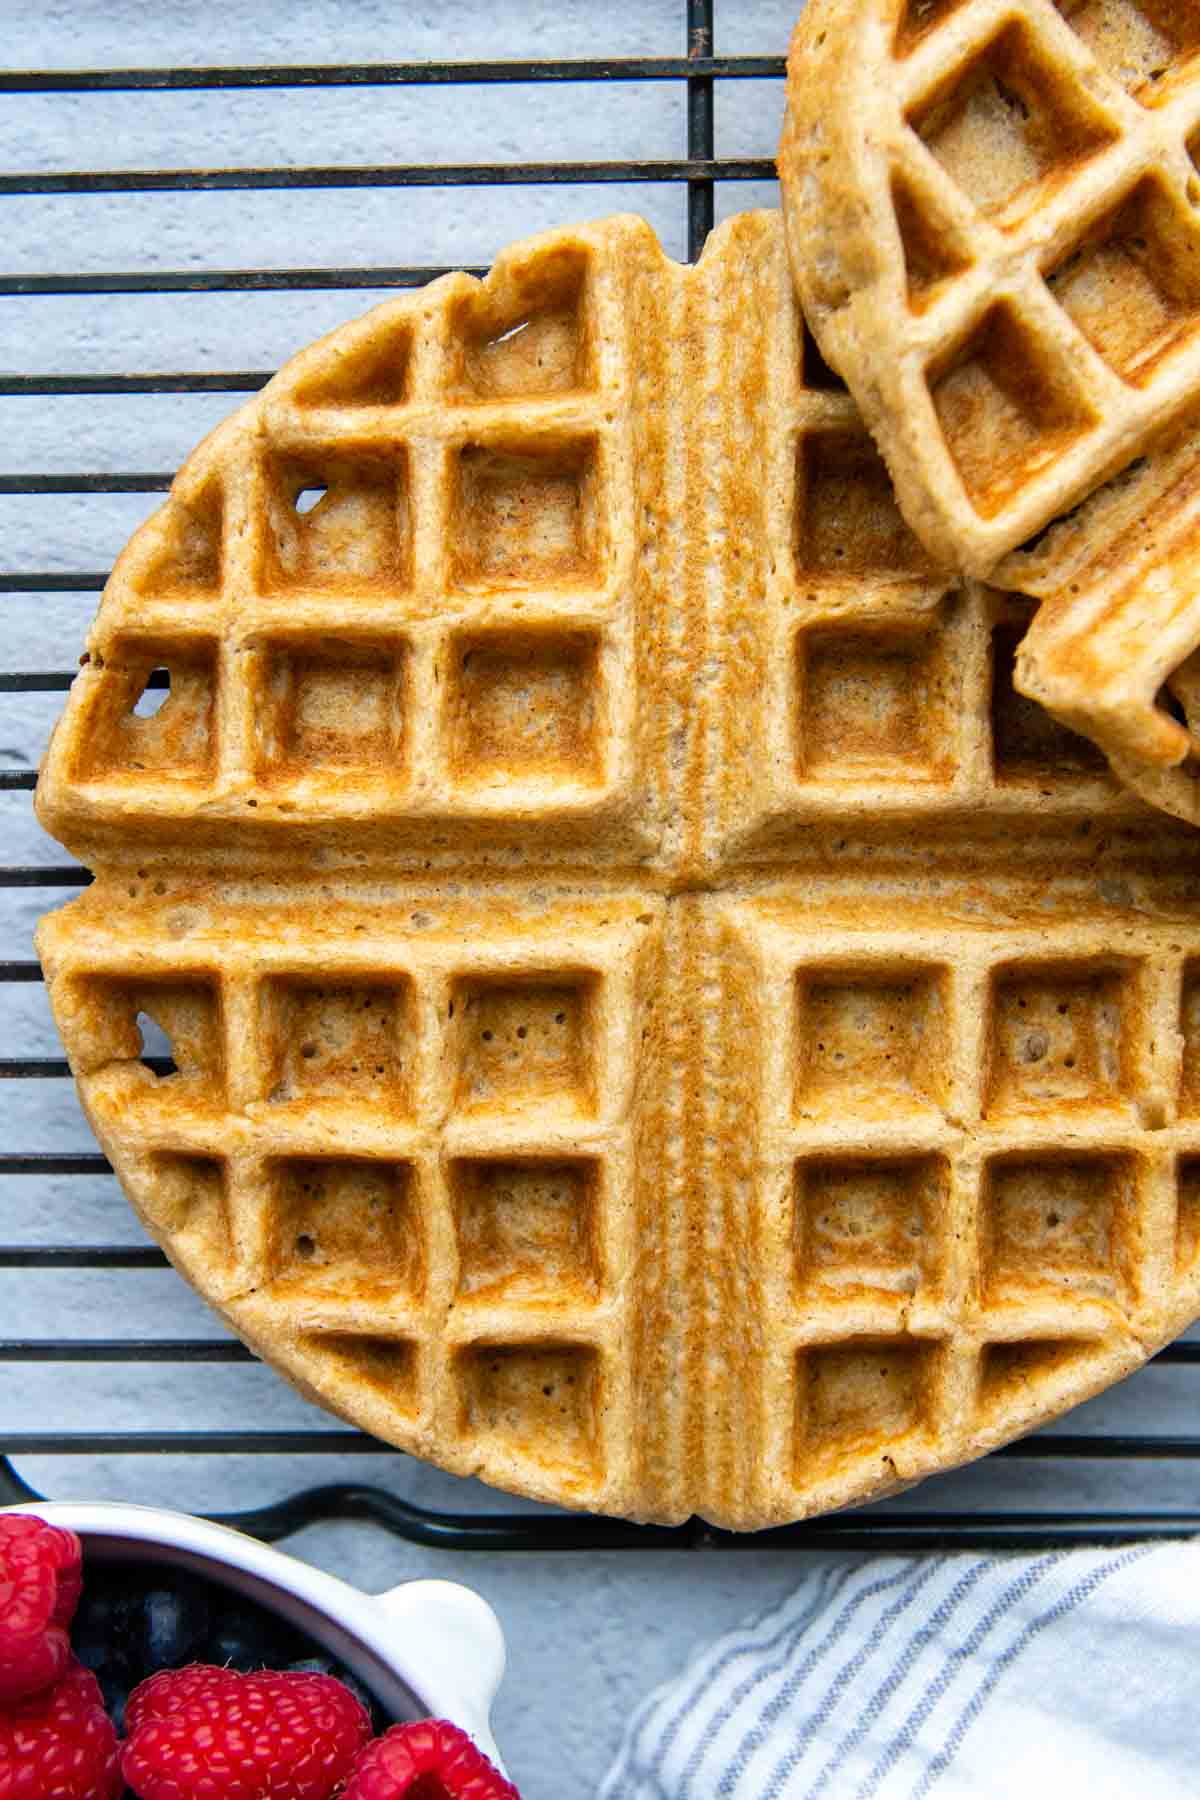
Spray the waffle maker generously with nonstick cooking spray. Pour the batter until it covers about three-fourths of the area.
Close and cook until golden brown with crispy edges. If the iron indicates it is “done,” but the waffles don’t release easily, or the exterior is not crispy, close and cook for a little longer. The waffle maker may have to be adjusted to a darker setting as well.
How many waffles you get depends on the size of your iron. I have a fairly large double iron, so I only get four large waffles. For the smaller side-by-side double iron, you will probably get 6-7.
Save this recipe to your pinterest board!
Let’s be friends on Pinterest! I’m always sharing great recipes!
Did you make this recipe? I love hearing from you! Leave a star rating and comment below the recipe card. It helps others when searching for recipes and I appreciate feedback from our community. You will always hear back from me! -Melissa

Fluffy, Crispy Oat Flour Waffles (Gluten-Free)
Ingredients
- 1 cup (245 g) milk, or dairy-free milk
- 2 large eggs, see recipe notes for egg-free
- 6 tablespoons (90 g) melted butter or coconut oil, cooled
- 2 tablespoons honey, pure maple syrup, or coconut sugar
- 2 teaspoons vanilla extract
- 2 cups (206 g) oat flour, (same as 2 cups GF rolled oats blended into four)
- 2 teaspoons baking powder
- ½ teaspoon cinnamon
- ¼ teaspoon salt
Equipment
Instructions
- In a medium mixing bowl whisk together the wet ingredients – milk or dairy-free milk, eggs, melted butter or oil, sweetener of choice, and vanilla extract.1 cup milk, 2 large eggs, 6 tablespoons melted butter or coconut oil, 2 tablespoons honey, pure maple syrup, or coconut sugar, 2 teaspoons vanilla extract
- If you are not using pre-made oat flour, begin by making the oat flour. Place 2 cups rolled oats in a high-powered blender, such as a Vitamix, and process until it becomes a fluffy, fine powder.
- Add the oat flour, baking powder, cinnamon, and salt to wet ingredients. Stir to combine. The batter will be thin and pour easily from the spoon.2 cups oat flour, 2 teaspoons baking powder, ½ teaspoon cinnamon, ¼ teaspoon salt
- While the waffle iron preheats, let the batter rest for 10 minutes. This allows time for the oats to hydrate and makes the waffle’s texture lighter.
- After resting the batter will be thicker and ready to pour onto the preheated waffle iron. Spray the waffle maker generously with nonstick cooking spray. Pour the batter until it covers about three-fourths of the area.
- Close and cook until golden brown with crispy edges. If the iron indicates it is "done," but the waffles don't release, or the exterior is not brown and crispy, close and cook for a little longer. The waffle maker may have to be adjusted to a darker setting as well. If the mixture becomes too thick while cooking, stir in a splash more milk.
- Serve immediately, place on a baking sheet in a 200ºF oven to keep warm, or transfer to a wire rack to cool.
Notes
Egg-Free Modification
To make the recipe egg-free simply omit the eggs, or even better, replace them with a mashed banana or 1/4 cup unsweetened applesauce to replace some of the moisture to the batter. The texture may be a little more delicate, but it does not affect the taste.Storing, Freezing, and Reheating
Store cooled leftover waffles in the fridge for one week in an airtight container. Alternatively, wrap individually in plastic wrap, transfer to ziplock freezer bag, and freeze up to 3 months. Rewarm waffles by laying them on a baking sheet and heating for 10 minutes in an 350ºF oven. They may be reheated from frozen or quickly defrosted and re-warmed in the microwave as well. A toaster oven also works for reheating frozen or refrigerated waffles.This post contains affiliate links. My opinions are always my own. If you purchase a product through an affiliate link, I make a small commission – at no cost to you. Read full disclosure policy here.


This recipe was really good. I used Bob’s Red Mill egg substitute in place of the eggs and used oat milk. The batter was initially very thick so I added additional oat milk to make it a little thinner. The whole family enjoyed it and couldn’t believe they were refined sugar free.
Thank you for sharing your substitutions. So glad you all enjoyed the waffles!
Best,
Melissa
I don’t usually comment on recipes, but we have made these so many times already I had to! I love how versatile they are using half coconut oil, half butter, or all of one or the other. I have also made the batter the night before and let it sit in the fridge overnight. The batter was super thick so I just added milk until the right consistency. Everyone from my husband, to for ring children love them!
So lovely reading this, Melanie! I appreciate you taking the time to comment, especially when that’s not something you normally do. It means a lot. Thank you!
Best,
Melissa
Absolutely amazing! We used mashed banana instead of egg, and it had great flavor and texture. My family has decreed to only use this recipe from now on for waffles!
This is wonderful! Thanks so much for sharing, Elizabeth!
Best,
Melisa
I just made this and it’s delicious!!!!!! Easy and healthy
Love to hear this, Silvana! Thank you!
Best,
Melissa
Turned out really great. I added 1 to sp flax flour and 1 to sp cornstarch and reduced oat flour by 2 to sp. Will try without eggs next time. My non gf family enjoyed it too.
Thanks for sharing, Malini! I appreciate it!
Best,
Melissa
Thank you for coming up with a great recipe.
It’s my pleasure, Anna! Thank you for taking the time to comment.
Best,
Melissa
Love, love, love this recipe. I was looking for a healthier gluten free recipe for my kids. This one just checked all the boxes. Its not as quick as using a premade mix but its totally worth the to me. I make sure I have the morning free. I going my oat flour and make a double batch to freeze!! We pop them in our toaster oven for easy school day breakfasts. Sometimes I replace some of the flour for an even measure swap of vegan protein powder. Gives it more vitamins and of course protein. And sometimes ill add in a 3-4 table spoons of flax powder. My kids cant tell the difference. They are a tad more dense but I even gave some to some other really picky waffle connoisseurs (friends kids) and they were a hit. I have one with a cup of chai or coffee and im set. So delicious. We bought a heart shaped waffle maker that makes 4 at a time to help speed up the process as I was making 1 at a time beforehand. Thank you for this recipe its a family staple 🙂
Thanks for sharing such a detailed experience, Christina! I’m so glad you love it enough to make it a family staple.
Best,
Melissa
Sooo good! I did half coconut oil/half real butter in mine, they aren’t awesome! Will be my go to for waffles now! Thanks for the recipe!
Yes! Love hearing this, Cheryl! Thanks for sharing!
Best,
Melissa
Ca we get clarity on the nutrition info? For the whole batch or for one waffle???
Of course! The recipe makes about 6 waffles. One waffle would be a serving, so that is what the nutritional info is depicting.
Best,
Melissa
I’ve tried a lot of waffle recipes and these were good-fluffy and crispy! I appreciated the tip about letting the batter sit before cooking them. Now my go-to recipe.
Love hearing this, Jasmines! Thank you so much for taking the time to let me know!
Best,
Melissa
Hi Melissa,
I love your oat flour bread recipe! Thanks.
Gonna try this waffle, and your cake recipe next.
Quick question can the waffle recipe be modified for pancakes?
Regards, Gina
Hi Gina,
Yes! Follow this oat flour pancakes recipe for the modification.
Best,
Melissa
Would water work instead of milk?
Hi Olivia,
I don’t think that would be a problem. It would just lose out a little on richness of taste. A non-dairy substitute would also work.
Best,
Melissa
My first waffles ever and they came out great!
They were fluffy and perfect.
I added one more tablespoon of maple syrup.
Otherwise, I followed to the T. I believe letting them sit for 15 minutes is key.
Thank you!
Thank you so much, Michelle! Glad you enjoyed!
Best,
Melissa