
Dreaming of a classic artisanal sourdough with wild yeasty aromas and flavor? It all starts with learning how to make an easy gluten-free sourdough starter that actually works. My beginner-friendly guide breaks it all down with a GF starter recipe that delivers real, active, bubbly growth. I’ve been right where you are, and trust me – your made-from-scratch dream boule is closer than you think.
Want to Save This Recipe?
Enter your email below & we'll send it straight to your inbox. Plus you’ll get affordable and easy gluten-free recipes delivered each week!
How To Make A Gluten-Free Sourdough Starter (Even As a Total Beginner)
For those of you intimidated by making a world-class gluten-free sourdough bread, you are preaching to the choir. I put this off for years because, for one, I was unfamiliar with all the jargon. And two, you can’t have sourdough bread without first establishing a nice, bubbly gluten-free sourdough starter.
Feeding, discard, hooch, fermentation, refresh? I’m sorry, what? I’m proud of my no-fail collection of gluten-free bread recipes because they work even for the most inexperienced of bakers, while being refreshingly quick and simple.
Sourdough seemed anything but….yet my readers persistently asked. So I began experimentations from possibly the same place you are – completely clueless. 🤷♀️ But I did know first I needed a successful homemade starter.
To make a GF starter recipe, I wanted it to follow suit of the loaf I eventually developed – straightforward and uncomplicated. Yes, there are a lot of nuances behind creating an active starter, but being a newbie myself I found it was actually kind of hard to mess up.
Therefore, I’m going to give it to you straight. When researching how to make a gluten free sourdough, I found the more overly scientific people made the process, the more I questioned things. On the flip side, though, I was pretty casual about things and still able to pull a legit active GF starter.
Let’s get into what worked best, what advice you should ignore, follow, and how to get started with your brand new sourdough era!
Free Guide! 5 easy tips for baking like a gluten-free pro!
Simple hacks for fail-proof gluten-free dishes every time!
Quick Glossary For Newbies
- Feeding – Your starter begins with a GF flour and water mixture. To get the yeast to grow, you’ll have to “feed” it everyday, which means just adding additional flour and water. This strengthens yeast growth because the new flour is what yeast “consumes.”
- Discard – Because you’ll be feeding it daily you’ll have to manage the amount of starter you have. After a few days of regular feedings, you will need to throw some of it away, or discard it, before adding in additional flour and water.
- Hydration – This means how much water is added along with the flour. To establish a starter you should have 100% hydration, meaning it’s an equal amount of water to flour.
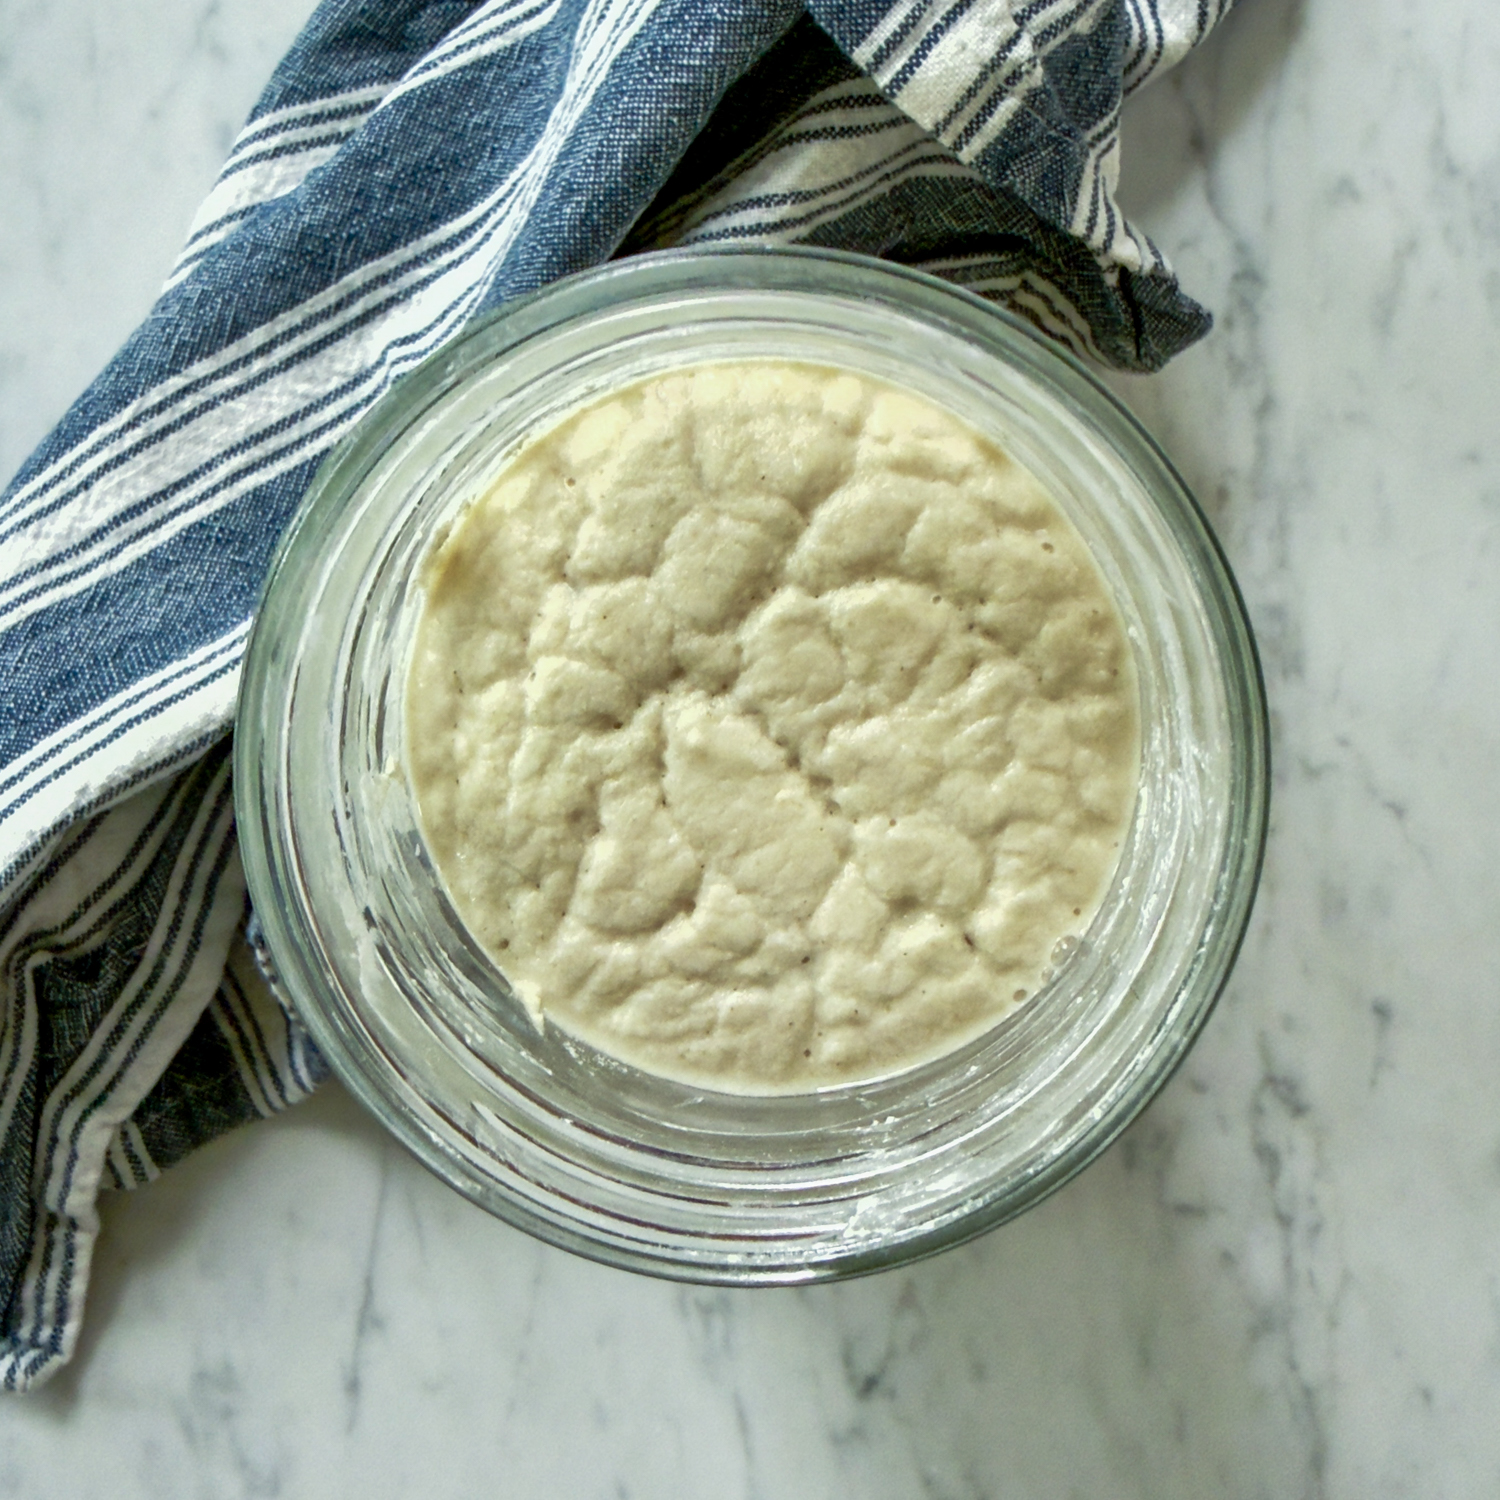
- Hooch – Not a lot to know here, but I think it’s fun to say. This is the liquid that separates and rests on the top of the starter. It just means the starter is “hungry” and ready to be fed. I’ll usually just stir it back in before feeding again.
Making a GF Sourdough Starter: Which Method Works Best?
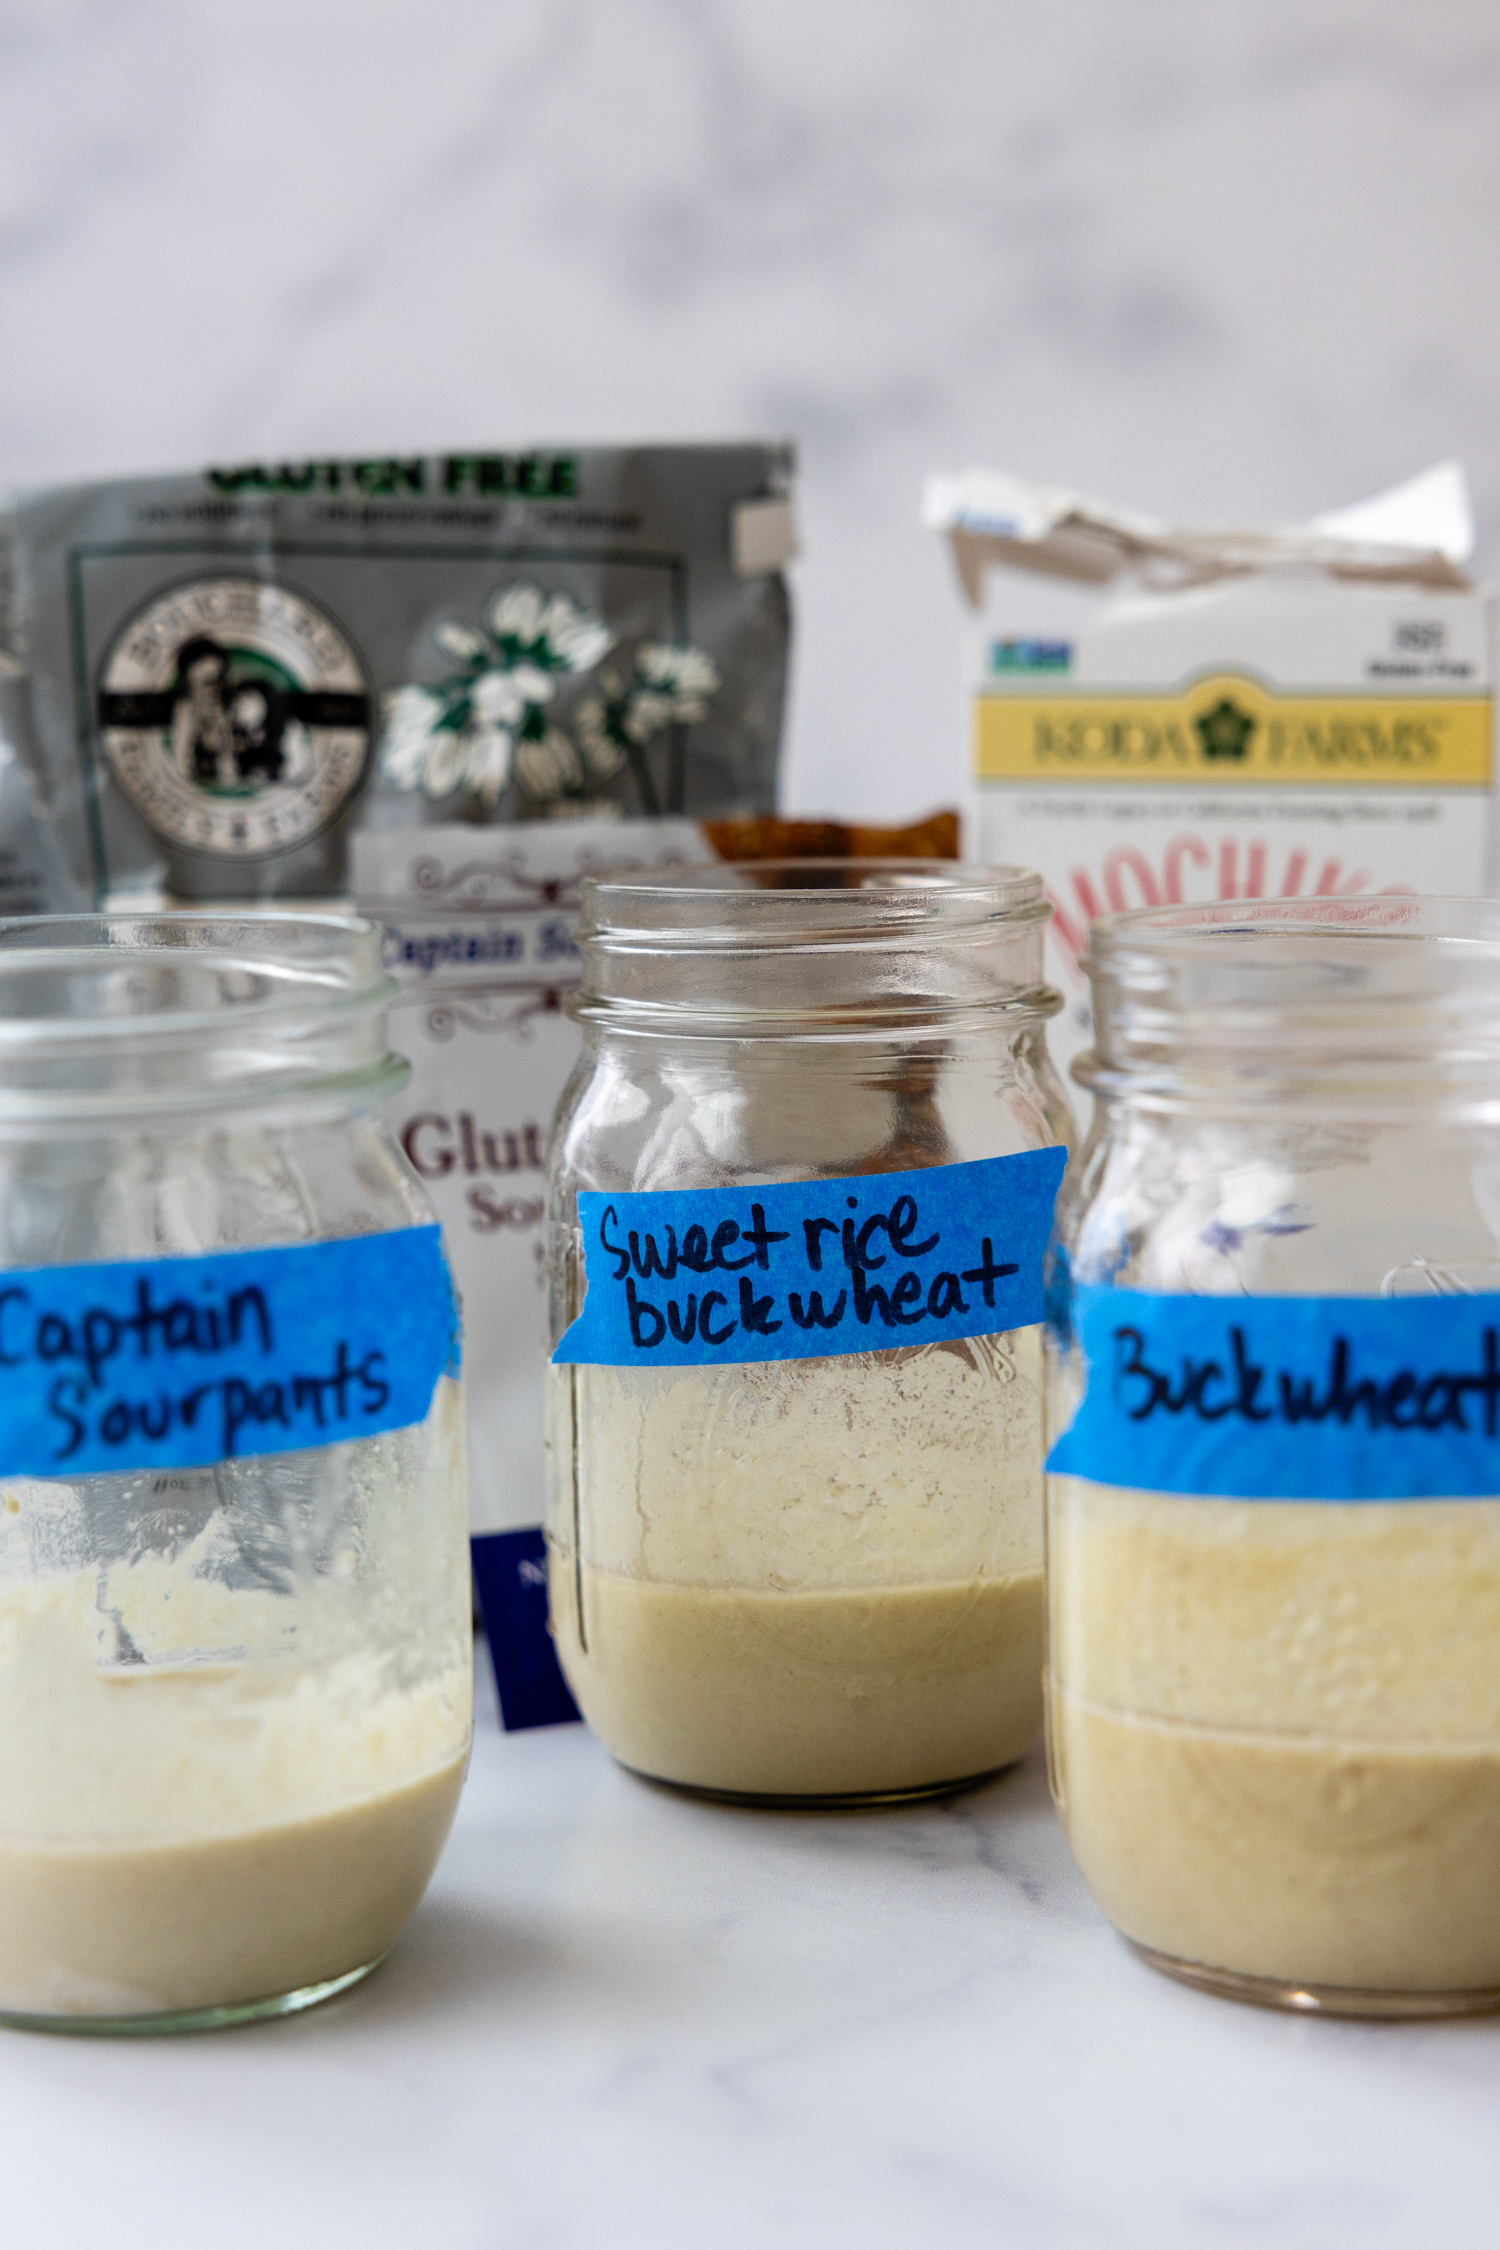
There are so many ways to go about this, so for my experiments I wanted to try three different methods I came across. I mean, one of them should actually work right? Here’s what I tried and how they fared.
Dehydrated Sourdough Starter (bought from Amazon) – I thought I was going to get this and just be on my way. Not exactly. This is an active starter that has been dried out to ship. It’s basically just a very small packet of powder, which is the active yeast. You’ll have to mix with a GF starch, water and still spend 7-10 days feeding, growing and strengthening it.
My verdict – Became bubbly and active the fastest and developed the most yeasty aromas and flavor. Very beginner user-friendly and best if you want to start baking ASAP.
Combo of GF Starches – I started off with a mixture of sweet rice flour and buckwheat. When I fed it I would sometimes add just buckwheat, a mixture of both, or another starch, like brown rice flour. Basically there wasn’t a science to it. As long as it was GF I threw it in.
My verdict – This started to grow a couple days behind the dehydrated starter. It didn’t have quite the same sourdough flavor, but as I used it more, it became more mature and developed stronger signature taste.
Buckwheat Only and Teff Only – Some GF bakers claimed to have the most success with using a single GF starch, with buckwheat and teff touted “the best.” I started and continued with a teff / water mixture and buckwheat / water mixture, never introducing any other GF starches.
My verdict – It never worked for me. After 12 days both single GF starch starters were still a mixture of flour and water, never rising or getting bubbly.
There are plenty of GF starches you can choose from to start with. However, an all-purpose gluten-free flour blend will not work because they have gums added. I recommend brown rice, buckwheat, sorghum, and teff flours. White rice and sweet rice flour can be worked in, but I would rely more heavily on the brown flours.
Let’s Talk Schedule
(Below shows step-by-step photos and modified instructions. For the complete recipe, along with ingredient amounts, scroll down to the recipe card.)
Day One
Start with a medium glass bowl or a large glass jar and set it on a food scale to zero out. Add in 50 grams gluten-free flour. I used brown rice to start off with. Add in about 50-60 grams water and stir until you have something slightly thicker than pancake batter.
This will sit at room temperature, but needs to be loosely covered so it can breathe, but not dry out. Now I have an elastic cloth cover, but before this I used a coffee filter with a rubber band.

Days Two-Four
Continue feeding it with 30 grams flour each day and about 30-40 grams water. You’re shooting for the same consistency every day. Let it sit for 24 hours between feedings.

Days Five-Tenish
Now is when the fun begins. On day 5 discard half the starter before feeding it with the 30 grams more flour and water. After that you will alternate. The following day discard and feed, then just feed.
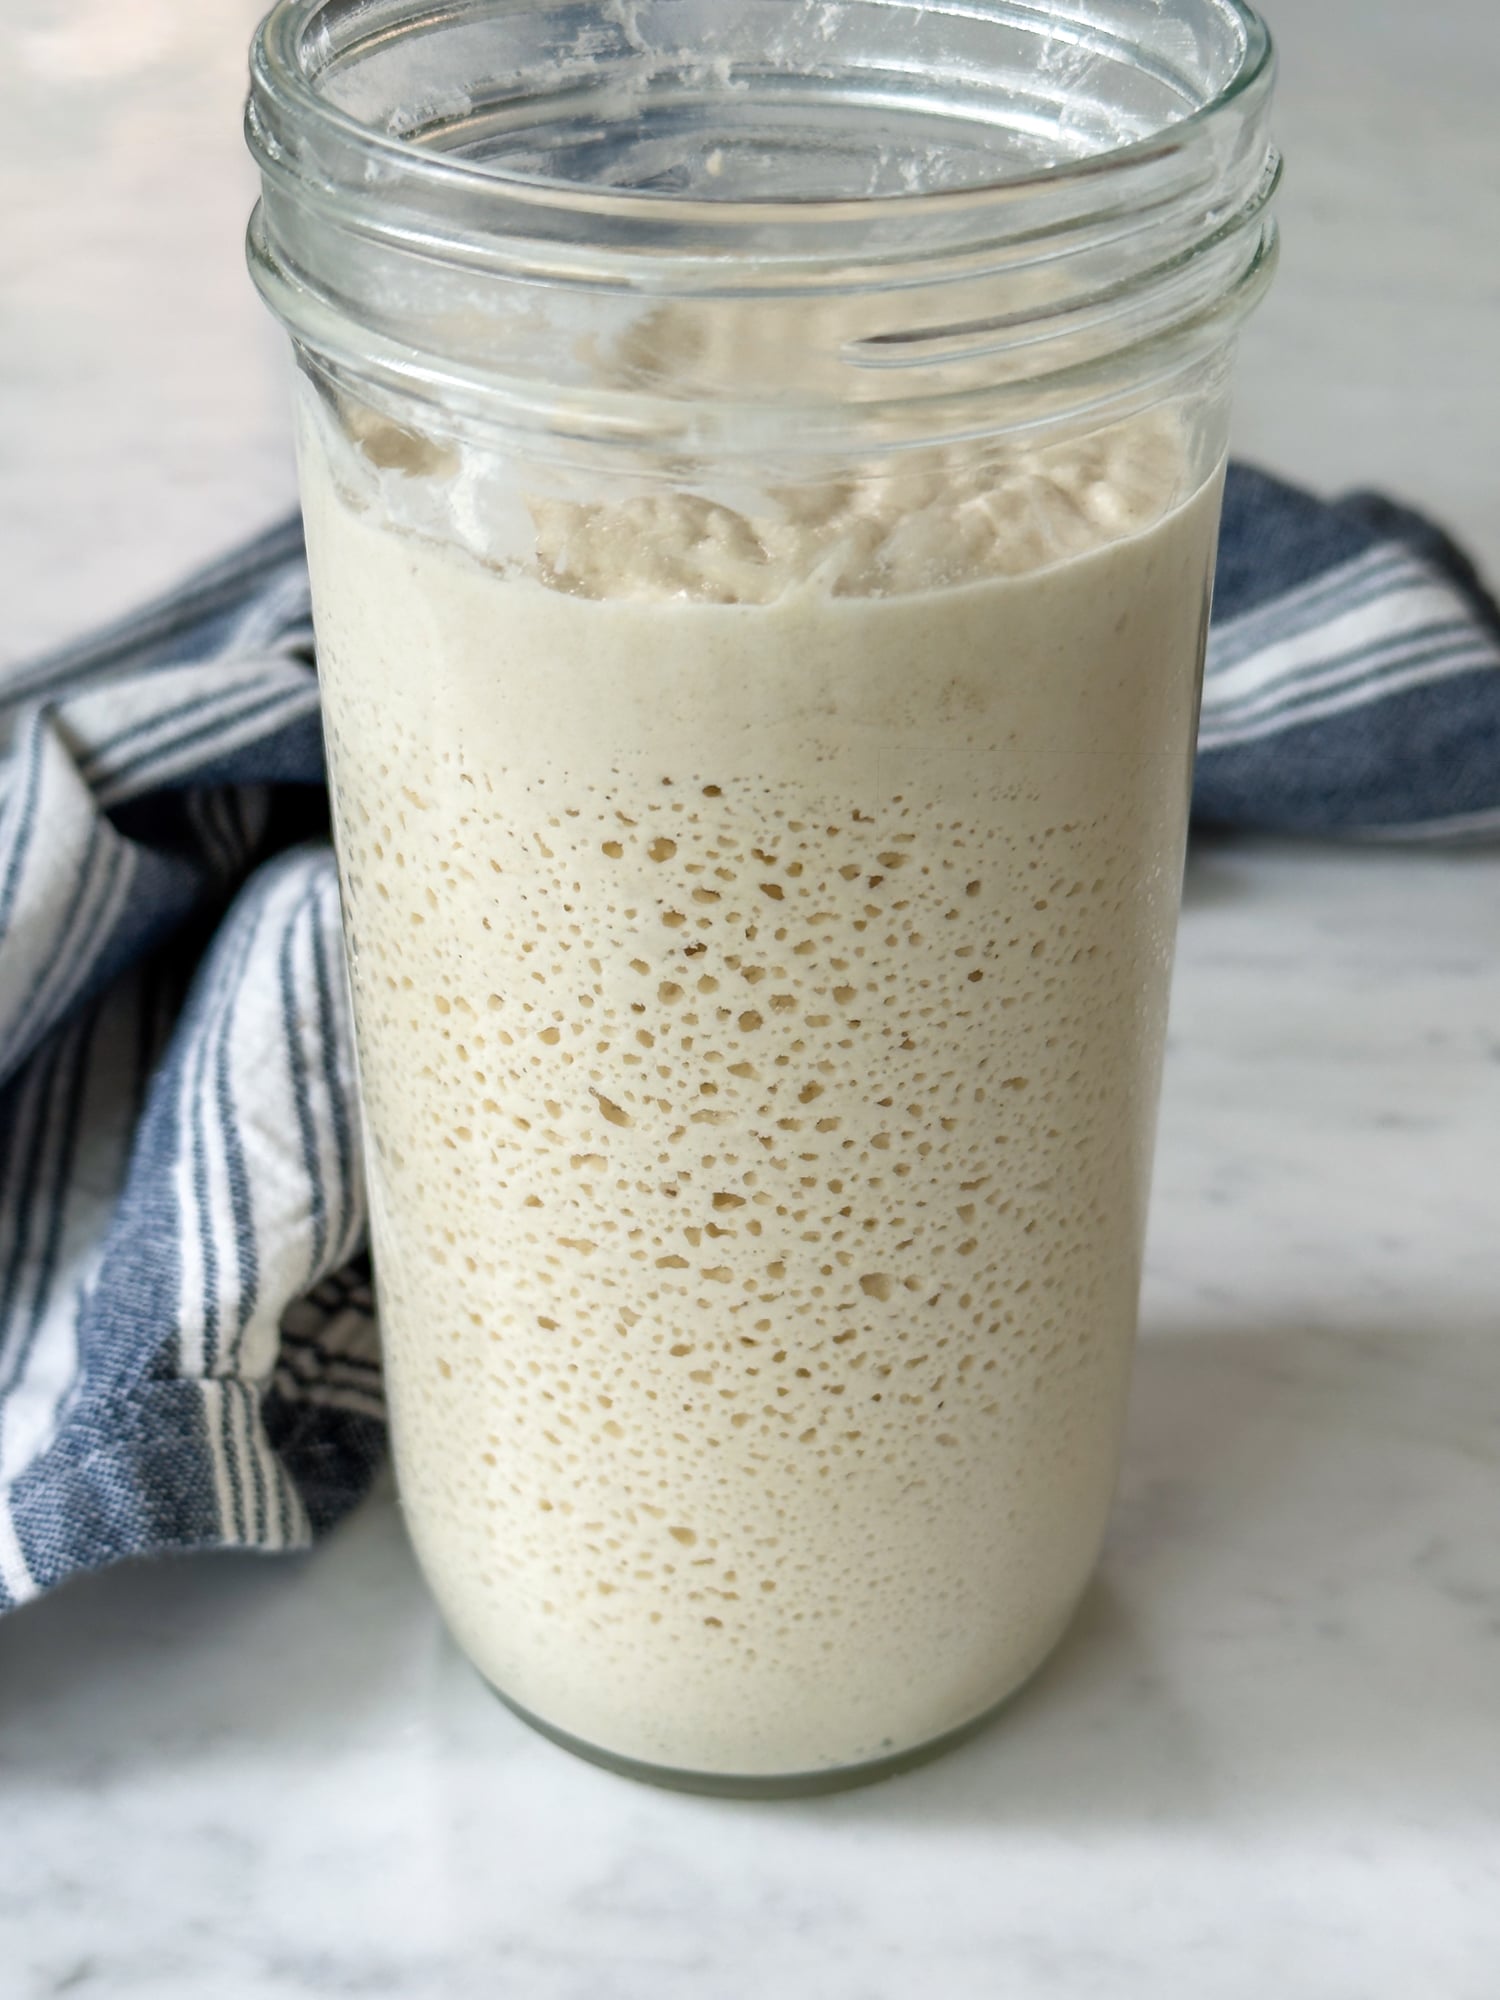
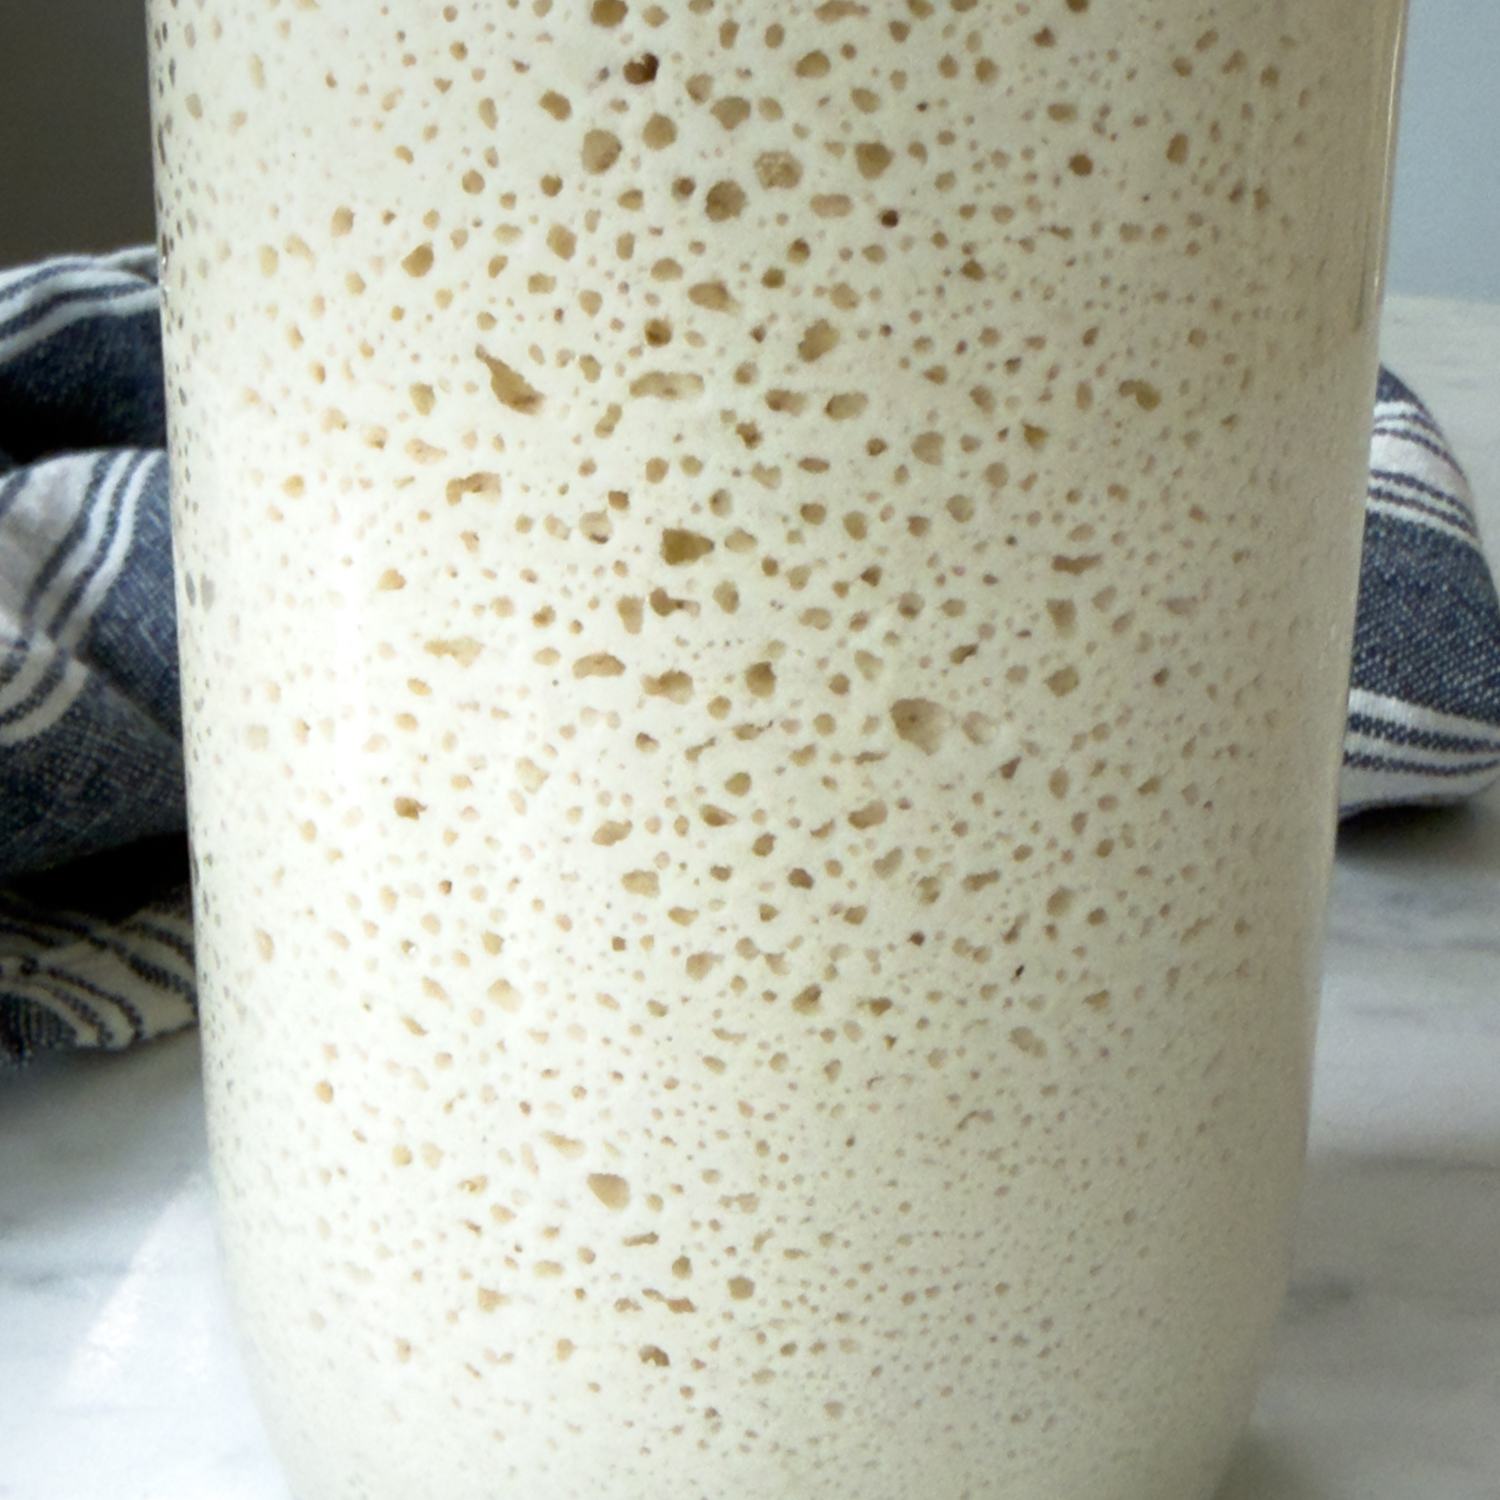
Things should start activating during this time. The mixture will bubbly and grow between feedings. It should also start to develop a yeasty smell. It’s so exciting! Keep going with it until at least day 10 to establish a nice, strong starter.
Most Commonly Asked Questions
What Do I Do With The Discard? I just toss it, but you could also bake with it. Generally 1 yeast packet (2 ¼ tsp) is replaced with 120 grams starter (about ½ cup). Since starters are made of flour and water, the recipe you are adding it to will have to be adjusted. Reduce both the flour and water amount by about 50 grams.
Why Isn’t My Starter Getting Bubbly? Most likely your kitchen is too cold. It grows best between 70-80℉. You can create a warmer environment by putting it in the oven with the oven light on, setting it near a heat vent, on top of your refrigerator, or placing it in the oven with pan of just boiled water. Additionally it could be the water used. If your tap water contains chlorine it will kill the yeast. Use filtered or bottled water.
How Do I Store It? If you are an everyday or very frequent baker, first of all, wowzers. Just store it loosely covered at room temp, but it will have to be fed once a day and discarded regularly. I refrigerate mine in lidded glass jar. It’s said you still have to feed it once a week, but I don’t. I will feed it again after using, before returning back to the fridge to store. Then it just sits in my fridge until I’m ready to bake.
Save this recipe to your pinterest board!
Let’s be friends on Pinterest! I’m always sharing great recipes!
Did you make this recipe? I love hearing from you! Leave a star rating and comment below the recipe card. It helps others when searching for recipes and I appreciate feedback from our community. You will always hear back from me! -Melissa

Foolproof Gluten-Free Sourdough Starter
Ingredients
- gluten-free single grain flour, brown rice, buckwheat, teff, sweet rice flour, see recipe notes for recommendations
- water
Equipment
- Sourdough Starter Kit optional
Instructions
- Day 1 – In a large glass jar or medium glass or ceramic bowl add 50 grams gluten-free flour and 60 grams water. The mixture should be slightly thicker than pancake batter. Otherwise adjust either the flour or water amount to achieve that consistency. Cover loosely (coffee filter with a rubber band, paper plate, or breathable cloth works) and set it on the counter for 24 hours.
- Day 2, 3, and 4 – Add 30 grams more flour and about 30-40 grams more water and stir. You are looking to achieve that same day 1 consistency every day. Loosely cover again and sit at room temperature for 24 hours.
- Day 5 – Discard about half the starter. Feed the remaining with 30 grams more flour and about 30-40 grams more water. Stir to combine and loosely cover and sit at room temp for 24 hours.
- Day 6-10 – Alternate with feeding only one day and discarding half then feeding the following day. This helps so you don't end up with a massive amount of starter.By day 10 you should have an active, bubbly starter with a yeasty aroma each time you're ready to feed. If it activates before day 10, just stay with the process until you reach the full 10 days so you have a nice, strong starter established.
- Now you're ready to bake this amazing loaf of gluten-free sourdough bread or transfer the starter to a lidded glass jar and store in the fridge until ready to bake.
Notes
Recommended GF Flours
When I tried different starch options using a dehydrated GF starter with brown rice flour worked best for me. Without the kit, I liked using buckwheat, adding in a little sweet rice flour after a couple days, and then mostly adding brown rice or buckwheat after that. Using buckwheat only or teff only didn’t activate for me, but I know it has worked for others.This post contains affiliate links. My opinions are always my own. If you purchase a product through an affiliate link, I make a small commission – at no cost to you. Read full disclosure policy here.

