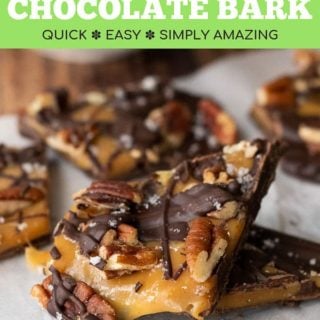
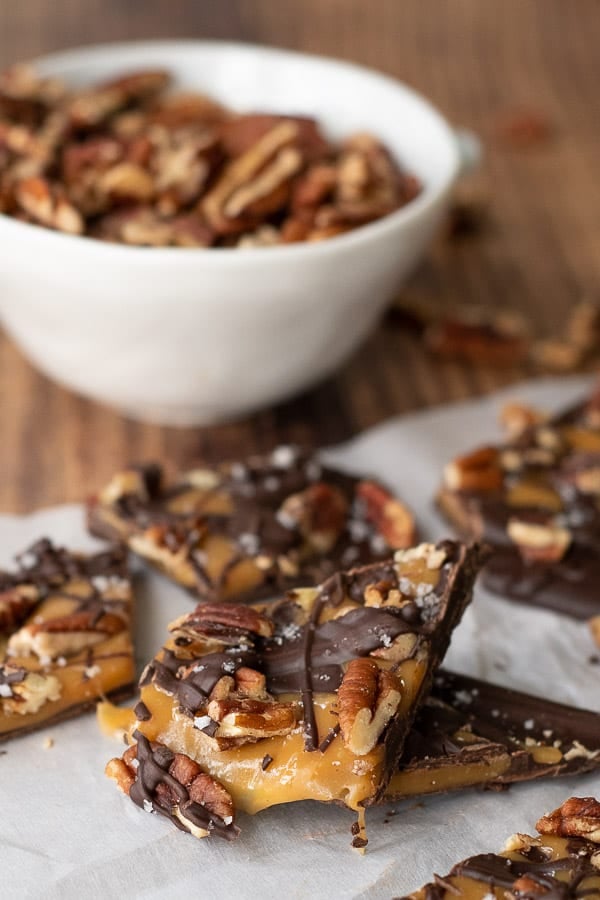
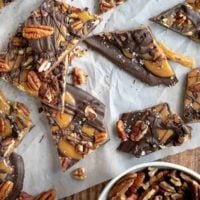
Salted caramel chocolate bark recipe makes a quick, easy, impressive treat during the Christmas holiday season. Gooey caramel layered over rich dark chocolate and sprinkled with salty pecans is guaranteed to be gobbled up fast!

Want to Save This Recipe?
Enter your email below & we'll send it straight to your inbox. Plus you’ll get affordable and easy gluten-free recipes delivered each week!
Easy Peasy Chocolate Caramel Bark
Ever since I perfected my sure-fire methods to make fail-proof chocolate bark, I can’t stop dreaming up endless yummy possibilities. It’s been a candy making factory around here, but of them all, this version salted caramel bark always seems to disappear first.
When I created this recipe, I was looking for an easier way to make turtle candies, something I was always tasked with making every Christmas. While the process is simple, it can be a little time consuming, individually assembling the chocolate caramel candies.
Just like tiger butter candy is a quick, simple way to make Reese’s inspired chocolate, making a chocolate caramel bark is just fast. Smooth out the chocolate, drizzle on gooey caramel sauce, and top with more chocolate and salty pecans. For an added sweet and salty bonus, be sure to sprinkle on flaky sea salt.
Although this bark looks absolutely impressively gourmet, it can be made in minutes, making it the ideal homemade food gift in the busiest of seasons, like Christmas. I also love how it can be made in advance, which is why I often pair it with my famous homemade peanut brittle to gift to friends and neighbors.
Free Guide! 5 easy tips for baking like a gluten-free pro!
Simple hacks for fail-proof gluten-free dishes every time!
Let’s Make This Together!
(Below shows step-by-step photos and modified instructions. For the complete recipe, along with ingredient amounts, scroll down to the recipe card.)
Best way to melt chocolate for bark
To keep the chocolate glossy after hardening and for that perfect snap, you’ll need to temper the chocolate. Don’t be intimidated by that fancy word, though. It’s easy to do in the microwave.
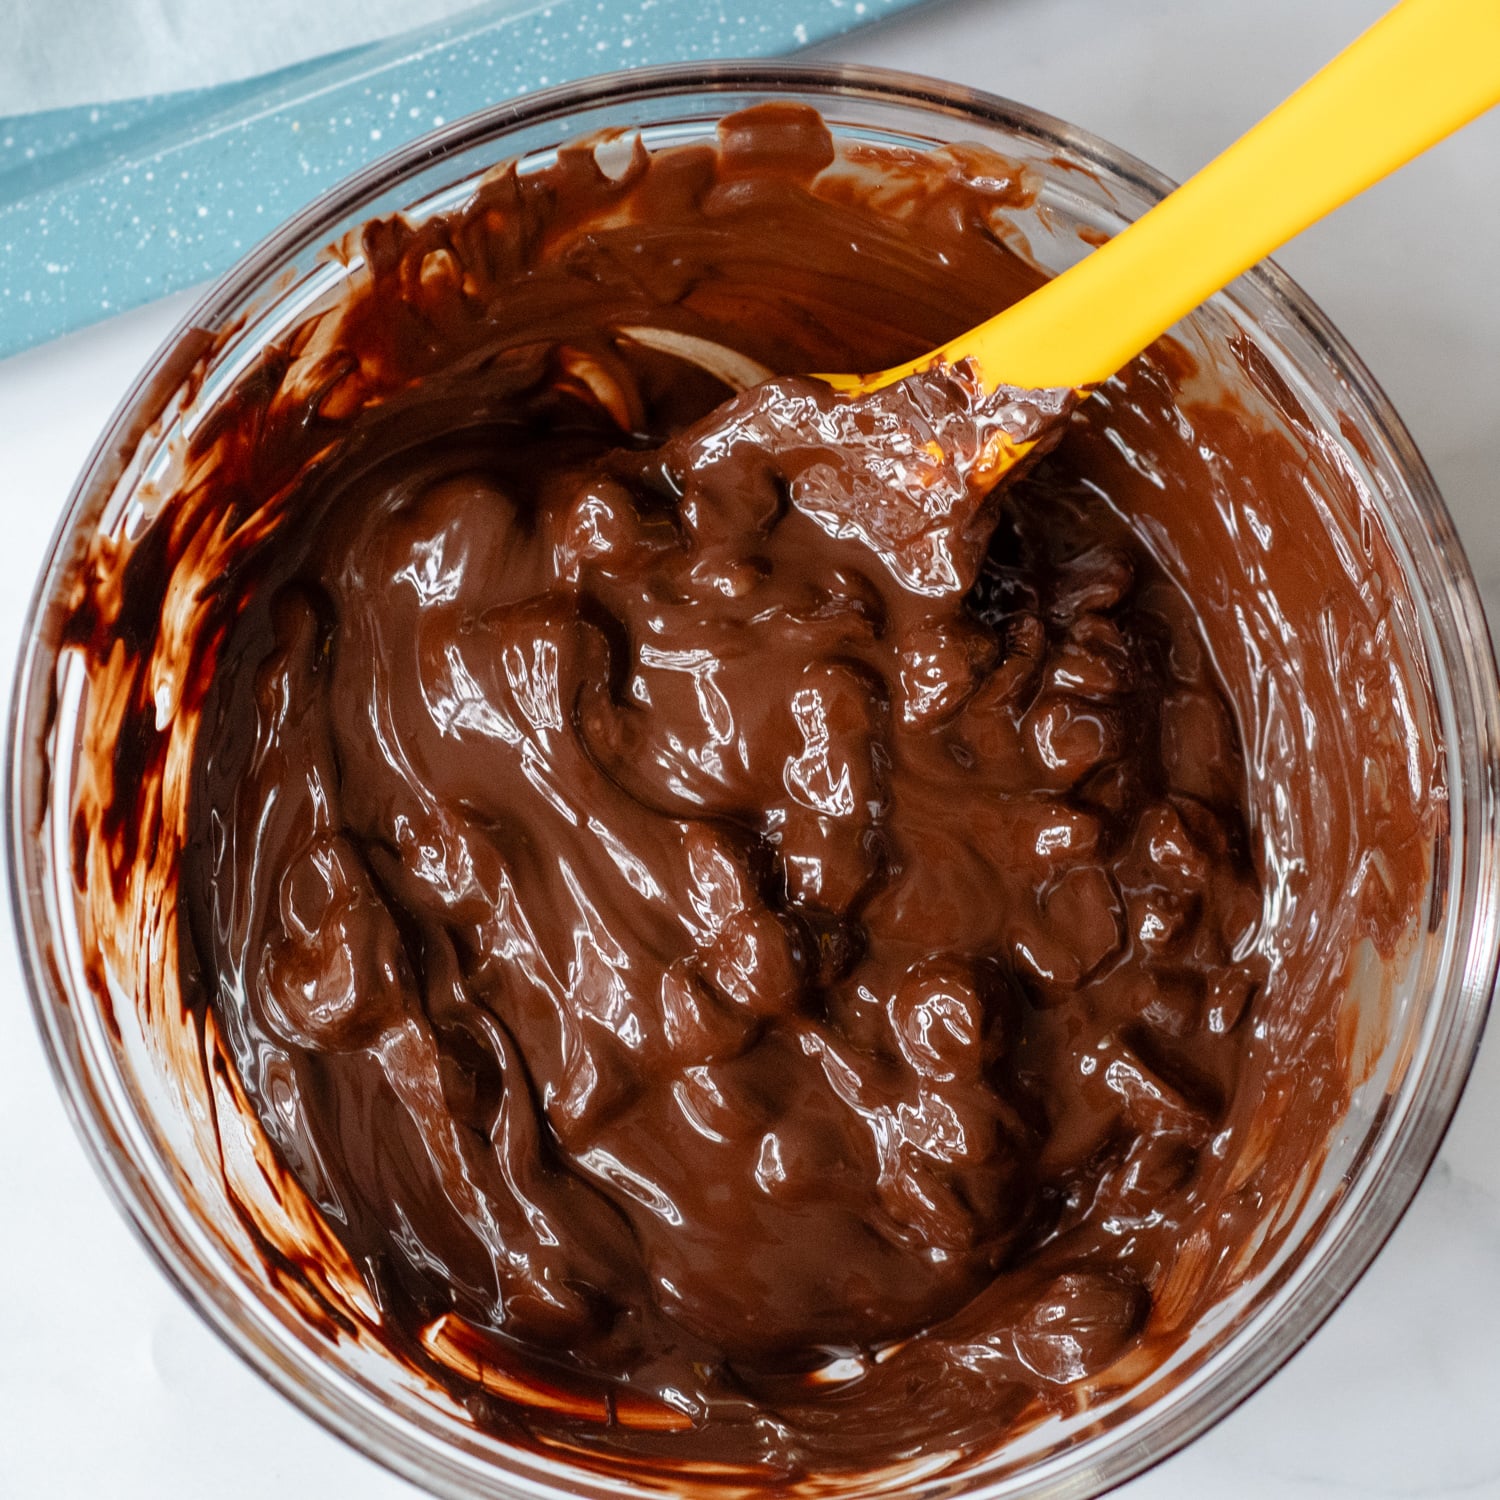
Place 2/3 chocolate chips in a microwave safe bowl. Microwave for about 15-30 seconds intervals until chips are completely melted. Then add in the remaining 1/3 chocolate chips, stirring constantly to combine and melt.
Keep stirring until it is smooth and glossy. Don’t be tempted to put it back in the microwave to finish melting. Let it sit a minute and stir again. It will eventually melt from the residual heat. Voilà tempered chocolate!
Time for first layer – chocolate
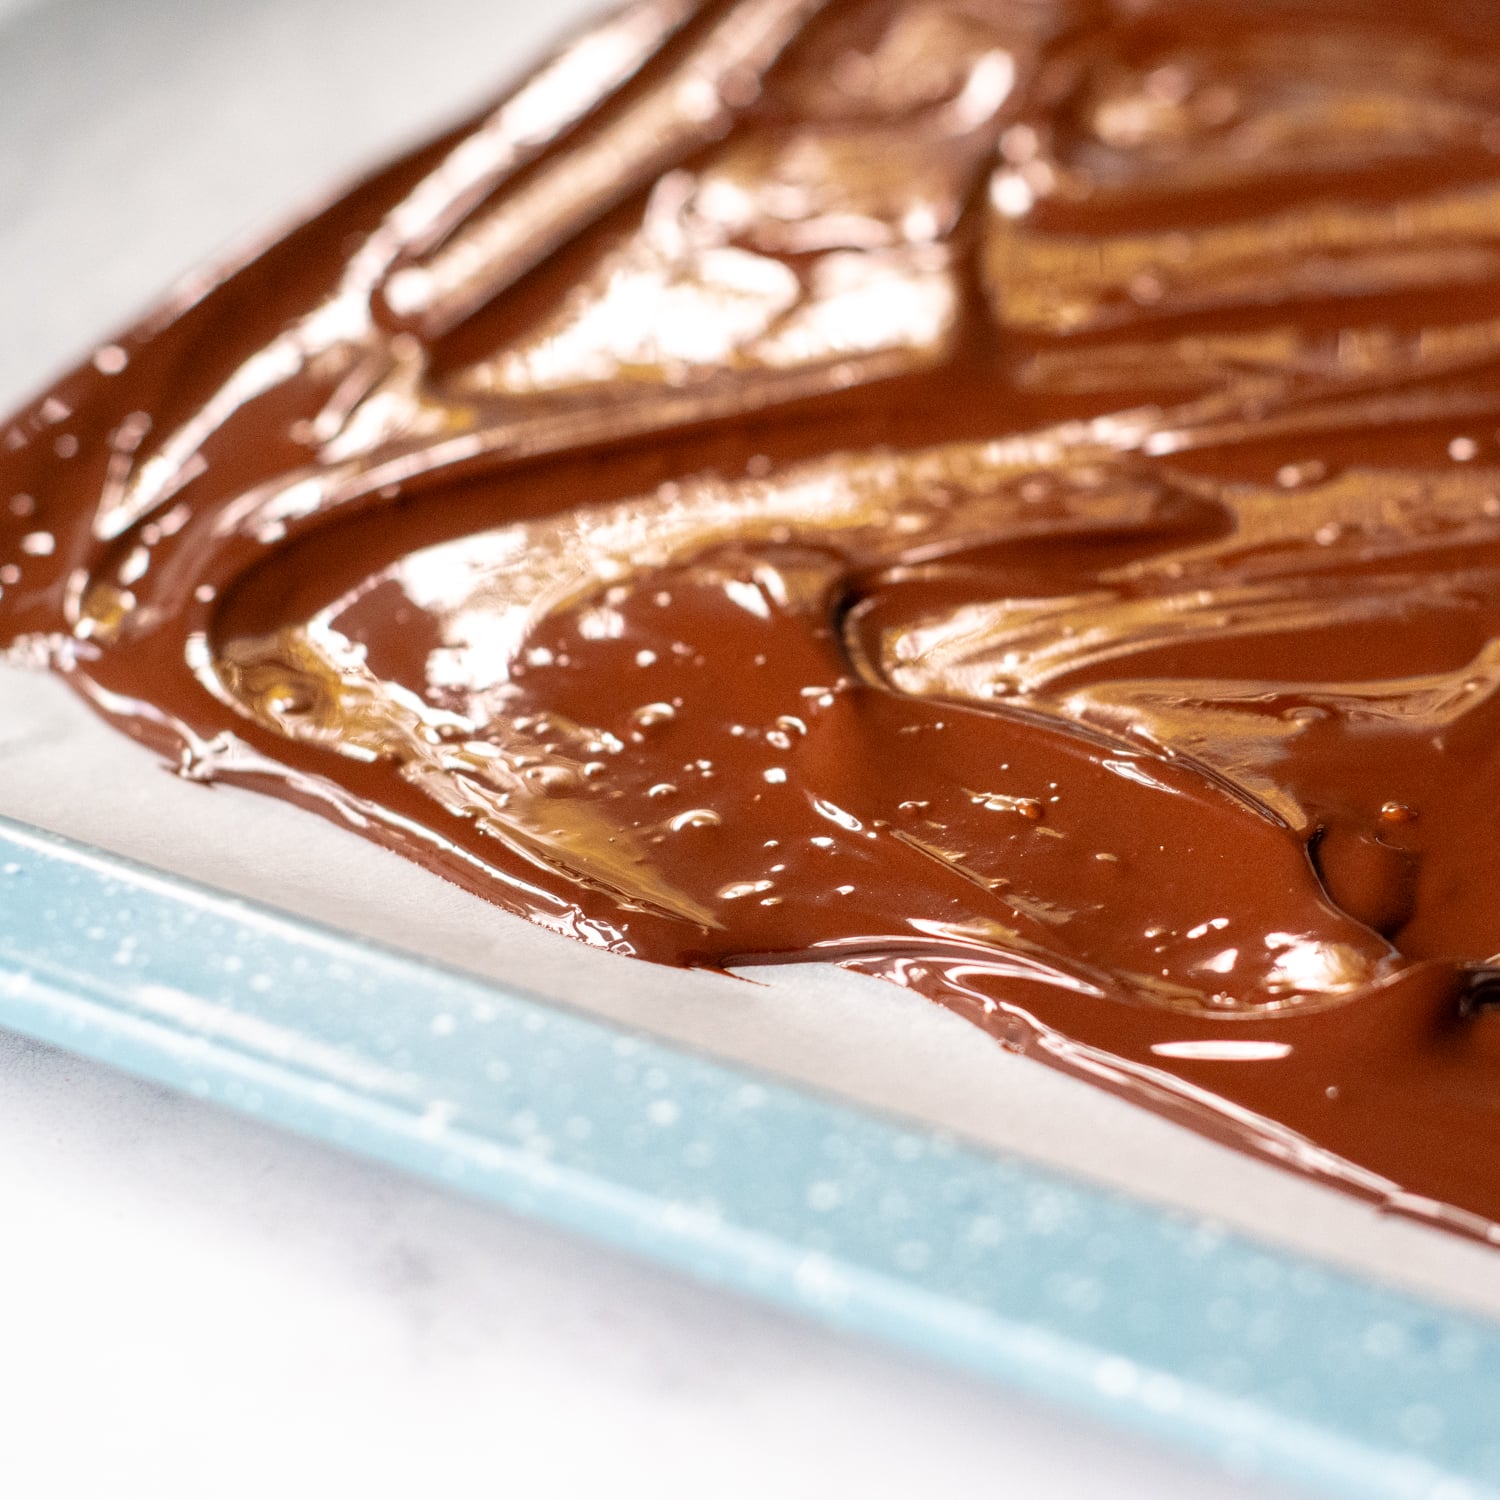
Remember this bark has chocolate and caramel layers, so the first layer serves as our base. Lay a piece of parchment paper on a baking sheet and spread an even, thin layer on it, about 1/4-inch thick. I like to use an offset spatula for this. Also remember to save a few tablespoons to drizzle on the top.
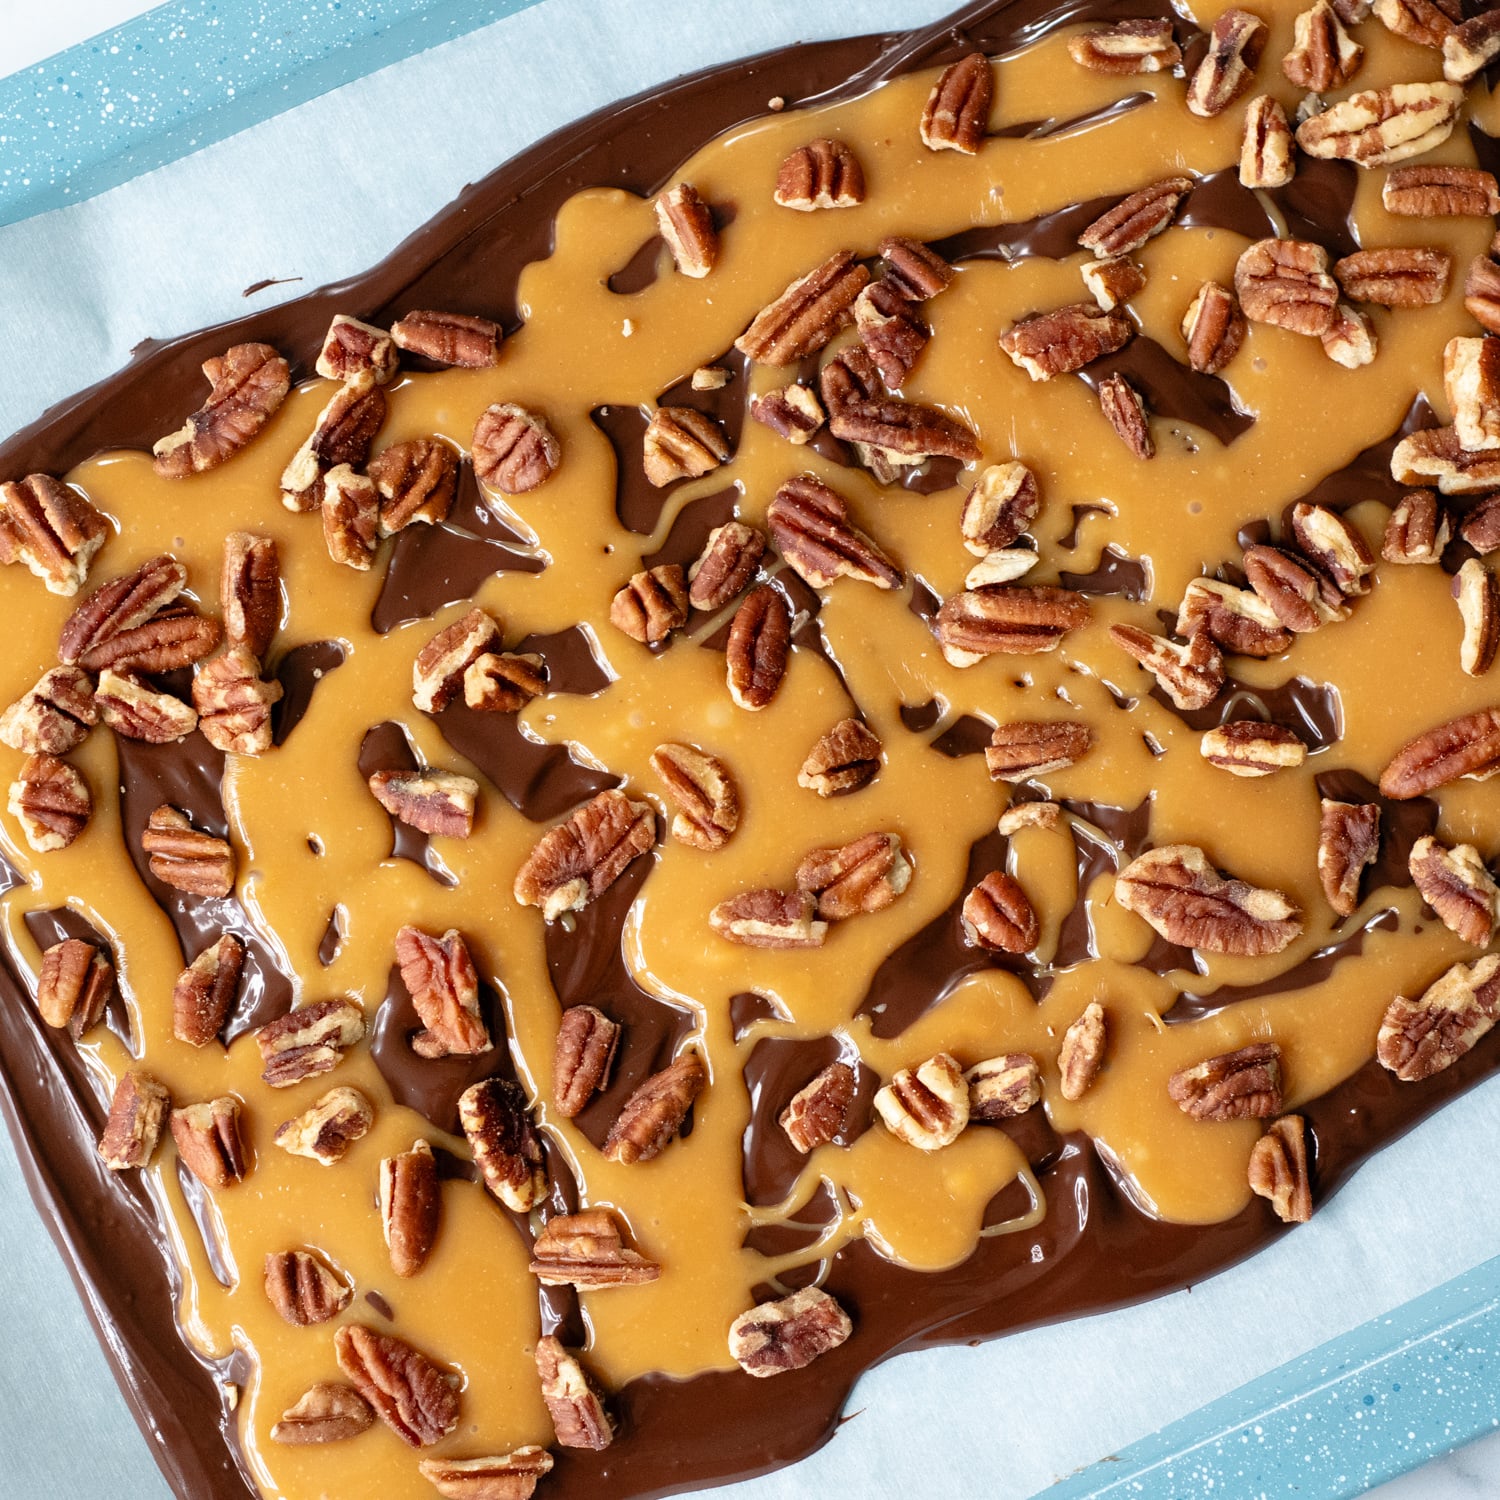
Second layer – easy caramel
Just like melting chocolate in the microwave, the caramel uses a similar technique. I like to stop melting the caramel candies short of fully melted and stir to let the residual heat finish the rest. This way you don’t risk overheating the caramel, which will make it hard and sticky instead of soft and gooey.
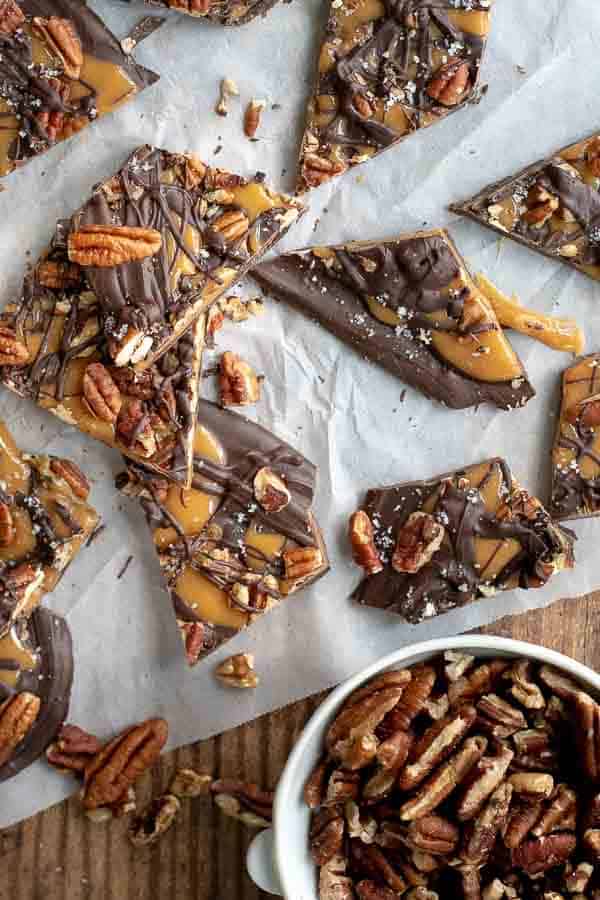
Drizzle the caramel over your thin chocolate layer and immediately sprinkle with pecans. Remember we are channeling turtle candies here!

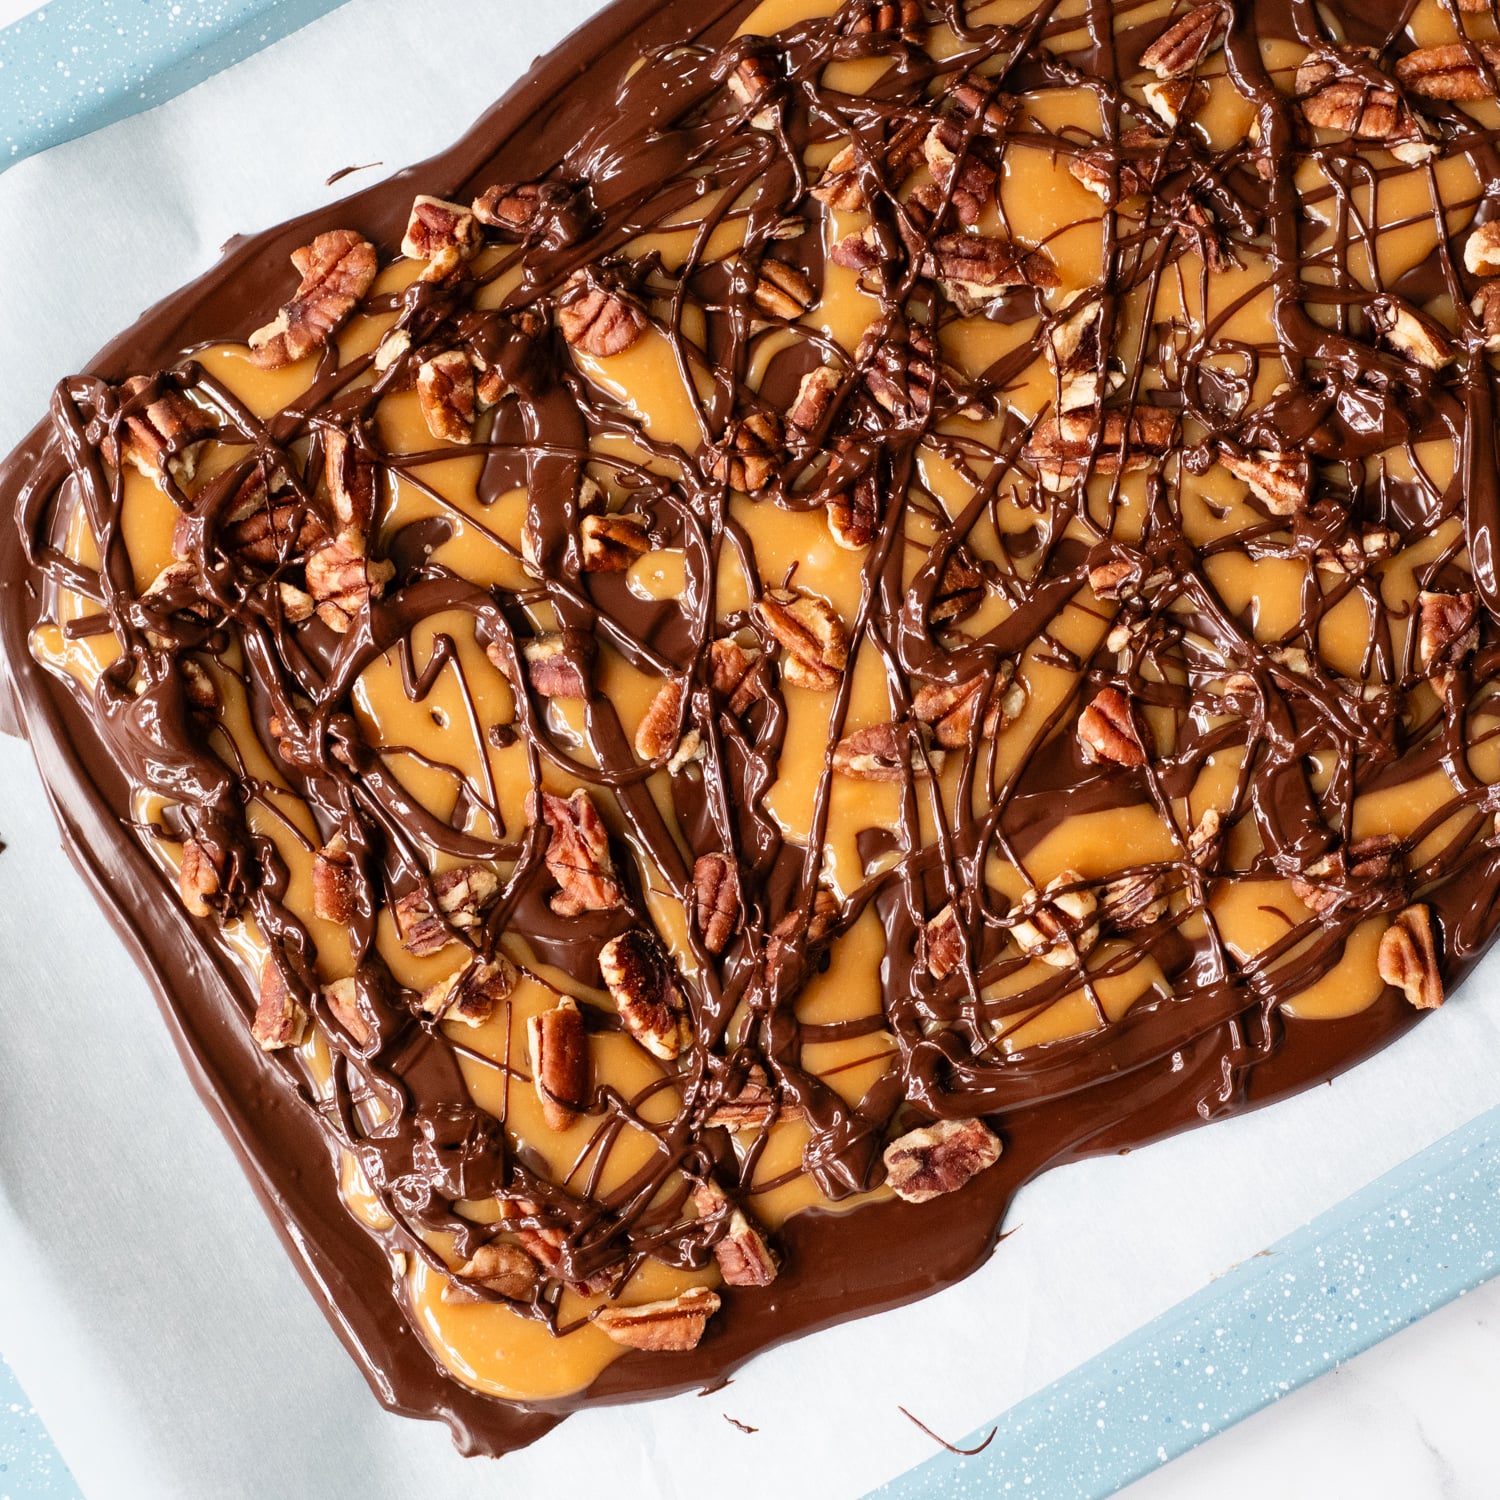
Final touches
Now it’s time to drizzle on that melted chocolate you set aside. If you find it’s not smooth anymore, pop it back in the microwave for a few seconds so it will easily release onto the caramel pecan layer. This final layer of chocolate is kind of like the glue that holds the bark together. I like to finish with a sprinkle of flaky sea salt, but I’ve been known it get a little creative here as well. I have those ideas below. 👇
Yummy Subs and Variations
Salted caramel chocolate bark tastes like turtles candies, but much simpler to make. However, if you aren’t a pecan fan, there are other options. For that same salty finish, try lightly crushed pretzels or other nuts, like peanuts or almonds.
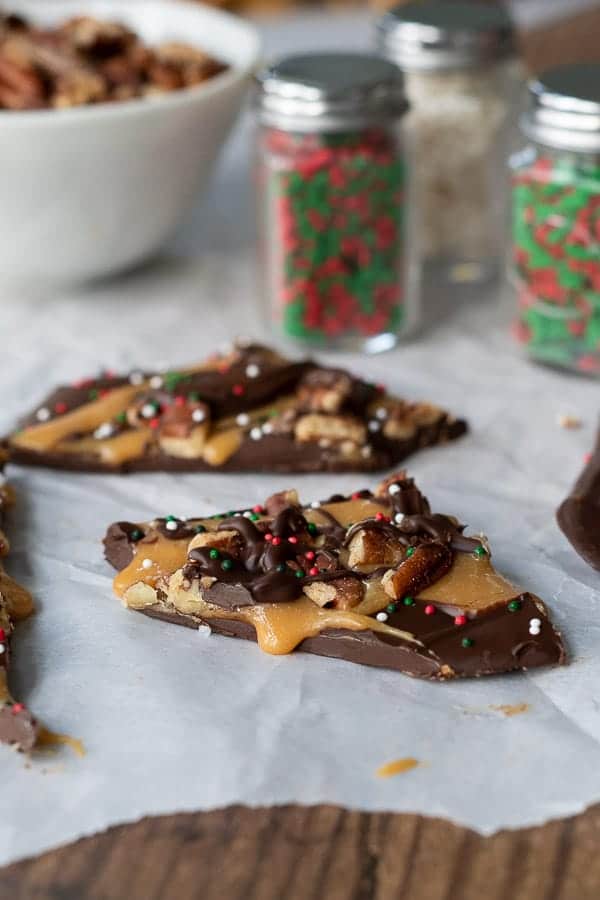
You can also enhance the sweetness sprinkling on toasted coconut, M&Ms, other chopped candies (Snickers would be great!), or crushed cookies like Oreos or Nutter Butters.
Just like my homemade gluten-free millionaire bars, a flaky sea salt on top is always chef’s kiss, but you could add festive sprinkles to the top as well.
Why Tempering Chocolate Matters
A great chocolate caramel bark recipe depends on two essential factors – the chocolate and tempering.
TEMPERING: Don’t be intimidated because tempering can easily be done in the microwave. Tempering simply means melting chocolate to a temperature that breaks down the crystals in the cocoa butter.
The benefit of tempering chocolate is to give it shiny, glossy sheen. Chocolate will look dull, streaky, or grainy if not melted properly. Tempered chocolate will also be firm, break off with a snap, and hold it’s shape.
If you have a candy thermometer or instant read thermometer properly tempered chocolate should read a temperature of 88°F- 90°F.
CHOCOLATE: Homemade bark doesn’t require expensive chocolate. Certain quality chocolate baking chip brands work great for tempering. I like to use Guittard brand, which I can pick up in my grocery store. If you can’t find those, Ghirardelli chocolate chips is a good runner up.
Save this recipe to your pinterest board!
Let’s be friends on Pinterest! I’m always sharing great recipes!
Did you make this recipe? I love hearing from you! Leave a star rating and comment below the recipe card. It helps others when searching for recipes and I appreciate feedback from our community. You will always hear back from me! -Melissa
Salted Caramel Chocolate Bark (Fail-Proof Recipe!)
Ingredients
- 11 ounce (311.85 g) bag quality chocolate chips,, (at least 60% cacoa)
- 19 (19) unwrapped caramels, (about half 11 ounce bag)
- 1 tablespoon (1 tablespoon ) milk or cream
- ¾ cup (74.25 g) chopped pecans
- flaky sea salt, for sprinkling
Instructions
- Prepare a baking sheet with wax paper or parchment paper. Set aside.
- Place two-thirds of the bag of chocolate in a microwave safe bowl. Microwave on high in 15-30 seconds intervals, stirring each time, until chips are completely melted. This will take about 2 minutes total, but watch carefully the last 45 seconds. (If using a thermometer it should read 110-115ºF / 43-48ºC)
- Add the remaining one-third of the bag of chocolate and stir to combine and melt. Continue to stir until all the chocolate is melted, smooth, and glossy. Don’t be tempted to put it back in the microwave to finish melting added chips. Let it sit a minute and stir again. It will eventually melt from the residual heat. (If using thermometer to take temperature it should read 88-90ºF / 31-33ºC )
- Pour melted chocolate on prepared baking sheet, RESERVING 2-3 TABLESPOONS TO DRIZZLE ON TOP. Use an offset spatula to spread chocolate to about 1/4" thick. Set aside while melting caramel.
- Place unwrapped caramels and milk in another microwave safe bowl. Melt on high in 30 second intervals until mixture is hot throughout, but caramels are about 50% melted. Remove for microwave and stir until smooth and caramels fully melt. This will take up to a minute of stirring. Drizzle caramel over chocolate layer. (CHOCOLATE DOES NOT NEED TO BE SET BEFORE DRIZZLING ON CARAMEL)
- Immediately sprinkle with chopped pecans and drizzle with remaining chocolate (can reheat chocolate for a bit it has started to harden). Sprinkle drizzled chocolate with flaky sea salt.
- Refrigerate for 10-15 minutes, or until set. Do not break into pieces until chocolate is completely set. Remove from refrigerator to serve and store or caramel will become hard.
Notes
Storing
The chocolate should be completely set before breaking into pieces. Transfer to an airtight container. Store container in a cool, dry place, ideally less than 70ºF. Properly tempered chocolate will keep for several weeks and doesn’t need to be refrigerated. If you have to store it in the refrigerator, make sure it’s in an airtight container to prevent moisture, smells, or condensation spoiling the chocolate. Have it come to room temperature again before serving.Tips To Remember
- Make sure all your equipment is absolutely dry and free from any water droplets, otherwise your chocolate will seize and be grainy.
- Properly tempered chocolate will start to harden around the edges almost immediately.
- Be sure to spread the chocolate thinly, about 1/4″ thick. Using an offset spatula helps with getting the job done quickly and evenly.
- If your chocolate hardens, simply reheat using either technique for tempering chocolate, and use again.
- Don’t forget to line baking sheets with wax paper or parchment before spreading on melted chocolate.
- Have toppings ready to sprinkle onto melted chocolate. If the chocolate is starting to harden, press gently on the toppings to work into chocolate.
- Don’t handle the bark to break into pieces until it’s fully hardened. Otherwise you’ll leave smudges or fingerprints on the chocolate.
This post contains affiliate links. My opinions are always my own. If you purchase a product through an affiliate link, I make a small commission – at no cost to you. Read full disclosure policy here.


Does this need to be stored in the fridge?
Hi Cathy,
No, just store in in an airtight container at room temperature.
Best,
Melissa
I made this at Christmas and it was quite a hit! Love the recipe. One question I have is, can I use homemade caramel sauce instead of using caramel candy? Or would it be too thin?
Hi Renee,
So glad you enjoyed this recipe! Yes, you can use homemade caramel sauce as well. It may be a little thinner, but that wouldn’t necessarily be a bad thing. Those Ghirardelli chocolate squares with the caramel have a thinner caramel inside and they are damn good!
Best,
Melissa
Hello Linda,
I am so sorry you were put off by the ads. I sincerely apologize this was a frustrating experience for you. I know some people don’t like the ads, so I put the “jump to recipe” and “print recipe” buttons at top to bypass them.
Unfortunately the ads are the nature of the beast when you run a website. Although the recipes and information are free to my readers, I do spend about 40-50 hours a week on recipe development, photography, writing posts, and scheduling social media. The ad revenue is how I get paid for the hours I put in.
My ad agency had direct control over ad placement and the frequency of the ads. The ads are placed through an ongoing auction between them and the advertisers. I’m guessing that since you wrote during the Super Bowl a lot more ads were being served than normal.
Again, I’m so sorry my site was frustrating, but I wanted to follow up and let you know the ads are how I am compensated for the job I do.
Wishing you the best,
Melissa
you have sold out, way too many ads!
Does that mean u think she shouldn’t be paid for her recipes that we are enjoying
she has sold out??? What do you do for a living? Do you work for free? I love her recipes and truly appreciate they are offerred to us to view for free. Thank you Melissa for all your hard work!
This truly means a lot. Thank you, Shannon!