
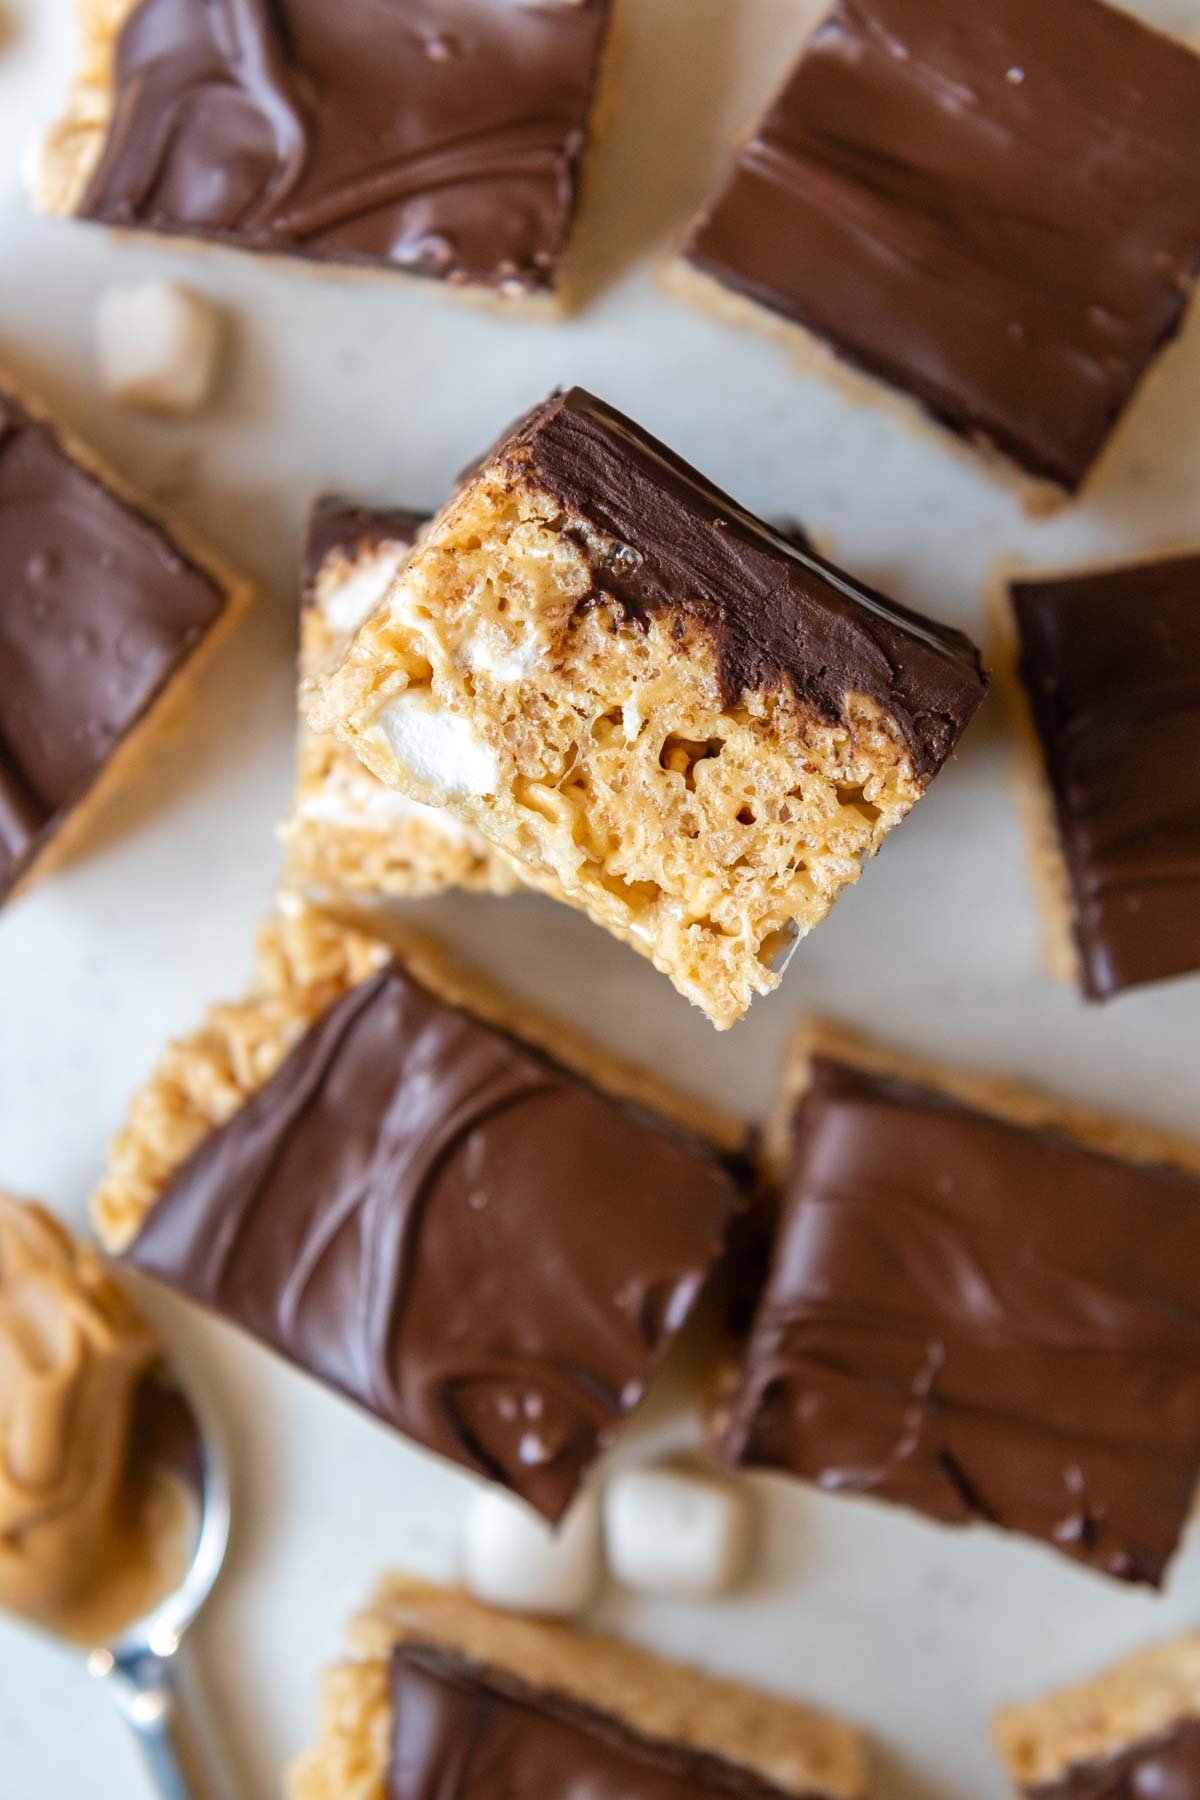
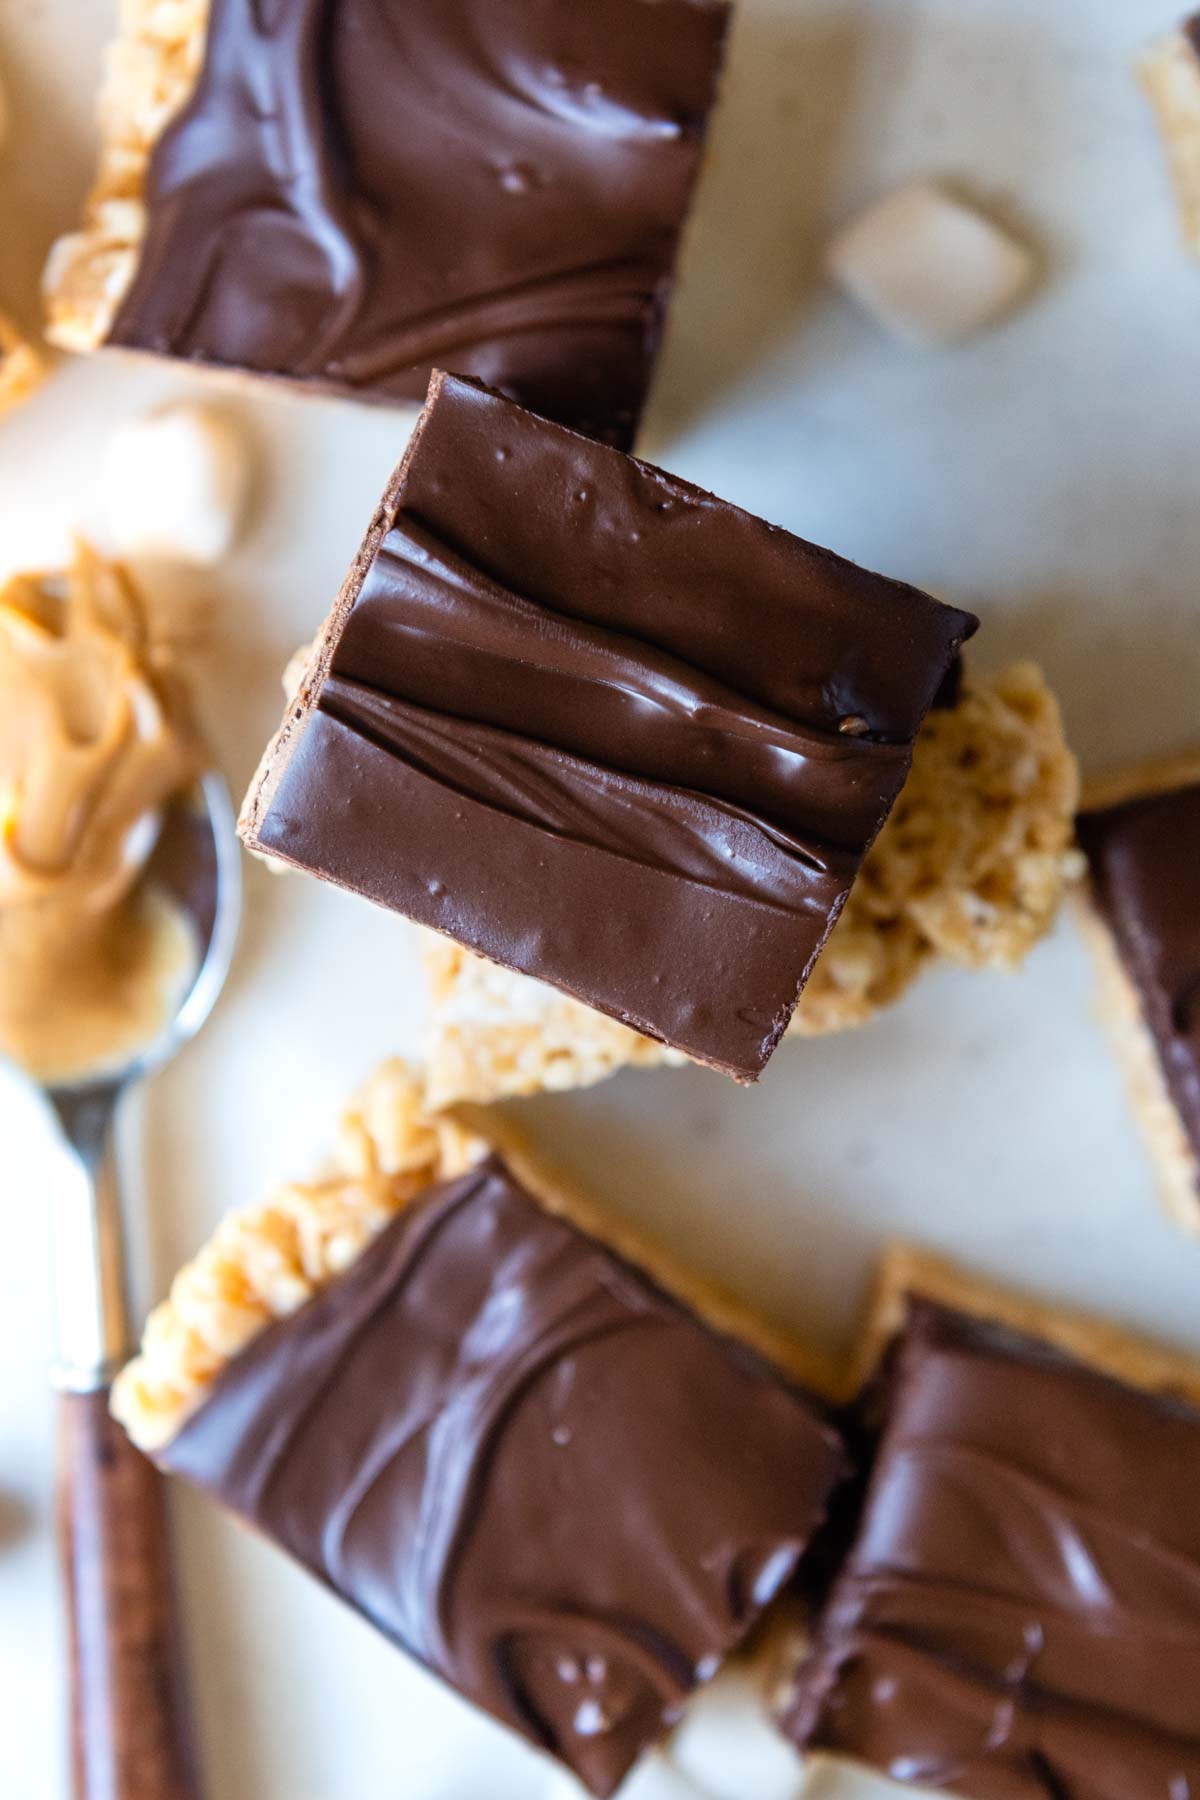
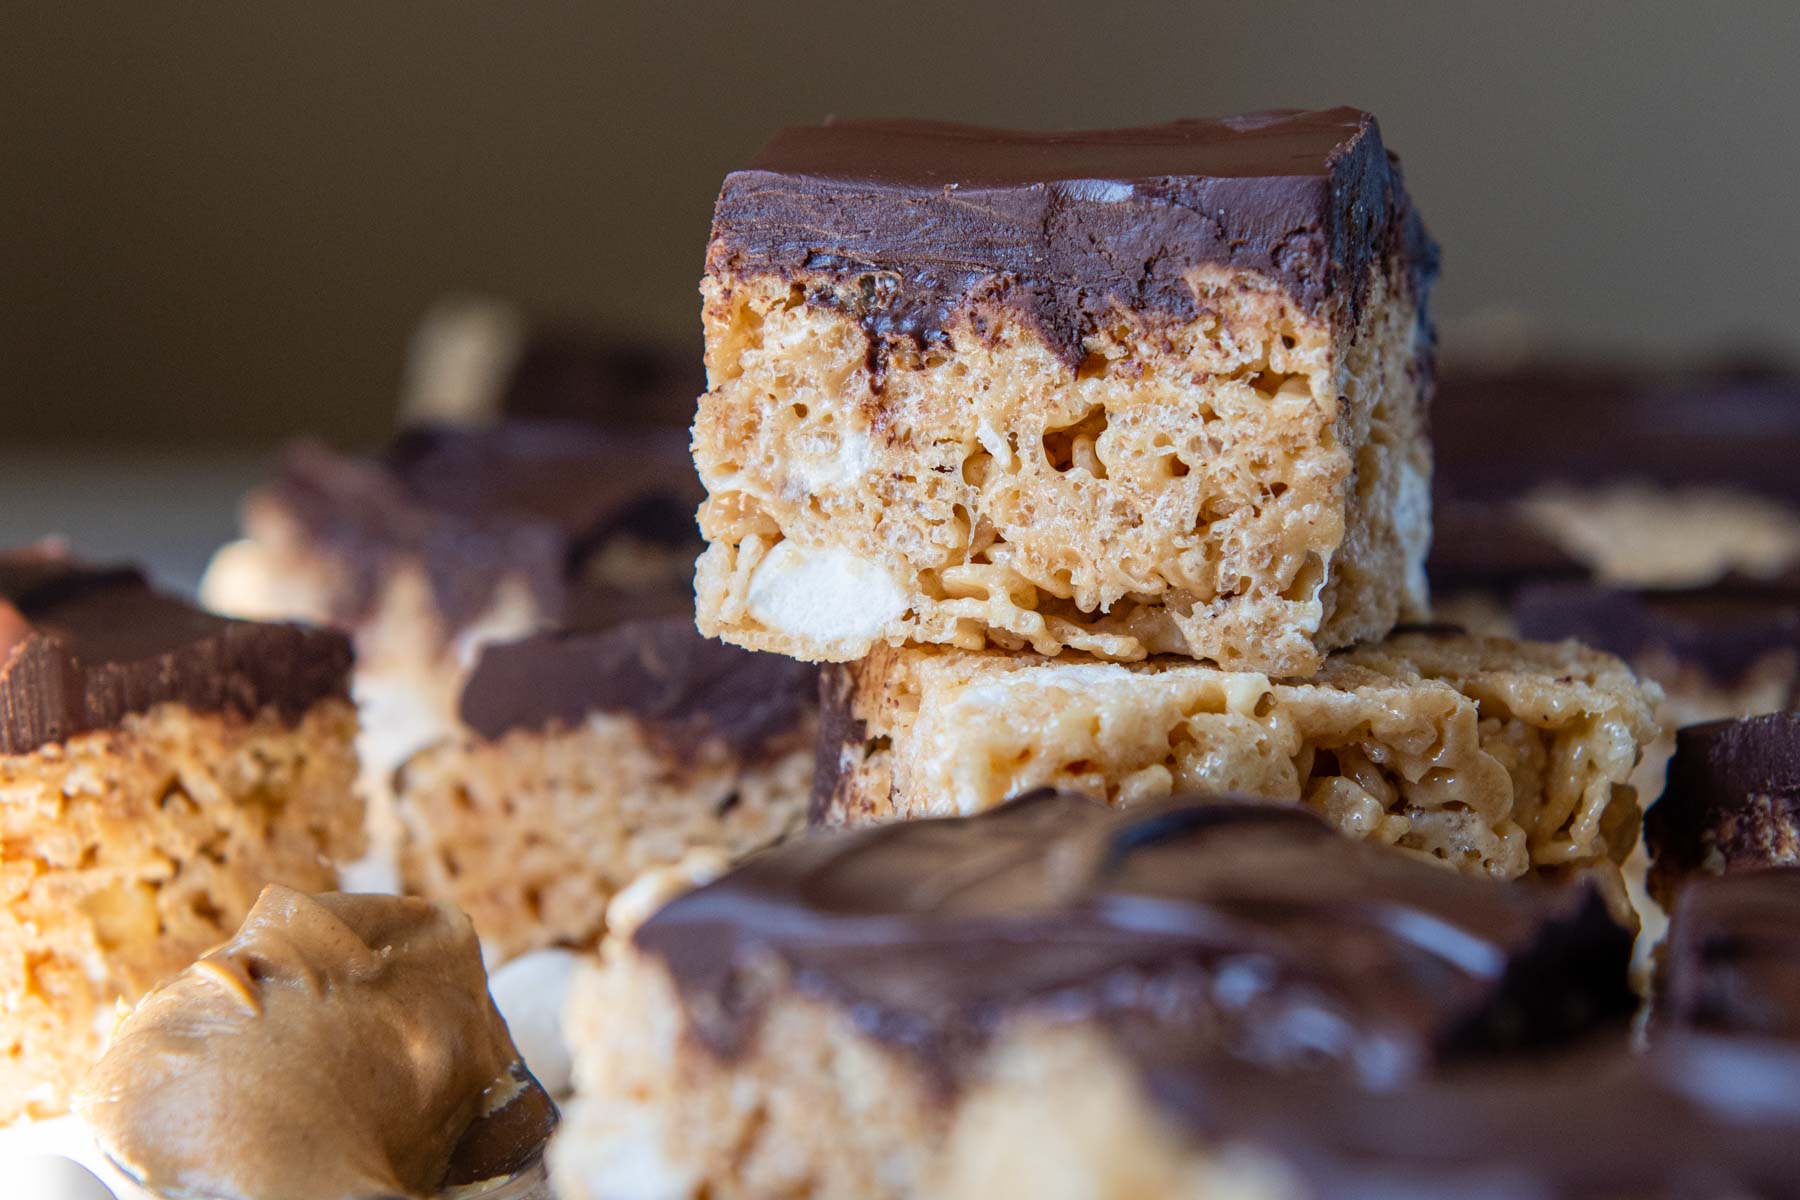
Bring the best flavor combination, chocolate and peanut butter, to a new level with these tasty no-bake treats. Chocolate peanut butter rice krispie treats are gooey marshmallow peanut butter crispy bars with a rich chocolate topping!
Want to Save This Recipe?
Enter your email below & we'll send it straight to your inbox. Plus you’ll get affordable and easy gluten-free recipes delivered each week!
Peanut Butter rice krispies with chocolate
Peanut butter desserts rule around here. It’s hard to resist the sweet and salty combination in desserts like chocolate and peanut butter rice krispies treats, peanut butter sheet cake, or peanut butter glaze drizzled over brownies.
Peanut butter rice krispie treats are a delicious variation of everyone’s favorite scotcheroos with marshmallows, except they are made without Karo syrup. Like gluten-free rice krispies treats, the base is made up of marshmallows, butter, and Rice Krispies cereal, but with creamy peanut butter mixed in and a thick layer of chocolate on top.
Free Guide! 5 easy tips for baking like a gluten-free pro!
Simple hacks for fail-proof gluten-free dishes every time!
Ingredient Notes
Chocolate peanut butter rice krispies treats are a naturally gluten-free no-bake dessert if using a gluten-free crispy rice cereal. See the linked post for suggested brands.
Also, to make vegan or dairy-free peanut butter rice krispie treats, replace the butter with a plant-based butter stick and use vegan mini marshmallows, such as Dandies brand. For the chocolate, use dairy-free chocolate, like Enjoy Life.
- Butter – The recipe calls for unsalted butter, but omit the salt if salted butter or a vegan butter stick is substituted.
- Marshmallows – Use mini marshmallows for faster melting. Set two cups aside to mix in with the crisp rice cereal. This is what makes the bars extra soft and gooey.
- Rice Krispie cereal – For gluten-free bars, be sure to read the label because some brands contain barley malt extract. I prefer Aldi or Malt-O-Meal brand.
- Peanut butter – Use creamy or crunchy for an added salty crunch.
- Semi-sweet chocolate chips – Melted chocolate chips makes the chocolate topping, but white chocolate chips, peanut butter chips, butterscotch chips, or even chopped candy bars would make an equally delish topping!
how to make Chocolate Peanut Butter Rice Krispie Treats
(Below shows step-by-step photos and modified instructions. For the complete recipe, along with ingredient amounts, scroll down to the recipe card.)
- Assemble the ingredients – Since the recipe comes together so quickly, you’ll want to measure out the 8 1/2 cups rice krispie cereal first, set aside 2 cups of the mini marshmallows, and gather the remaining ingredients. For easy removing and cutting, line a 9 X 13-inch baking pan with two large pieces of foil, criss-crossed. Press the foil up the sides and spray with non-stick cooking spray.
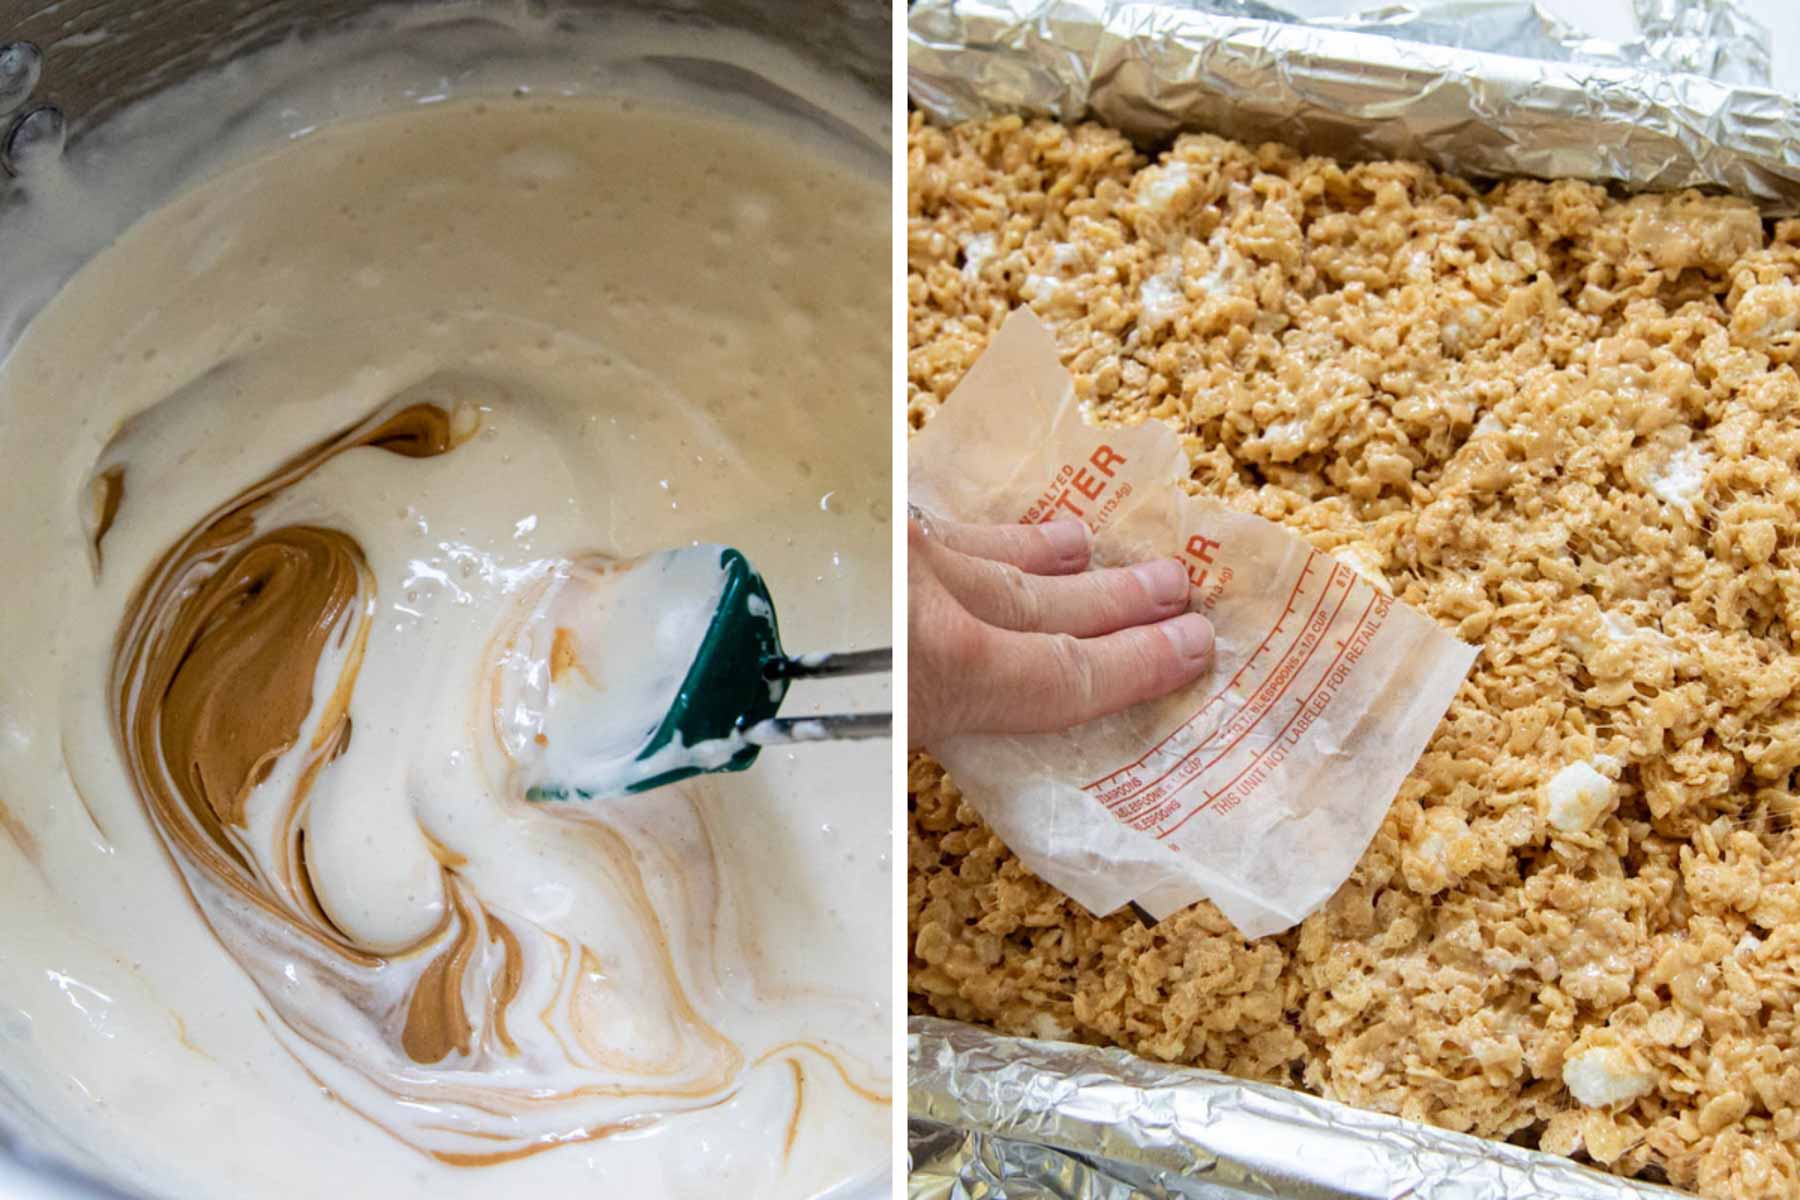
- Melt the butter – Melt one stick of butter in a large saucepan over medium heat. To the melted butter add the mini marshmallows (with 2 cups removed), vanilla extract, and salt. Stir over medium-low heat until the mixture is smooth.
- Remove from heat – Take the large pot off the heat and stir in the peanut butter. Stir in the rice cereal and remaining marshmallows until well coated.
- Press in pan – Use the spatula to spoon into the prepared pan. Press the mixture evenly, without densely compacting.
- Melt chocolate – Microwave the chocolate chips until smooth, stopping to stir every 30 seconds. Use an offset spatula to spread evenly on top of the rice krispie bars. Set at room temperature until the chocolate is firm, or place in the refrigerator for 15-20 minutes, then remove.
Using butterscotch chips
Instead of peanut butter crispy bars with chocolate topping, consider making another great combo – peanut butter butterscotch rice krispie treats.
Either use an equal amount of chocolate chips and butterscotch chips (1 1/2 cups each) for the topping, or mix in 1/2 cup butterscotch chips with the crispy rice cereal.
expert tips and tricks
- Make sure your marshmallows are not hard or sticky before using. They should not be clumped together and be soft to the touch.
- Save the butter wrapper for spreading out the bars in the pan. It helps evenly distribute the mixture without sticking. If you threw the wrapper away, a piece of wax paper greased with nonstick cooking spray also works.
- Press the mixture evenly, but do not press so hard they are compacted, making them hard to eat.
- Make a foil sling to easily lift the bars out of the pan to cut. Place two large pieces, criss-crossed, with overhang to lift out.
- Replace the mini marshmallows with two 7-ounce jars of marshmallow fluff.
Storing tips
Storing – For best results, leave the bars uncut until ready to serve. Store at room temperature, wrapped securely in foil or in an airtight container, up to two days. Avoid storing in the refrigerator because the chocolate will become “chalky.”
Freezing – Rice crispy treats may be frozen, but not with the chocolate topping. Freeze peanut butter crispy bars without the topping and spread on the chocolate before serving.
Either wrap the entire uncut batch securely in plastic wrap or individual slices. To freeze uncut bars, wrap again in layers of foil. For bars, transfer to a ziplock freezer bag. Freeze up to two months.
more peanut Butter recipes
Calling all peanut butter lovers! If you can’t get, try another of these wining recipes!
- Peanut Butter Chocolate Pie
- Almond Flour Peanut Butter Cookies
- Peanut Butter Bread
- Buckeye Turtle Brownies
SAVE THIS recipe for peanut butter chocolate rice krispie treats TO YOUR PINTEREST BOARD!
Let’s be friends on Pinterest! I’m always sharing great recipes!

Chocolate Peanut Butter Rice Krispie Treats
Ingredients
- 8 ½ cups crispy rice cereal, (see recipe notes for gluten-free brands)
- 8 tablespoons unsalted butter
- Two-10 ounce bags mini marshmallows,, divided
- 1 teaspoon vanilla extract
- ½ teaspoon salt
- ⅔ cup creamy peanut butter
- 3 cups semi-sweet chocolate chips
Equipment
Instructions
- Measure out the rice krispies cereal, set aside 2 cups of the mini marshmallows, and gather the remaining ingredients. Reserve the butter wrapper for later use.
- For easy removing and cutting, line a 9 X 13-inch pan with two large pieces of foil, criss-crossed. Press the foil up the sides and spray with non-stick cooking spray. Set aside.
- Melt the butter in a large saucepan over medium heat. Add the remaining marshmallows (with the 2 cups removed), vanilla extract, and salt. Place the pot back over medium-low heat and stir continuously until the marshmallows are melted and smooth.
- Remove from the heat and stir in the peanut butter. Stir in the cereal and the reserved 2 cups of mini marshmallows until evenly mixed. It is okay if the added marshmallows start to melt.
- Use the spatula to spoon into the prepared pan. Use the butter wrapper to press the mixture evenly, but being careful to no densely compact.
- Let the bars cool while the chocolate topping is prepared. Place the chocolate chips in a microwave-safe bowl. Heat in 30 second increments, stopping to stir until fully melted. Use an offset spatula to evenly spread on top.
- Set at room temperature for the chocolate to cool and harden before cutting. Alternatively, place in the refrigerator for 15 minutes to harden the chocolate quickly, but do not store in the refrigerator.
- DID YOU MAKE THIS RECIPE?? DON'T FORGET TO LEAVE FEEDBACK AND/OR CLICK A STAR RATING ON THE RECIPE CARD!
Notes
Gluten-free Rice Krispies brands
Important note: If you come across another brand that is not listed, look for MALT FLAVOR OR BARLEY on the ingredients label and avoid for gluten-free!- Aldi (my preferred brand)
- Wegman’s (recommended)
- Malt-o-Meal (recommended)
- Nature’s Path
- Back To Nature
- Erewhon
- Barbara’s Brown Rice Cereal
- One Degree Sprouted Brown Rice Crisp Cereal
Storing
For best results, leave the bars uncut until ready to serve. Store at room temperature, wrapped securely in foil or in an airtight container, up to two days. Avoid storing in the refrigerator because the chocolate will become “chalky.” Recipe adapted from Gluten-Free Rice Krispie TreatsThis post contains affiliate links. My opinions are always my own. If you purchase a product through an affiliate link, I make a small commission – at no cost to you. Read full disclosure policy here.


Delicius recipe, thank you! Wishes from Lithuania!
You’re welcome!
Thanks for writing!
Best,
Melissa