We’ve been making this quick and easy version of homemade caramel corn in the microwave for over 50 years. Learn how to make a no bake buttery, sweet and salty snack that comes together in less than 10 minutes. Grab a paper bag and let’s get started!

Want to Save This Recipe?
Enter your email below & we'll send it straight to your inbox. Plus you’ll get affordable and easy gluten-free recipes delivered each week!
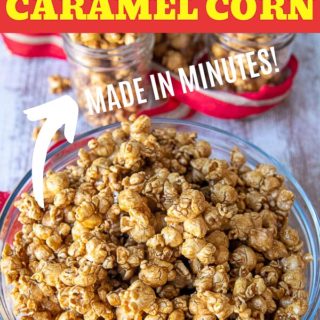
Simply THE BEST Microwave Caramel Corn
Caramel corn made in the microwave is ridiculously simple to prepare and just as good as our local Chicagoland favorite, Garretts. My family has been making this easy recipe for over five decades because it never disappoints.
As if the taste isn’t good enough, it’s magically fun to make. I’ve passed on the tradition with my own kids. Placing a paper bag filled with crunchy popcorn and buttery sweet syrup has that certain wow factor kids take notice of. It’s right up there with Nutella puppy chow as my favorite way to use a paper bag!
I remember watching my mom vigorously shaking the bag, with buttery imprints soaking through, taunting us for what waited inside. She laid it out on a baking sheet and, as soon it was cool enough to touch, we all scooped up handfuls.
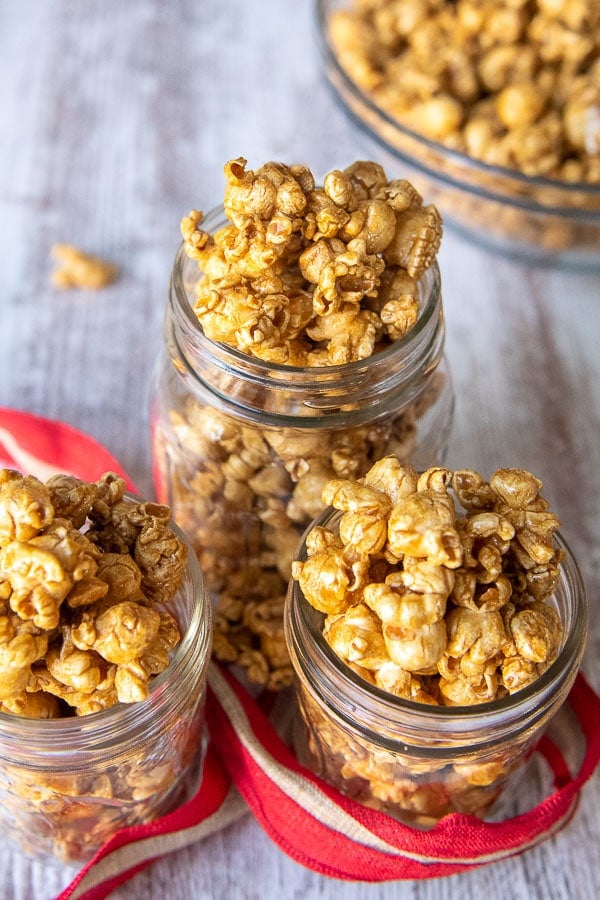
Not only does homemade caramel corn make the perfect indulgent snack, but a great homemade gift or vacation treat. All the ingredients are very affordable, the popcorn stays fresh stored in an airtight container, and who can possibly resist it?! It’s right up there with our 5-minute stove top candied pecans as sweet treat that hits the spot fast.
Free Guide! Receive a Free Gluten Free Dinners Cookbook
TOP 5 Highest Rated Recipes!
Ingredient Tid Bits
- Corn syrup – Mom’s old fashioned recipe used Karo dark corn syrup, which gives the coated popcorn a deeper color. If you only have light corn syrup it may be used, but it will be a lighter flavor and hue.
- Brown sugar – Same as the corn syrup. Using a dark brown sugar will give a more robust caramel flavor, but light may be used.
- Butter – I always just have unsalted butter on hand because of all the baking I do. If using salted butter, cut back on the amount of salt in the recipe by half.
- Popcorn – This is a great reason to bust out the air popper! It’s pretty much as fun as shaking up classic microwave caramel corn. If you don’t have one I list more popcorn options below.
- Optional nuts – Make the sweet and salty combo even better. Add 1-2 cups of nuts, such as peanuts, cashews, or almonds to the popped popcorn before pouring over the sauce.
Let’s Make This Together!
(Below shows step-by-step photos and modified instructions. For the complete recipe, along with ingredient amounts, scroll down to the recipe card.)
Microwave caramel syrup
This recipe was popular in the 70s because if there was a reason to use our microwaves, we were all over it! So let’s start and end there.
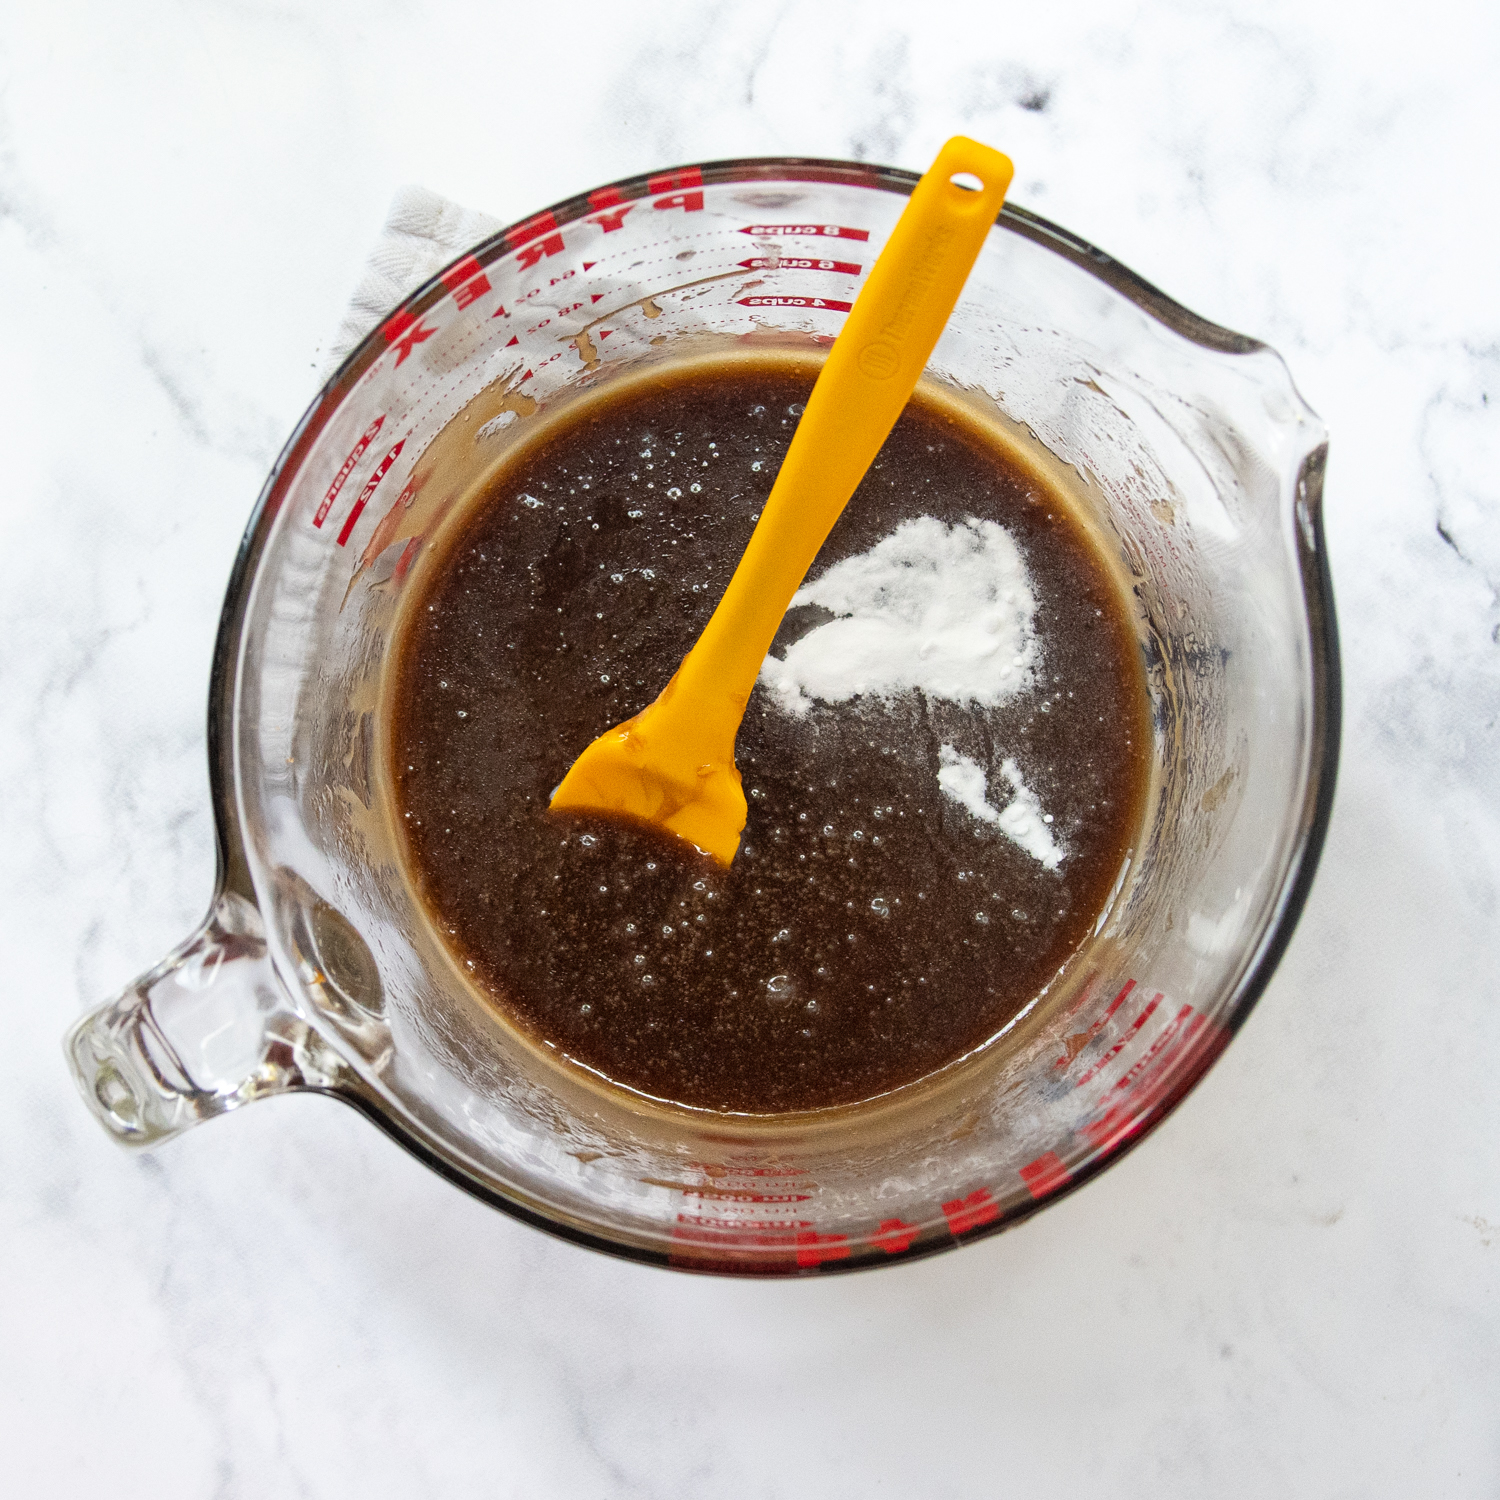
To make the caramel coating for the popcorn melt the butter, corn syrup, brown sugar, and salt together in a microwave safe container. Microwave for 1 minute, stir, and then cook for 2 minutes more.
Finally, add the baking soda. This is what you need for an essential chemical reaction. essential crunchy texture. It also saves it from being a hard, sticky mess once the popcorn has cooled.
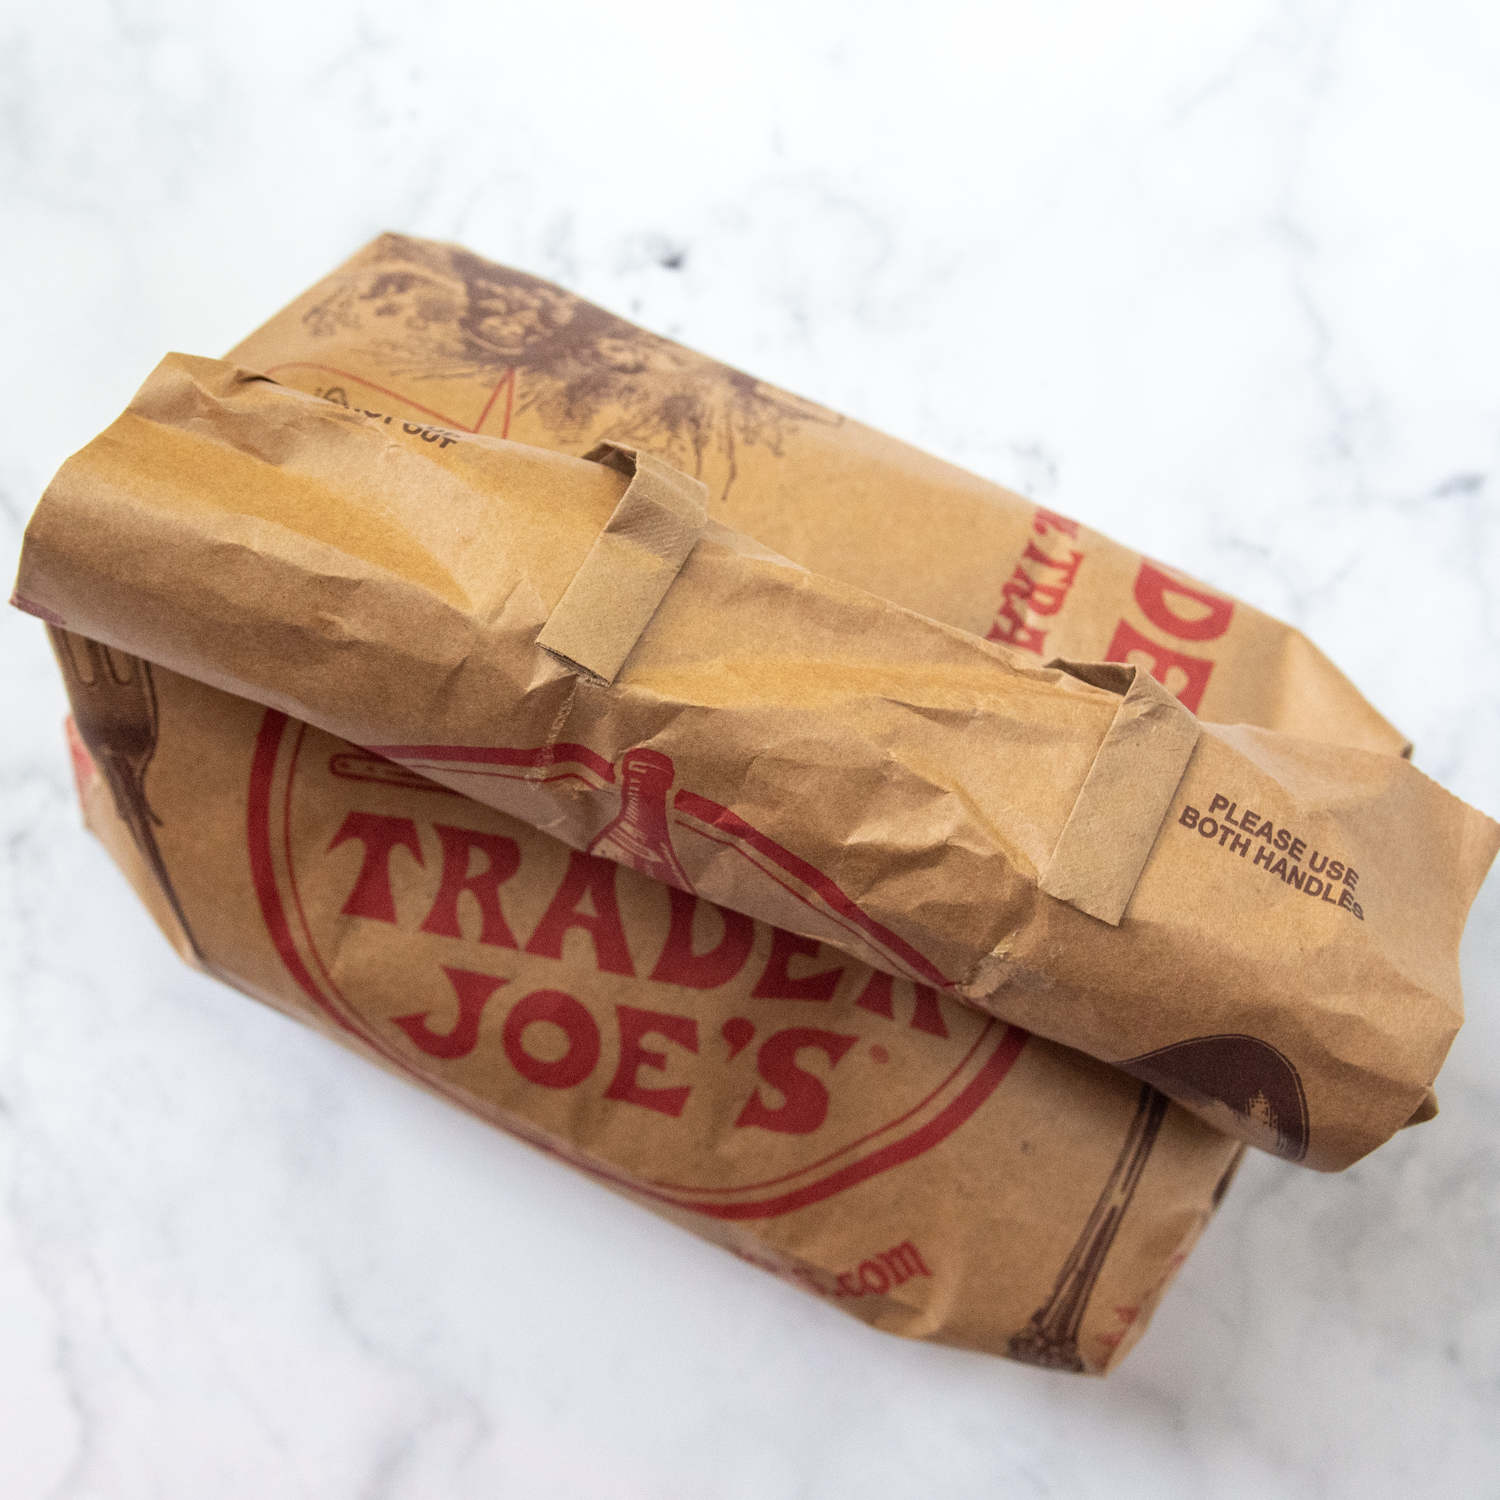
Pour and shake…and shake some more
After the baking soda is stirred in, immediately pour the sauce over the popcorn and now it’s time for the fun. Roll down the top of the bag and shake.
Here’s the part that would blow our minds when we were little – place closed bag in microwave. 🤯Cook for 90 more seconds and shake again. Cook again for 90 seconds. Remove and shake well. Finally, flip bag over and cook for 45 seconds. I know. Lots of specific times and shaking. You got this.
Time to snack
Now is when you get to shoo everyone away because your kitchen smells like a heavenly caramel corn factory and it is all right there for the taking.
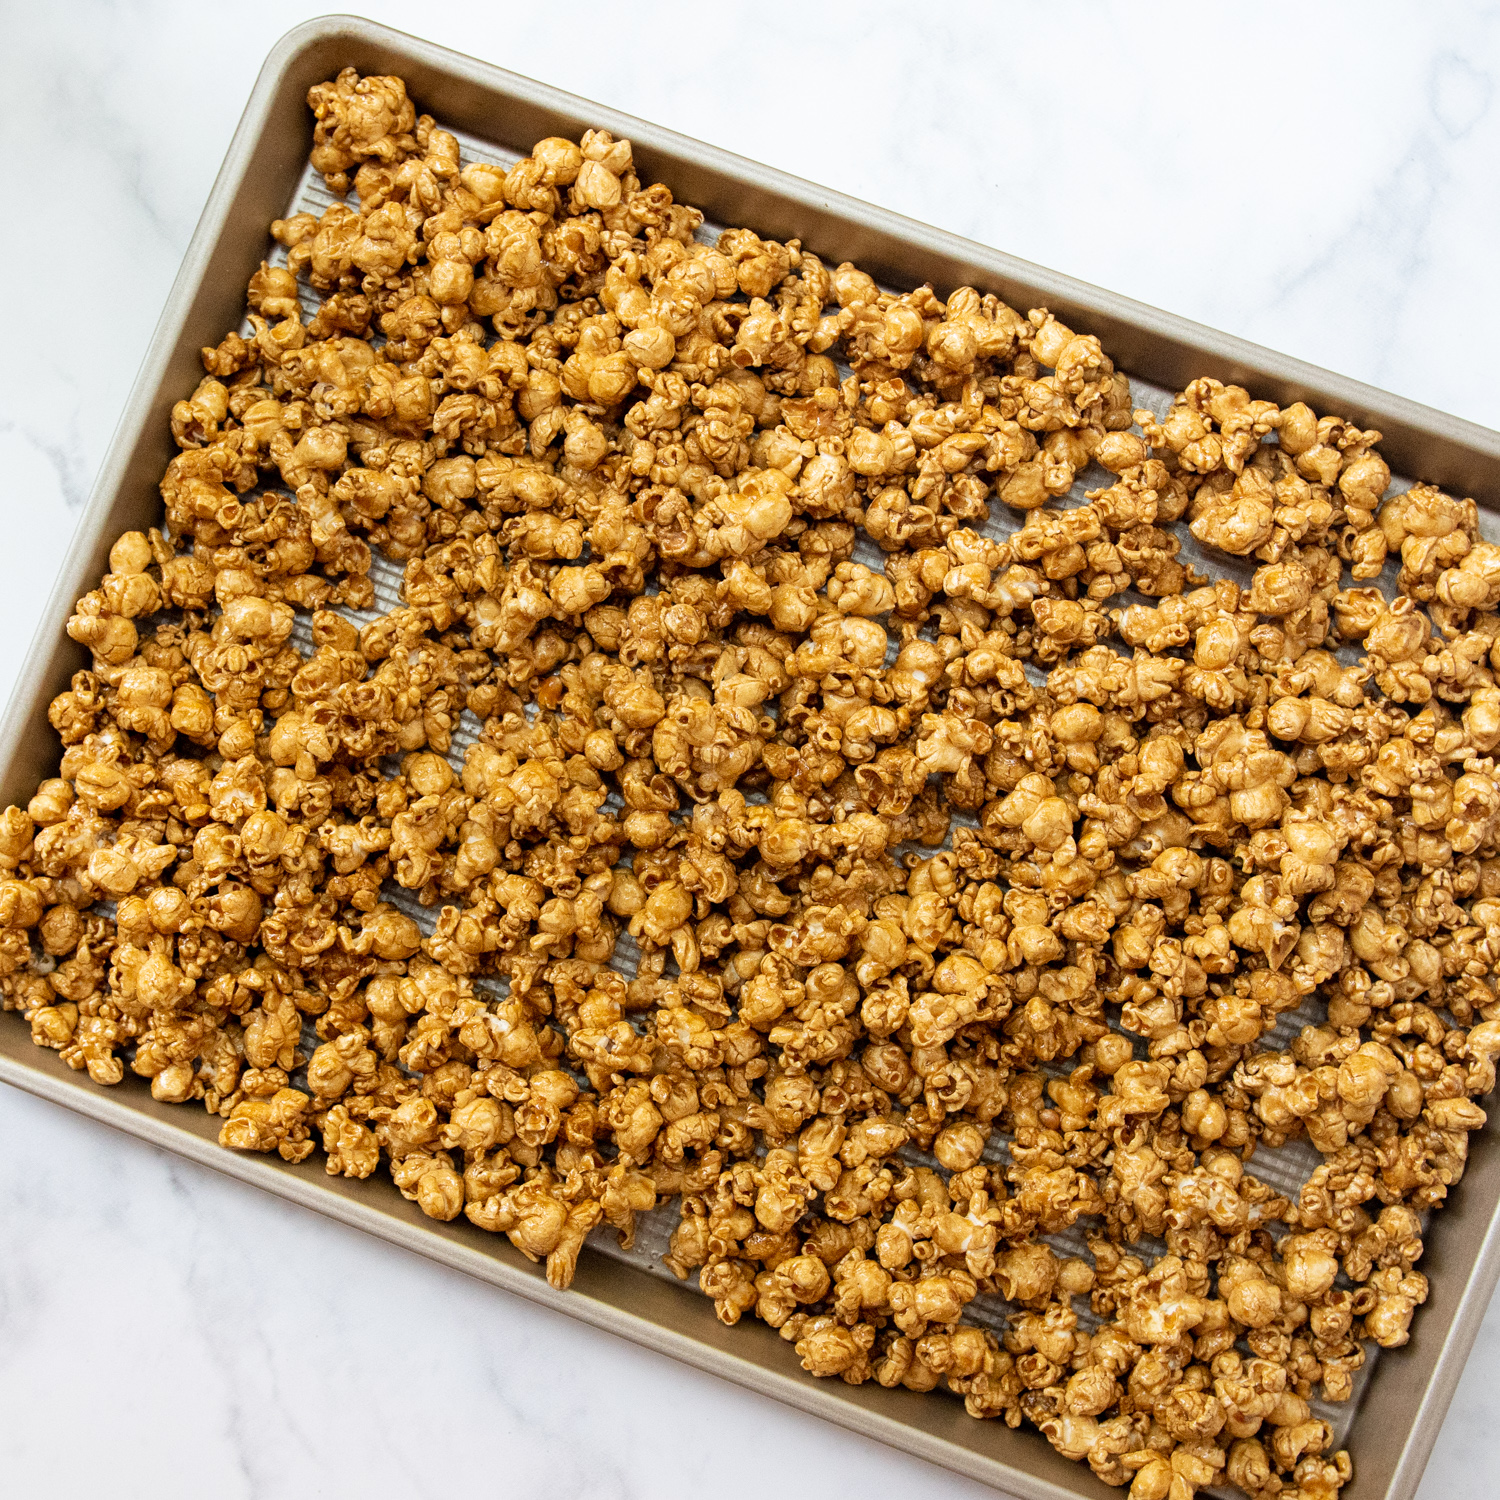
Lay it out on a baking sheet to cool and harden. Luckily, this is a quick process so you can be snacking in minutes!
Storage Tips
Caramel corn generally stays good a lot longer than it sticks around. (It’s just too hard to resist!) If you have super human restraint it will stay good up to 1 month stored in airtight container. Generally we keep ours in a tin.
Large lidded glass jars or storage containers also work great. If using a ziplock bag, just be sure to squeeze the air out, although opening and closing continually will shorten the freshness. Although these tips work for any homemade popcorn recipes. We are big fans of quick chocolate covered popcorn as well!
If your caramel corn turns out chewy and sticky the caramel syrup most likely wasn’t cooked long enough. Different microwaves have different wattages, so perhaps it needed a longer cooking time. It can still be saved, though. Spread it out on a parchment-lined baking sheet and bake in a 250ºF oven for 15-20 minutes, stirring halfway through.
Best Kinds of Popcorn To Use
For our family’s no bake caramel corn we use air popped popcorn. The popcorn is free of butter or salt, so the recipe starts with popcorn in its natural state. Hot air poppers are affordable to buy. Plus, popcorn kernels are ridiculously cheap and stay good for years.
If you don’t own an air popper, though, there are other options! Use store bought popped corn as close to its natural state as you can get. SmartFood Lightly Salted is a great option. Reduce amount of salt to ¼ teaspoon if using salted popcorn.
Microwave popcorn may also be used. Use the plainest popcorn you can find. Orville Redenbacher makes a Naturals Simply Salted version I’ve used before. You will need 2-3 bags to yield at least 13 cups of popcorn. Reduce amount of salt to ¼ teaspoon if using salted popcorn.
Save this recipe to your pinterest board!
Let’s be friends on Pinterest! I’m always sharing great recipes!
Did you make this recipe? I love hearing from you! Leave a star rating and comment below the recipe card. It helps others when searching for recipes and I appreciate feedback from our community. You will always hear back from me! -Melissa
Mom’s Favorite Microwave Caramel Corn Recipe
Ingredients
- ½ cup (82 g) popcorn kernels, air popped plain OR 13 cups plain microwave popcorn (2-3 bags)
- ½ cup (113.5 g) unsalted butter
- 1 cup (220 g) dark brown sugar
- ¼ cup (85.25 g) light corn syrup
- 1 teaspoon (0.5 tsp.) salt
- ½ teaspoon (0.5 tsp.) baking soda
Instructions
- Pop the popcorn in air popper or microwave bags, removing any unpopped kernels. Place popcorn in a large, paper grocery bag. Set aside.½ cup popcorn kernels
- In a large microwavable safe measuring cup or bowl, place the butter, brown sugar, corn syrup and salt (do not add baking soda yet). Microwave for 1 minute on high. Remove and stir.½ cup unsalted butter, 1 cup dark brown sugar, ¼ cup light corn syrup, 1 teaspoon salt
- Return to the microwave and cook for 2 more minutes. Stir in the baking soda. Immediately pour caramel sauce over popcorn in paper bag. Roll down the top of the bag and shake well.½ teaspoon baking soda
- Place closed bag in microwave and cook for 90 seconds. Remove and shake well, using oven mitts to protect hands. Flip bag over and cook again for 90 seconds. Remove and shake well. Finally, flip bag over and cook for 45 seconds.
- Shake one last time and pour on ungreased cookie sheet to cool. Store in an airtight container.
Notes
Storage
Once it has completely cooled store in an airtight container, like large glass jars with lids or tins. Store at room temperature up to 1 week.This post contains affiliate links. My opinions are always my own. If you purchase a product through an affiliate link, I make a small commission – at no cost to you. Read full disclosure policy here.


I’ve been making caramel corn this way for years, with the exception of using salted butter instead of unsalted butter, negating the need to add the 1 tsp salt. Everybody loves it!
Love to read this, Kathleen! Thanks for sharing.
Best,
Melissa
What could I use in place of the corn syrup? Would maple syrup work?
Hi Deby,
I haven’t tested the recipe without it, but, yes, I would try pure maple syrup. Let me know how it goes!
Best,
Melissa
Micro wave Carmel corn recipe made tonight and it is outstanding. I found it a week ago and was going to surprise my husband on our anniversary but discovered I didn’t have enough butter so bad to delay. I kept thinking it can’t be this easy so kept delaying. Wow so simple and great . My sister makes this slightly different recipe but she adds peanut butter chunky about half of a cup love the slight
Peanut flavor it adds. Thank again will make Again for sure and Great for gift treat.
Hi Diane,
I’m so glad you wrote because I’ve never considered add chunky peanut butter. I’m going to try it! I’m so glad you found the recipe easy and enjoyed it. Thank you so much for taking the time to write!
Best,
Melissa
Just made your Carmel popcorn recipe. Loved it. I used to make it constantly til the scale and I disagreed about how much I enjoyed it. Back in the day I had it memorized. Didn’t think I could ever forget it but had and have been looking for it now maybe 10 years. So very excited to find it again.
My microwave may be a little hotter as I could not heat the last 45 seconds.
Perfect. Was difficult waiting for it to cool. Thanks so very much. Have a terrific day. From your new friend Alice
T
Hello new friend, Alice! This is definitely an old school recipe because my mom made it for us growing up. Now my kids absolutely love it. I know what you mean about it being hard to have around. It goes too quick, and that’s probably not a good thing. It makes me beyond happy you found a long lost recipe.
Best,
Melissa
Hi there,
I stumble across your blog looking for a banana filling, but the more I read, the more I liked your blog.
I really loved your stories, like when you won the chili contest, and I would gladly stay reading a lot more …but I am at work and I am so hungry and those pictures look delicious…
I leave you a comment because I loved you right away, the way you tell the stories… I smiled a good amount of the time while reading them and I love that I had to look out for words I didn´t know like shrapnel!. Also, I want to say that I admire your dedication and all the sharing you do here, being the mom of for little ones.
All the best wishes for you for this new year, I will keep visiting and try some of the recipies 🙂
A big hug from Chile!!
Thank you very much for taking the time to let me know. You truly made my day with your lovely message. I’m glad I can make you smile and I am always happy to share my passion for cooking with others. Best wishes!
-Melissa
This looks so easy and perfect hostess gift for the holidays. How long can I store it??
We usually stored it in a tin, but you can use any sort of airtight container. It will stay for a couple weeks, so great one to make ahead of time!