
Learn how to make a gluten-free Oreo pie crust recipe that actually holds together and slices beautifully! What’s the trick? Using GF Oreos for a chocolate cheesecake crust or no bake pie filling requires a little more butter then traditional recipes to hold it together. Discover the perfect 2-ingredient ratio right here!

Want to Save This Recipe?
Enter your email below & we'll send it straight to your inbox. Plus you’ll get affordable and easy gluten-free recipes delivered each week!
Gluten-Free Chocolate Crust (Cheesecake & Pies)
Using gluten-free Oreos in desserts has opened up a whole world of possibilities. Since creating a gluten-free Oreo cheesecake crust for this viral GF Oreo dessert, it was hard to stop the creations flowing. That snowballed into homemade gluten-free ice cream cake and now it’s time to open up the pie-making floodgates.
To recipe test a pie crust made with gluten-free Oreos, I started with traditional recipes to see if an easy GF Oreo swap out would work. However, similar to my gluten-free graham cracker crust recipe, some easy adjustments had to be made so the crust actually binds together and slices without falling apart.
With graham crackers it meant adding a sprinkle of GF flour. A gluten-free Oreo crust requires no extra ingredients, but the ratio of cookie crumbs to butter was adjusted slightly. Also when making a gluten-free chocolate crust for cheesecake or pies, it’s best to bake the crust for 10 minutes before filling.
If you were set on a no bake recipe, technically you could keep the ingredients the same and do that. I would recommend refrigerating it for at least 30 minutes before filling. Also, the slices won’t bind together as well and will be crumbly. But, hey, you do you.
Ingredient Tid Bits
While only two ingredients are required – GF Oreos and melted butter – I still have a little ground to cover here because everyone loves options!
For the Oreos, if you want to do something besides a chocolate crust, feel free to use whichever gluten-free variety you’d like. Currently Nabisco is also making double stuffed, golden and mint…and I’m not mad about it. There’s other brands to choose from too – Great Value (Walmart), Kinnikinnick, Glutino, and Simple Mills.
If you’re looking for a dairy-free crust, simply swap out the butter for a vegan, plant-based butter stick (Oreos are vegan / dairy-free so you don’t have to worry about that). I haven’t tried the recipe using melted coconut oil, but if you do, please leave me a note below in the comments.
Free Guide! 5 easy tips for baking like a gluten-free pro!
Simple hacks for fail-proof gluten-free dishes every time!
Let’s Make This Together!
(Below shows step-by-step photos and modified instructions. For the complete recipe, along with ingredient amounts, scroll down to the recipe card.)
Easiest 1-Minute Prep.
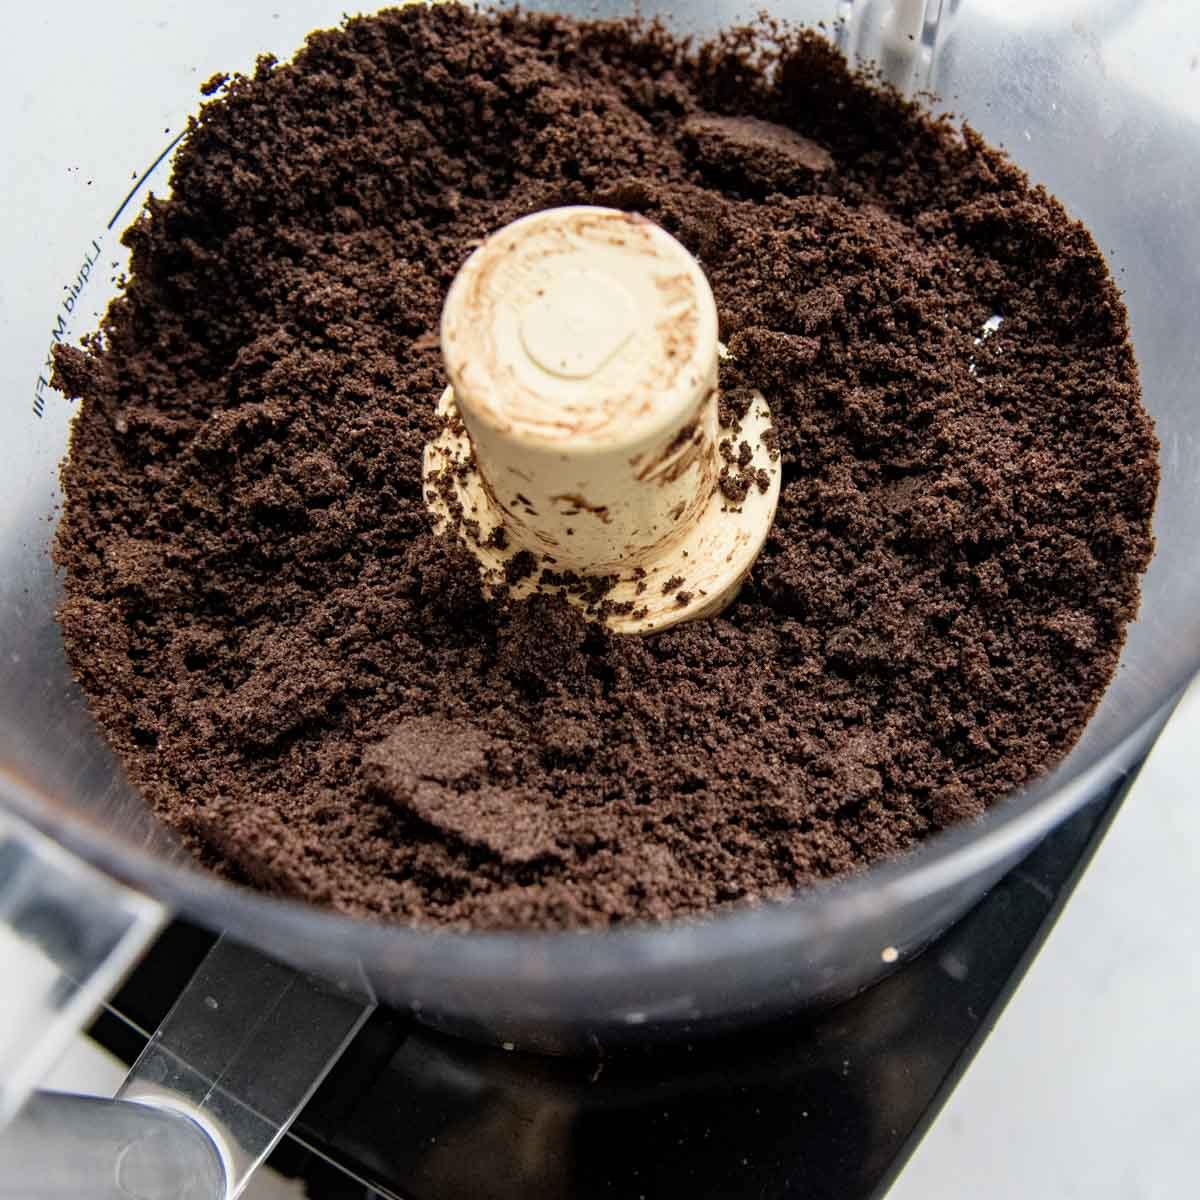
I’ve said it before and I’ll say it again. Food processor = game changer. Especially if you are kitchen-prep-averse. It gets the crumbs really fine, which helps bind the crust, making nice, clean slices.
If you don’t have a food processor, though, no worries. We can still make a stellar crust. Place the cookies in a ziplock bag and use a rolling pin or meat mallet to crush them to smithereens. Really go after it because you want it nice and fine.
After you have the crumbs add the melted butter. Either add it directly to the food processor to combine or, if crushing by hand, transfer the crumbs to a bowl and mix in.
It’s all about the press.
Another key part for holding together slices for pies or cheesecake is making sure everything is pressed in really good. First, dump the crumbs in the pie plate or springform pan. Use the bottom of a glass to press down evenly. The excess will naturally spread out to the sides.
Then use the side of the glass to press around the edges. If you’re using a springform the edges will only go up about a third of the way, or you can just let it all just on the bottom.
I like to finish off by using my fingers to go around the edges again, making sure everything is even and the tops have a nice, clean ridge. This is when my OCD really comes out of the gates.


Bake and fill
Pop the crust in a 350ºF for 10 minutes. It’s like an almost no-bake crust because we can turn on the oven for a few minutes, right?? Make sure the crust cools all the way by filling it with your no bake filling. See, you lose some, you win some.

Which Baking Pans Can Be Used?
Use this homemade Oreo crust in 9-inch pie plate or deep dish pie pan. If you go the deep dish route, make the bottom crust slightly thinner so you you have enough crumbs to go up the sides.
I also use this chocolate crust recipe a lot for gluten-free no bake cheesecakes. For springform pan sizes, stick with 8-10-inches. If using an 8-inch pan, use the crumbs to go up the sides a bit. For 9 or 10-inch pans you can just do the bottom layer, or go up the sides a little bit.
Want to make mini cheesecake cupcakes? Check my tips on that right below.

Next-level Cheesecake & Pie Fillings
- Mini cheesecakes – Line a 12-cup muffin tin with paper liners. Divide about 2 tablespoons crumbs in each cup and press down. If you are using a baked filling, pour and bake as directed. For no bake, bake in a 350ºF for 7 minutes, cool completely, and fill.
- Ice cream or freezer pie fillings
- Chocolate or raspberry mousse
- Creamy peanut butter filling – follow this easy peanut butter Oreo pie recipe
- Cannoli cheesecake
- Candy cane or peppermint pie
- Another fan favorite – epic chocolate chip mint pie with Andes
- More ideas? Tell me how you used this crust in the comments below!

Save this to your pinterest board!
Let’s be friends on Pinterest! I’m always sharing great recipes!
Did you make this recipe? I love hearing from you! Leave a star rating and comment below the recipe card. It helps others when searching for recipes and I appreciate feedback from our community. You will always hear back from me! -Melissa

Easy Gluten-Free Oreo Crust (Slices Perfectly!)
Ingredients
- 26 gluten-free Oreos, reserve rest for topping
- 5 tablespoons butter, melted
Instructions
- Preheat the oven to 350°F. Crush the 26 cookies into fine crumbs. To do this quickly, use a food processor. Otherwise place in a ziplock bag and use a rolling pin to crush into extremely fine crumbs.26 gluten-free Oreos
- Add the melted butter to the food processor or transfer the crumbs to a bowl and mix with butter to combine.5 tablespoons butter
- Dump the mixture into a 9-inch pie plate or springform pan. Use a measuring cup or glass to firmly press the crumbs evenly along the bottom of the pan. Use the side of the cup to evenly distribute around the sides. Finally, press around the sides and bottom with your hand to make sure everything is compressed and even. If using a springform pan, you can just press along the bottom, or about ⅓ up the sides as well.
- Bake for 10 minutes. Remove from the oven and cool while you prepare the cheesecake mixture. Garnish with pie with remaining cookies right before serving.
Notes
Make Ahead and Storage Tips
The crust may be made ahead of time and stored at room temperature for 24 hours. After it cools, loosely cover with foil until ready to fill. For longer storage, it may also be wrapped securely and frozen up 1 month. Once the filling is in, refrigerate up to 24 hours before serving. A lil’ bonus tip – if garnishing with Oreos, save those until ready to serve. I’ve found GF Oreos get soft when stored in the fridge. However, the filled crust is fine. Not sure why that is, but trust. I’ve kept leftovers refrigerated up to a couple days and haven’t noticed much difference in the crust texture, but eventually the moisture starts to seep in and it becomes softer.This post contains affiliate links. My opinions are always my own. If you purchase a product through an affiliate link, I make a small commission – at no cost to you. Read full disclosure policy here.


Hi! It appears the baking part of this recipe disappeared? How long does one bake it for?
Thanks.
PS. Love the provided details aka # of cookies, etc.
Huh, that’s strange. I see it on my end. It bakes for 10 minutes (step 4) at 350. Enjoy and I appreciate that YOU appreciate the tips!
Best,
Melissa
Do you scrape the cream out of the Oreo before blending into crumbs?
No, just add the whole cookie in!
Good ratio, excellent base for easy gluten-free desserts. Thank you!
Thank you, Kari! I appreciate you leaving a note.
Best,
Melissa
Worked GREAT!!! I did change the butter to maple syrup due to needing a gluten and dairy free pie crust. I made 2 – one with golden gluten free oreos and the chocolate gluten free oreos. LOVED them!
Thanks for sharing, Debbie! I appreciate you taking the time to comment.
Best,
Melissa
This was great. I did use maple syrup instead of butter for my niece who needs dairy and gluten free. Worked great with both golden gluten free oreos and the chocolate ones. thanks!!!
Love hearing this, Debbie! Thanks for taking the time to let me know.
Best,
Melissa