Enjoy an amazing GF chocolate dessert in only one minute! This gluten-free mug brownie recipe has the perfect balance of texture – rich and fudgy without being undercooked and goopy. Discover many easy tricks right here, along with versatile options for egg-free, vegan, dairy-free, or cakey single-serving dessert!
Want to Save This Recipe?
Enter your email below & we'll send it straight to your inbox. Plus you’ll get affordable and easy gluten-free recipes delivered each week!
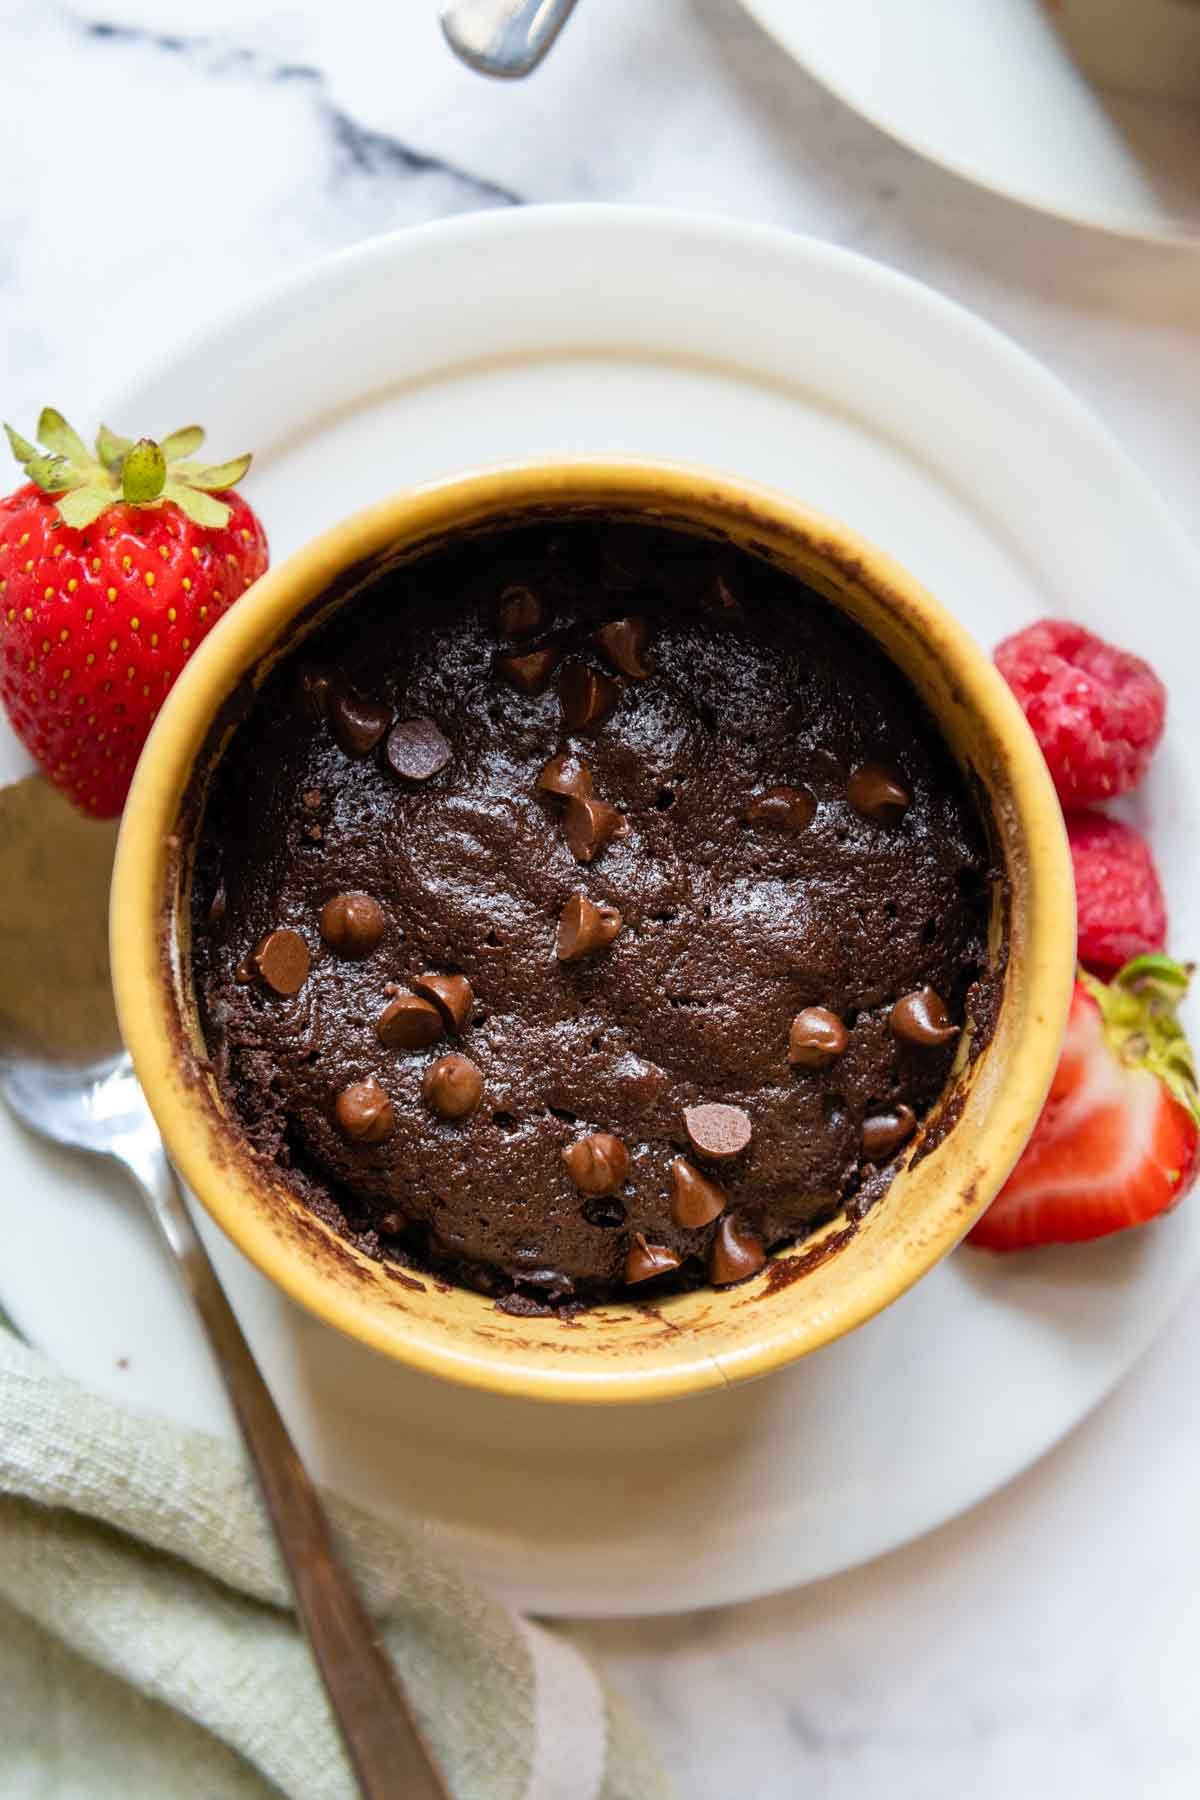
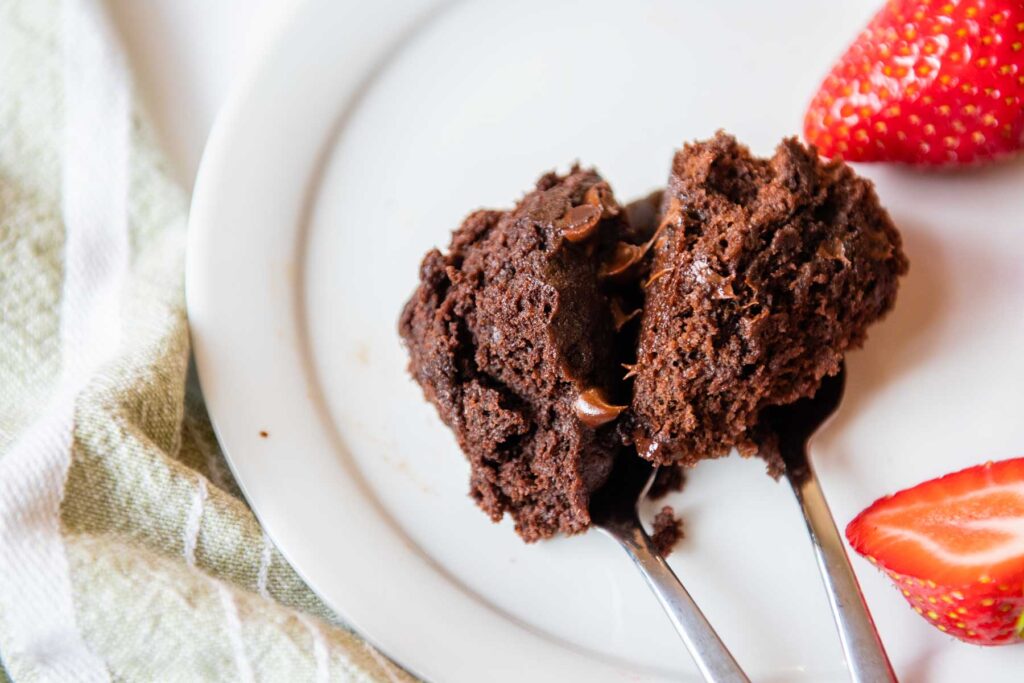
Single serving gluten-free brownie in a mug
Faced with a gluten-free dessert emergency? In the mood for something sweet and immediate, meaning all the ingredients should be stocked and ready to go? A fudgy gluten-free mug brownie is the perfect option!
A microwave brownie in a mug can be made, start to finish, in less than a few minutes, and uses many easy tricks for the best results every time. Enjoy the same delicious flavor of these highly-reviewed homemade gluten-free brownies, but in a single-serving size.
While the end result is quick and simple to make, the recipe was tested over and again to ensure the best results. While some gluten-free mug brownie recipes omit an egg, I found texture to be too wet and gooey, almost like undercooked brownie batter.
Adding a yolk, rather than a whole egg, helps with binding and gives the crumb more lift, so it’s not as moist and goopy. Along with that, boosting the amount of unsweetened cocoa powder helps absorb the moisture while amping a rich chocolate flavor.
However, through all the testing I discovered many more variations and tricks. Like cakey brownies? I have an easy fix for that! Need an egg-free or dairy-free recipe? Not a problem!
It’s all here. Learn how to make a the best gluten-free mug brownie, along with ingredient substitutes, serving and mix-in ideas. This microwave mug brownie is guaranteed to be made on repeat with great results every time!
Free Guide! 5 easy tips for baking like a gluten-free pro!
Simple hacks for fail-proof gluten-free dishes every time!
Ingredient Notes
Through recipe testing, I’ve discovered different workable adaptations to make a single-serving gluten free brownie diary-free or vegan. The ingredient substitutes are listed below, but also see the dairy-free and egg-free sections for more details. For a grain-free, lower carb option, try this fluffy almond flour mug cake.
- All Purpose gluten-free flour blend – Since there is such a small amount used, a variety of flour blend brands will work. Personally I use and recommend Cup4Cup because it mimics the taste and texture of traditional brownies the best.
- Brown sugar – I prefer light brown sugar because it adds to the fudgy crumb. You can also reduce the amount to two tablespoons to save on calories, replace with coconut sugar, granulated sugar, or a sugar-free sweetener.
- Unsweetened cocoa powder – The perfect balance is essential when it comes to chocolate desserts. Adding a little more gives a nice, rich flavor like in this popular gluten-free chocolate cake recipe, but also helps absorb moisture for the right texture.
- Oil– Use any preferred oil, such as canola, coconut oil, or vegetable oil.
- Milk – Adds moisture to the brownie. For a dairy-free recipe, replace with almond milk, soy milk, or any preferred dairy-free milk.
- Egg yolk – When adding a whole egg the mug brownie wasn’t quite as fudgy, so I experimented with just adding the yolk. Success! For a cakey texture, replace the yolk with the egg white and microwave about 20 seconds longer.
- Chocolate Chips – I use miniature baking chips to evenly disperse throughout the brownie, but regular-sized semi-sweet may also be used. If you omit the chocolate chips, the brownie won’t be quite as gooey. For dairy-free mug brownie, omit or use non-dairy chocolate, such as Enjoy Life brand.
how to make Gluten-Free Mug Brownie
(Below shows step-by-step photos and modified instructions. For the complete recipe, along with ingredient amounts, scroll down to the recipe card.)
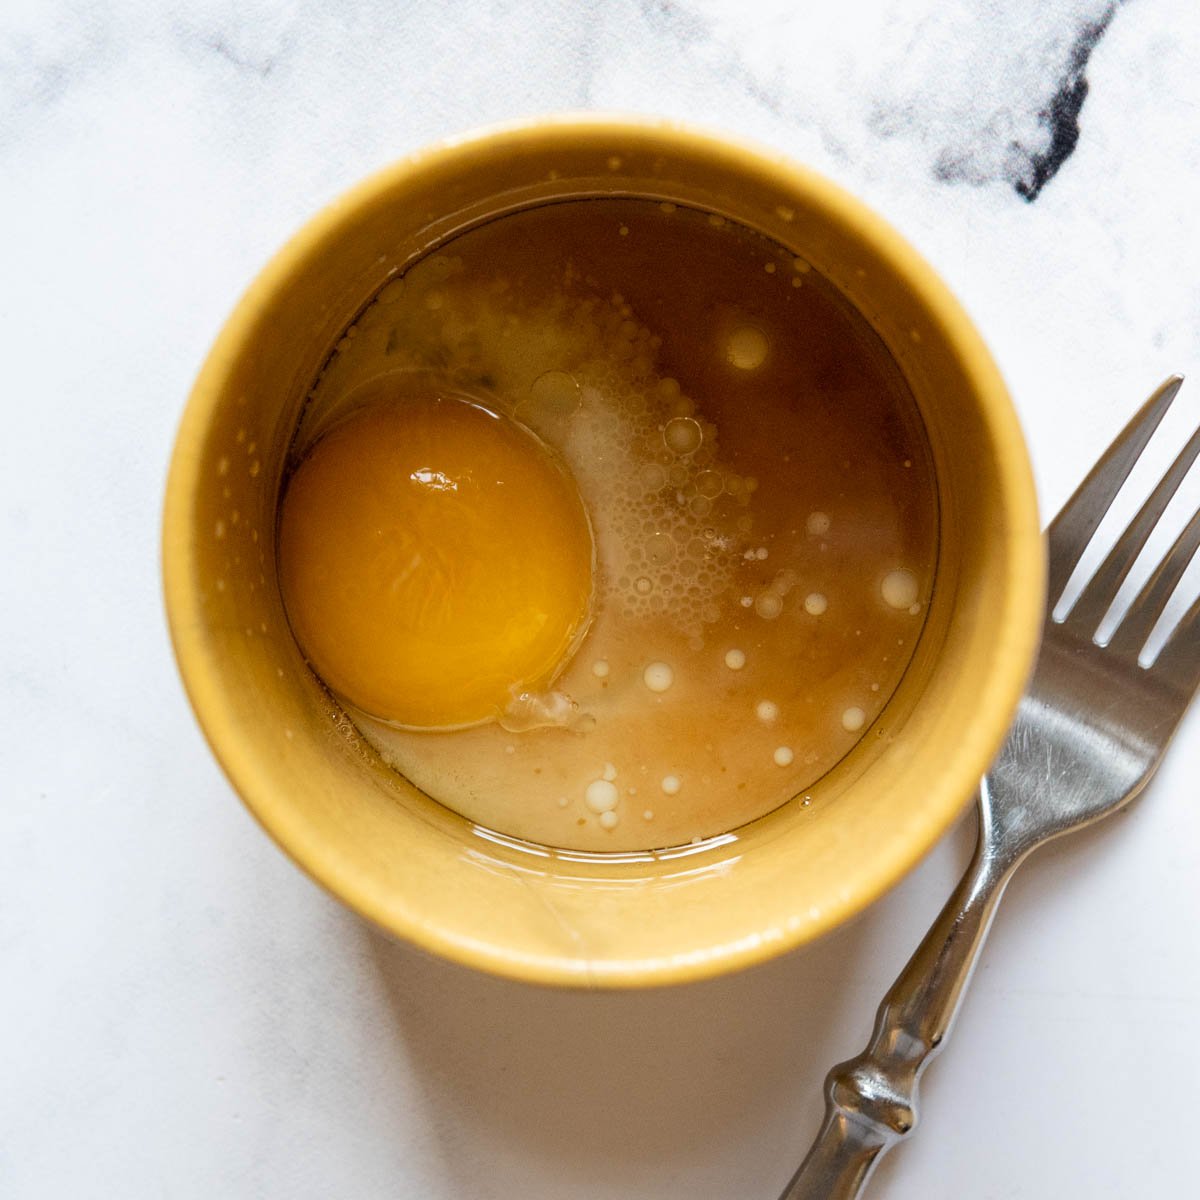

- Grease a microwave-safe 10 ounce mug or ramekin with nonstick cooking spray. With a fork whisk together the egg yolk, brown sugar, oil, milk, and vanilla extract until smooth.
- Add the gluten-free flour, cocoa powder, salt, and baking. Stir well, making sure to scrape the bottom of the mug to get the dry ingredients worked in.
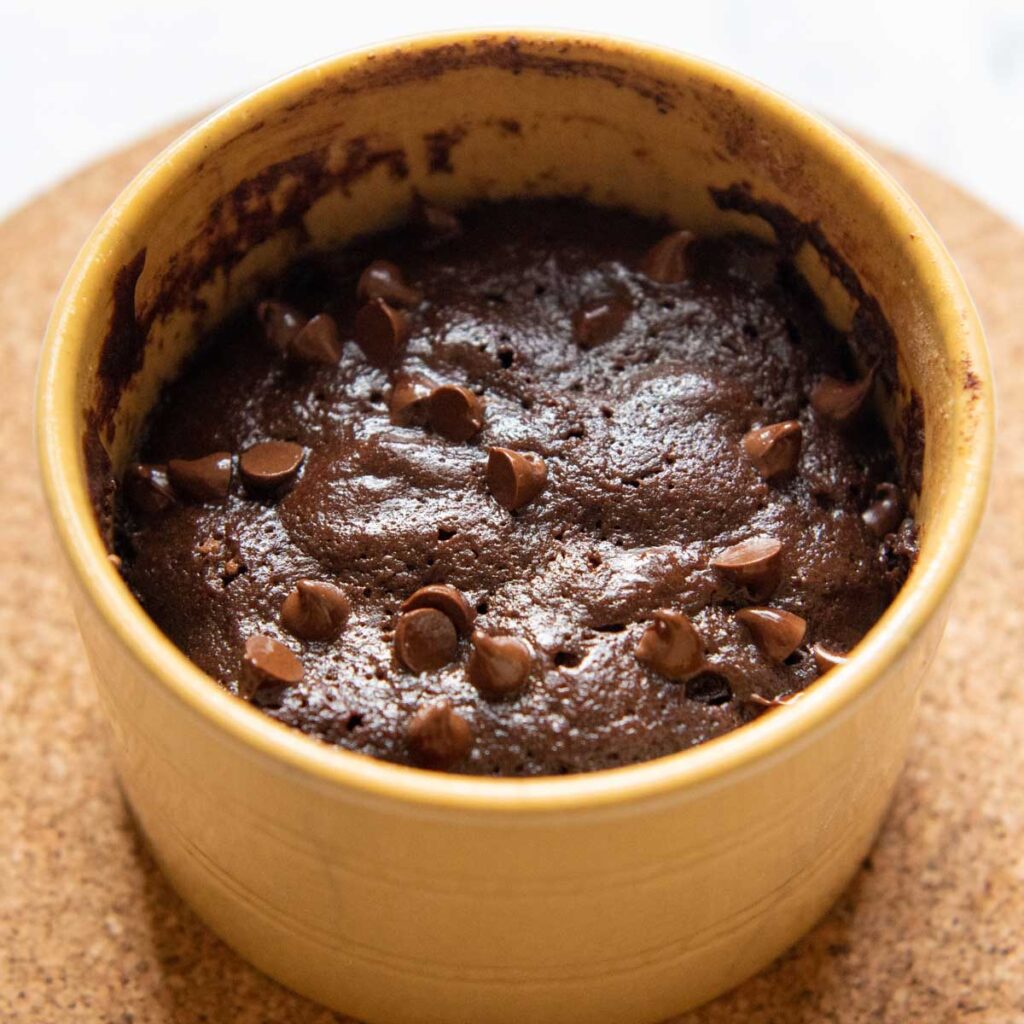
- Stir in 1 tablespoon chocolate chips. Sprinkle the remaining ½ tbsp on top. In a 1000 watt microwave, cook for 1 minute, or until the top is just firm and shiny, being careful to not overcook. Let rest for 1 minute before enjoying.
Fudgy or Cake Mug Brownie Option
Love fudgy brownies? Make the recipe as directed. Prefer a cakier option, or even a single-serving gluten-free chocolate mug cake? There’s an easy fix for that!
When testing the recipe, I tried it several different ways. One of my versions used an egg white versus an egg yolk in the brownie batter. The result? I taller, fluffier texture, similar to chocolate cake.
Because the egg white contains more liquid you will need to microwave it for 20 seconds more. Also be sure you have a large enough capacity mug. I recommend at least a 10 ounce mug or ramekin.
Egg-free modification
I wanted to have options for different diets, including a vegan gluten-free mug brownie, so I also tested the recipe without the egg yolk.
The easy option is to replace the egg yolk with 2 additional tablespoons of dairy-free milk and be sure to use dairy-free chocolate chips. I do want to point out, though, that it does change the texture.
The brownie will be a little more condensed and doesn’t rise as much as made with the egg yolk. Also, it gets fairly more gooey, which isn’t necessarily a bad thing. Because there is more liquid, you will need to microwave the brownie for about 30 seconds more.
Dairy-free modification
Since there is no butter used in the recipe, it’s quite simple to make a dairy-free gluten-free brownie in a mug. Swap out the milk for your favorite dairy-free variety and use non-dairy chocolate chips.
When choosing a gluten-free flour, you will also want to read the ingredient label. My preferred brand, Cup4Cup, does contain milk powder so it’s not a good option for those on a gluten-free dairy-free diet.
Serving Ideas and Mix-ins
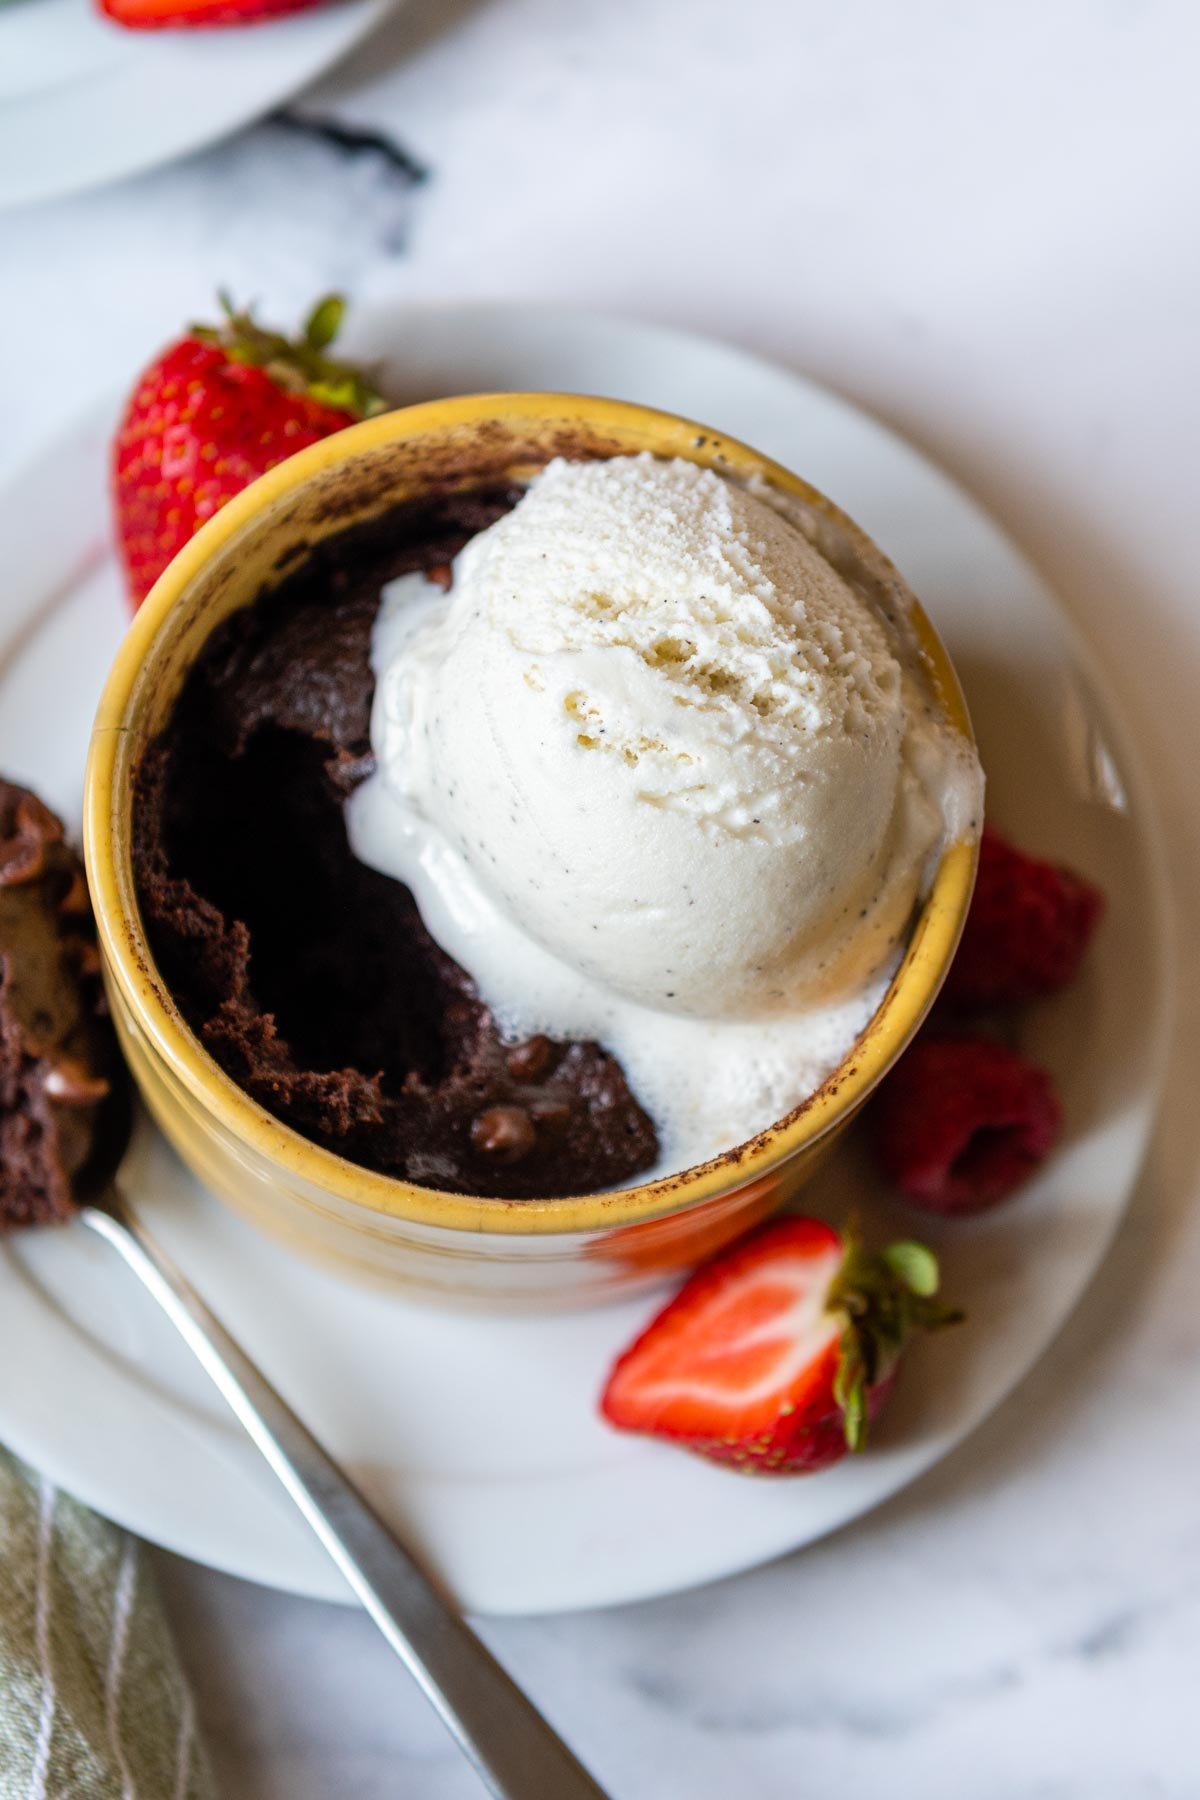
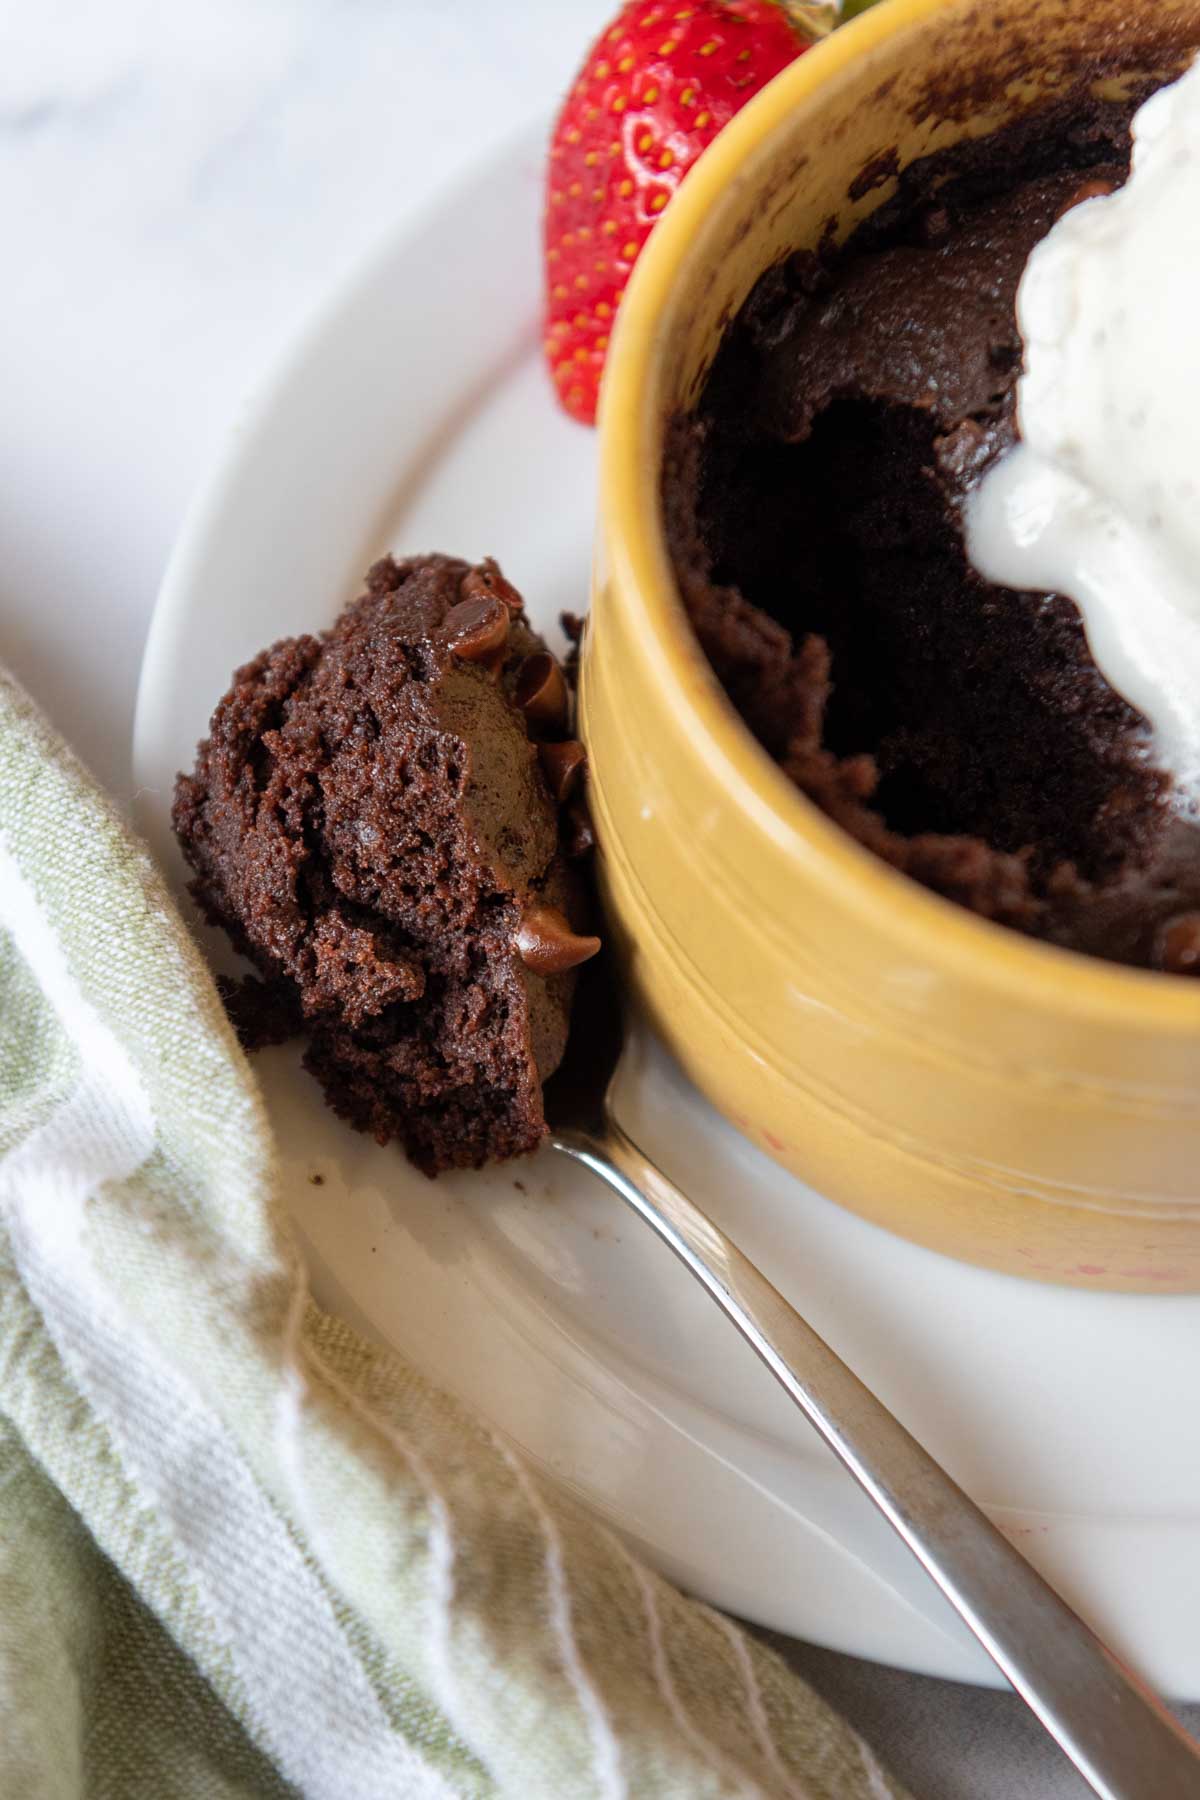
For best taste, enjoy warm out of the microwave oven. To make this a truly decadent gluten-free dessert, top with one of the suggested toppings below or add mix-ins for different flavors.
While a single-serving gluten-free brownie helps portion control, it can easily be divided into two servings, especially when adding toppings or mix-ins.
- Vanilla ice cream
- Fresh berries
- Orange zest
- Nuts, such as almonds, walnuts, or candied pecans
- Whipped cream
- Dollop of peanut butter or Nutella
- Fruit jams, such as raspberry swirled in before microwaving
- Chocolate sauce or hot fudge
Save this recipe for Gluten-Free mug Brownie to your pinterest board!
Let’s be friends on Pinterest! I’m always sharing great recipes!

Gooey, Fudgy Gluten-Free Mug Brownie (Easy Tips)
Ingredients
- 1 egg yolk, see recipe notes for vegan
- 3 tablespoons light brown sugar
- 1 ½ tablespoons oil, any preferred
- 1 tablespoon milk or non-dairy milk
- ¼ teaspoons vanilla extract
- 2 ½ tablespoons gluten free all purpose flour
- 2 tablespoons unsweetened cocoa powder
- pinch salt
- pinch baking powder
- 1 ½ tablespoons miniature semi-sweet chocolate chips, divided
Instructions
- Grease a microwave-safe 10 ounce mug or ramekin with nonstick cooking spray. With a fork whisk together the egg yolk, brown sugar, oil, milk, and vanilla extract until smooth.1 egg yolk, 3 tablespoons light brown sugar, 1 ½ tablespoons oil, 1 tablespoon milk or non-dairy milk, ¼ teaspoons vanilla extract
- Add the gluten-free flour, cocoa powder, salt, and baking. Stir well, making sure to scrape the bottom of the mug to get the dry ingredients worked in.2 ½ tablespoons gluten free all purpose flour, 2 tablespoons unsweetened cocoa powder, pinch salt, pinch baking powder
- Stir in 1 tablespoon chocolate chips. Sprinkle the remaining ½ tbsp on top. In a 1000 watt microwave, cook for 1 minute, or until the top is just firm and shiny, being careful to not overcook. If you have a lower wattage oven, it will need up to 30 seconds longer. Let rest for 1 minute before enjoying.1 ½ tablespoons miniature semi-sweet chocolate chips
- DID YOU MAKE THIS RECIPE?? DON'T FORGET TO LEAVE FEEDBACK AND RATE BELOW!
Notes
Vegan Modifications
The easy option is to replace the egg yolk with 2 additional tablespoons of dairy-free milk and be sure to use dairy-free chocolate chips. I do want to point out, though, that it does change the texture. The brownie will be a little more condensed and doesn’t rise as much as made with the egg yolk. Also, it gets fairly more gooey, which isn’t necessarily a bad thing. Because there is more liquid, you will need to microwave the brownie for about 30 seconds more. Swap out the milk for your favorite dairy-free variety and use non-dairy chocolate chips.This post contains affiliate links. My opinions are always my own. If you purchase a product through an affiliate link, I make a small commission – at no cost to you. Read full disclosure policy here.


This is so good! Thank you for sharing this recipe. So easy and fast to make. Even better with a little scoop of ice cream. Definitely making regular rotation.
Yes! It is so good with a little ice cream. Thank you for the note, Johanna!
Best,
Melissa
Love this!! Came out amazing. I used almond flour
Oh, so glad to know it works with almond flour too! Thanks for taking the time to share, Elitia.
Best,
Melissa
I wish this wasn’t so delicious and easy to make because I end up having it too often. I love to add some raspberries on top once it’s cooled
Haha! It’s just soo good! And raspberries on top sound divine. Thanks, Amy!
Best,
Melissa
This is great and easy
Love to read this! Thanks, Linda!
Best,
Melissa
OMG quick chocolaty and delicious! I will be making this when the sweet tooth kicks in again.
Thank you!
Ha! Yes – it is great quick fix for a sweet tooth! Thanks, Cecily.
Best,
Melissa
Delicious!
Love to hear this! Thanks, Carrie!
Best,
Melissa
I tried your brownie in a mug recipe using the following substitutions of coconut sugar, almond milk, coconut oil & unsweetened cacao. It was a fabulous chocolate treat, thanks so much!
-Sherry
Thanks for sharing, Sherry!
Best,
Melissa
This was exactly what I was looking for to satisfy my late-night craving! I used slightly less sugar and it still turned out great. Will definitely be making this often.
That’s great, Julia! Thanks for sharing.
Best,
Melissa
Delicious! I made it with Lily’s white chocolate chips. 😋 It really has the taste and texture of a brownie, and so easy!
Thanks, Ema! I appreciate you taking the time to let me know!
Best,
Melissa
So good and so easy! Just wish I would have had a scoop of ice cream to go with it! Thank you for sharing your recipe.
You’re welcome, Althea! Glad you enjoyed the recipe!
Best,
Melissa
Mmm this is so good when you want a little something chocolatey without going thru the trouble of making an entire tray of brownies. Thanks for the recipe!
You’re welcome, Chelsea! Glad you enjoyed!
Best,
Melissa