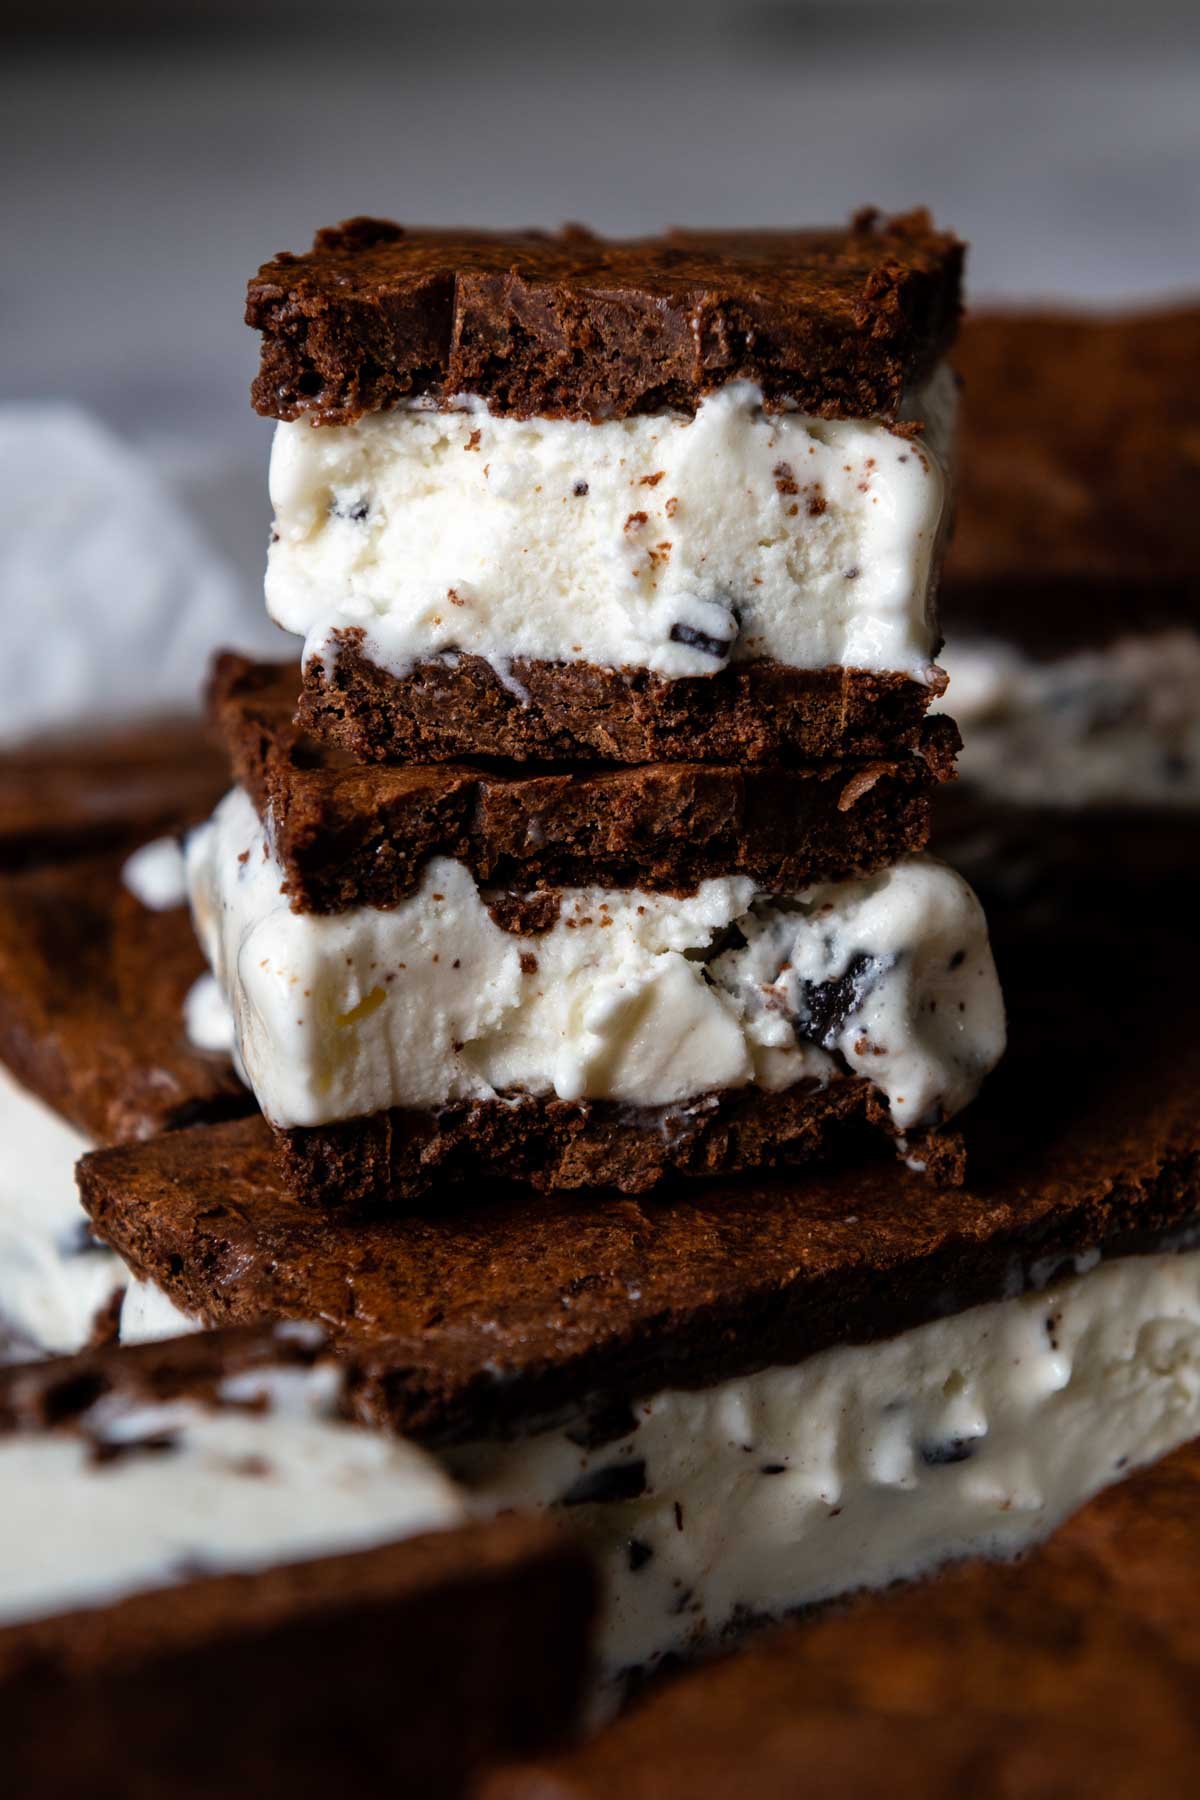
Not only can you learn how to make gluten-free ice cream sandwiches with this easy homemade recipe, but experience a tasty frozen treat better than any GF store brands available! Prepare the thick chocolate cookie wafer in minutes with this one-bowl recipe, and then press into a baking sheet. No rolling, cutting, or expert gluten-free baking experience is required to make 12 creamy and decadent ice cream bars!
Want to Save This Recipe?
Enter your email below & we'll send it straight to your inbox. Plus you’ll get affordable and easy gluten-free recipes delivered each week!
Epically Good Homemade Gluten-Free Ice Cream Sandwiches
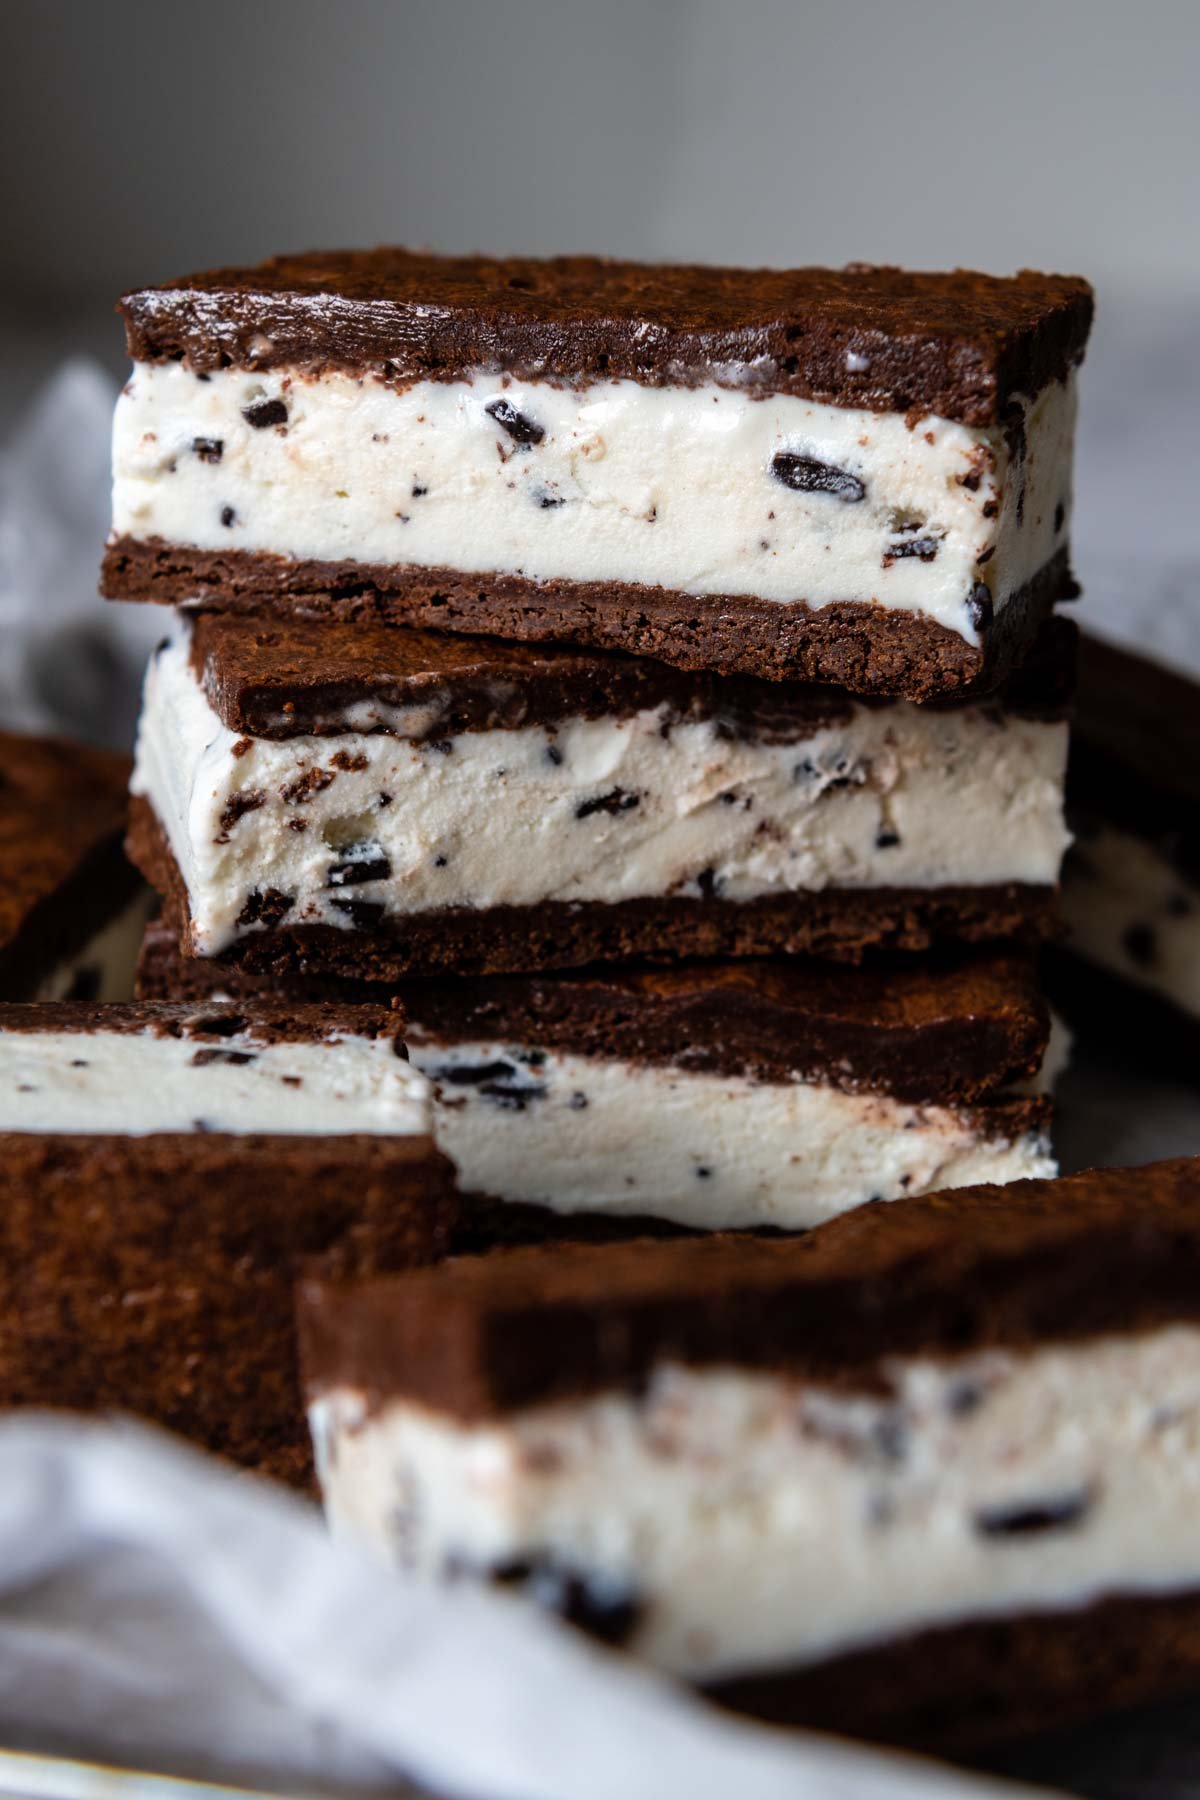
When creating gluten-free ice cream sandwiches, I wanted to mimic the soft, yet sturdy texture of the chocolate wafer cookies. Some recipes accomplish this with a roll-out dough that is cut and baked before filling with ice cream.
I found this method to be a little labor intensive and complex, especially for someone new to a gluten-free diet. A press-in bar, with the texture between a cookie and a chewy brownie seemed like the perfect solution!
Luckily, there is an easy option to make a gluten-free ice cream sandwich recipe that tastes even better. Just like with another immensely popular crowd favorite, homemade gluten-free ice cream cake, it’s surprisingly easy to make a from-scratch version, and honestly, it’s WAY better than any store bought versions I’ve tried, gluten-free or not!
A combination of melted chocolate chips and unsweetened cocoa powder, helps keep the crumb moist while also absorbing some of the fat, something gluten-free flour blends have a hard time doing. Without the cocoa powder the end result was overly greasy and sweet.
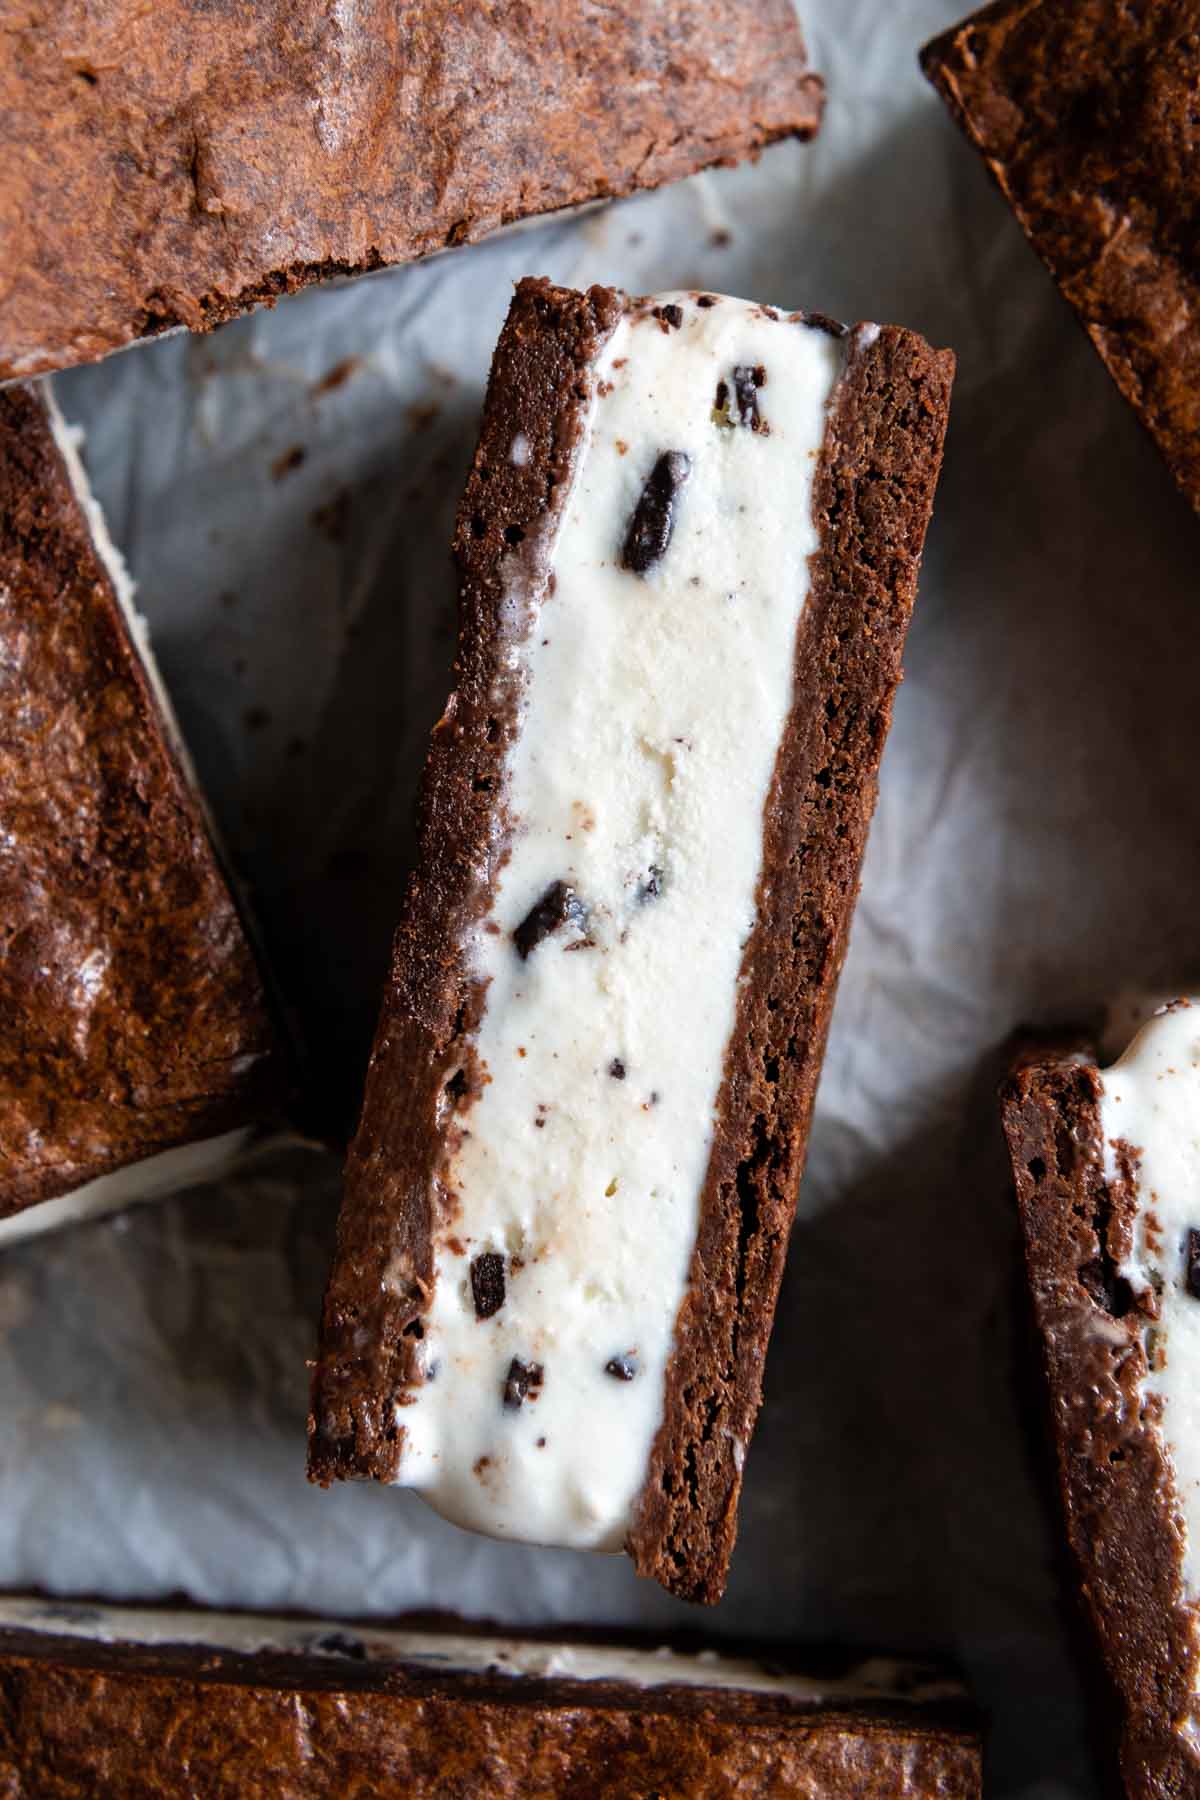
GF ice cream bars also work well for creating different flavor combinations. I used a mint chip ice cream, but use any flavor variation, as long as it’s with a GF ice cream. Use anything from classic vanilla ice cream, strawberry, to gelato and homemade ice cream.
I particularly love this gluten-free dessert idea because you can make it ahead of time. Plus, it’s an unexpected treat, especially in the hot days of summer. Whether your entertaining, or want to surprise your family with homemade ice cream sandwiches, it’s the perfect choice!
Free Guide! 5 easy tips for baking like a gluten-free pro!
Simple hacks for fail-proof gluten-free dishes every time!
Ingredient Tid Bits
Other than picking up a carton of ice cream, all the ingredients should be ready to go right in your kitchen! Below I share any workable substitutions, especially if you need a dairy-free adaptation.
- Butter – While the recipe calls for unsalted butter, you have options for a dairy-free recipe. Replace with an equal amount of plant based, vegan butter sticks or melted coconut oil.
- Chocolate chips – Use semi-sweet baking chips for a rich chocolate flavor. For dairy-free, replace with non-dairy baking chips, such as Enjoy Life.
- Gluten-free flour blend – I use and highly recommend Cup4Cup gluten-free flour for all my gluten-free baking because it mimics the taste and texture of wheat flour the best.
- Unsweetened baking cocoa – Natural or dutch-processed baking cocoa may be used. When recipes are heavily reliant on cocoa, I prefer the smoother taste of dutch cocoa.
- Ice cream – See the Gluten-Free Ice Cream Options section for buying guidelines. Also, replace with dairy-free ice cream.
Let’s Make This Together!
(Below shows step-by-step photos and modified instructions. For the complete recipe, along with ingredient amounts, scroll down to the recipe card.)
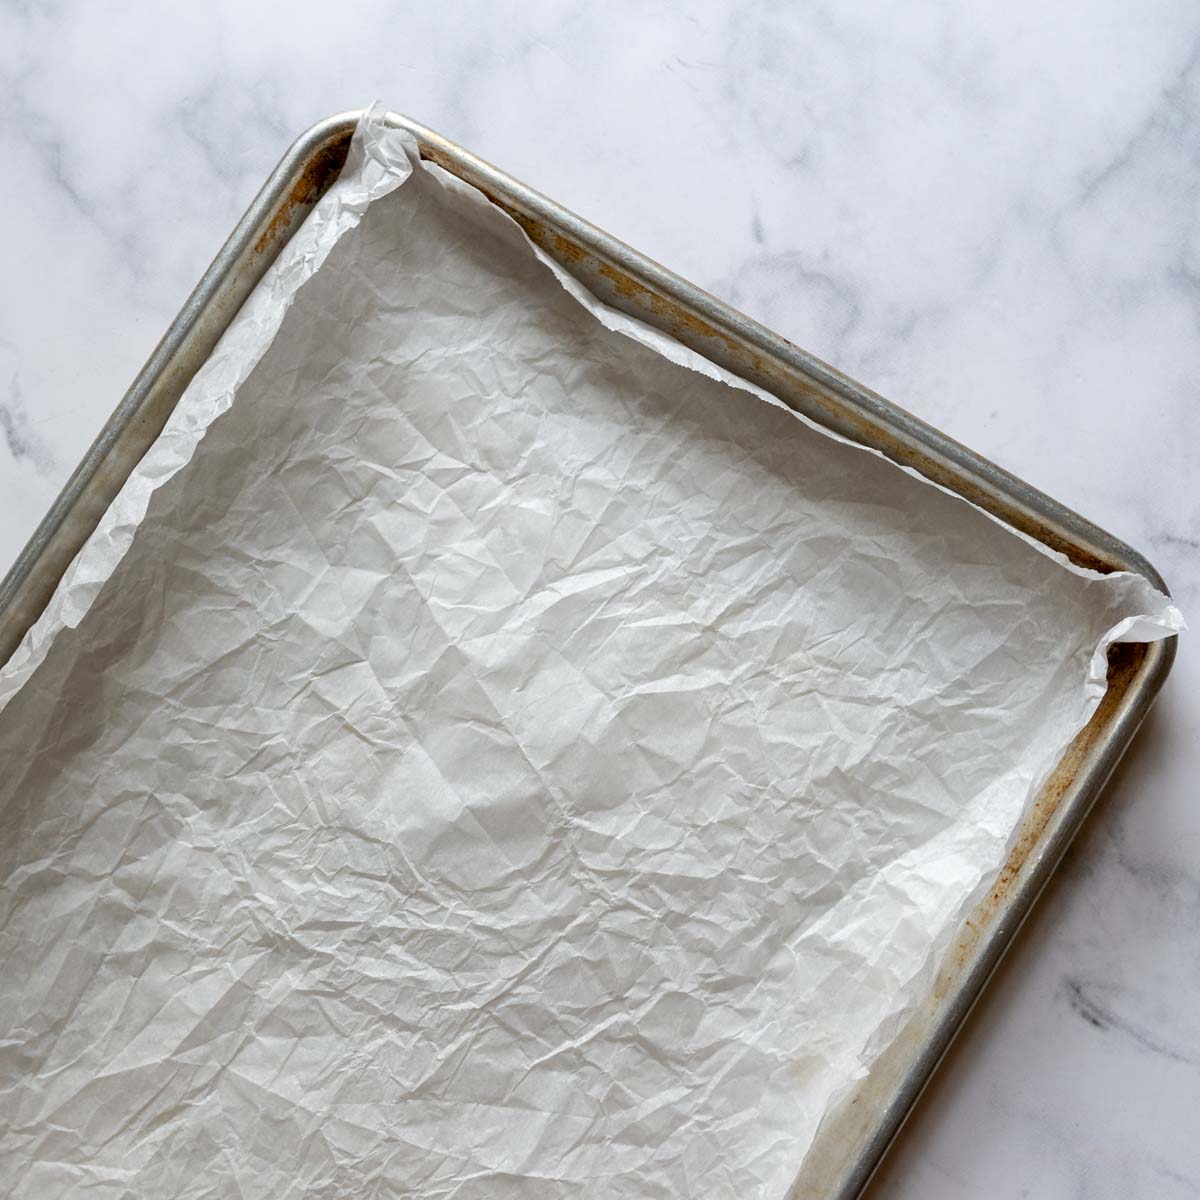
Prep your pan for easy removal
Crumble a large piece of parchment paper, unfold, and then press it into 13″X18″ baking sheet. Crumbling makes it lay flatter. You may also want to fold the edges so the paper fits snuggly in the pan.
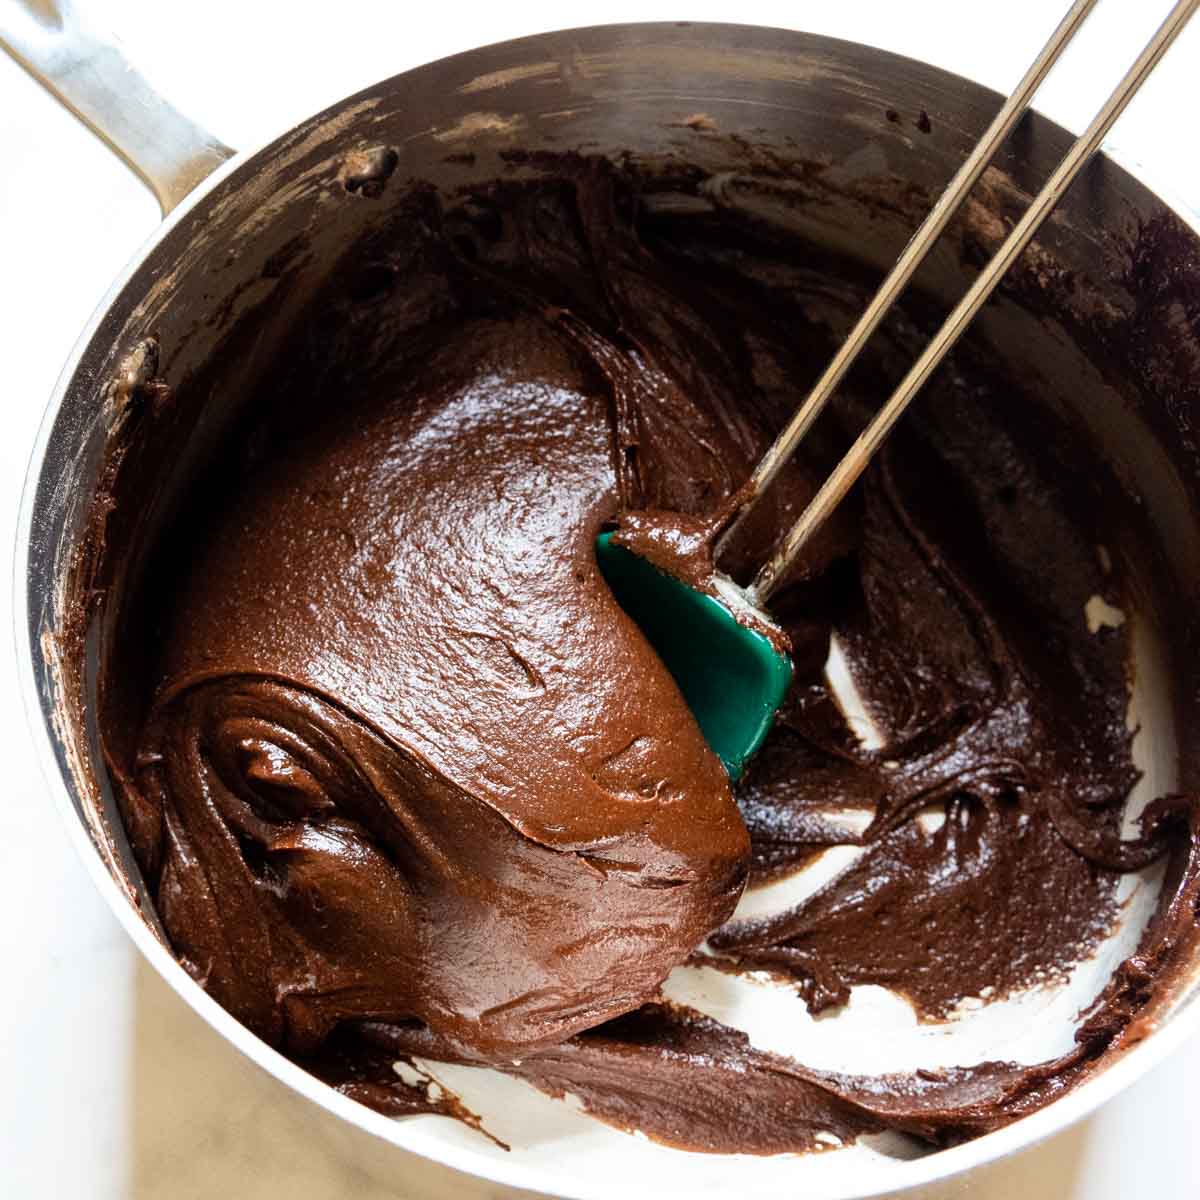
Whip up the batter
In a medium saucepan melt together the butter and chocolate chips. Once they are about 80% melted, remove from the heat and stir until fully melted. This will prevent accidentally over-heating the mixture.
Let it cool slightly, then whisk in the eggs, sugar, brown sugar, and vanilla. Add in the gluten-free flour, unsweetened cocoa, baking powder, and salt. The mixture will be very thick.
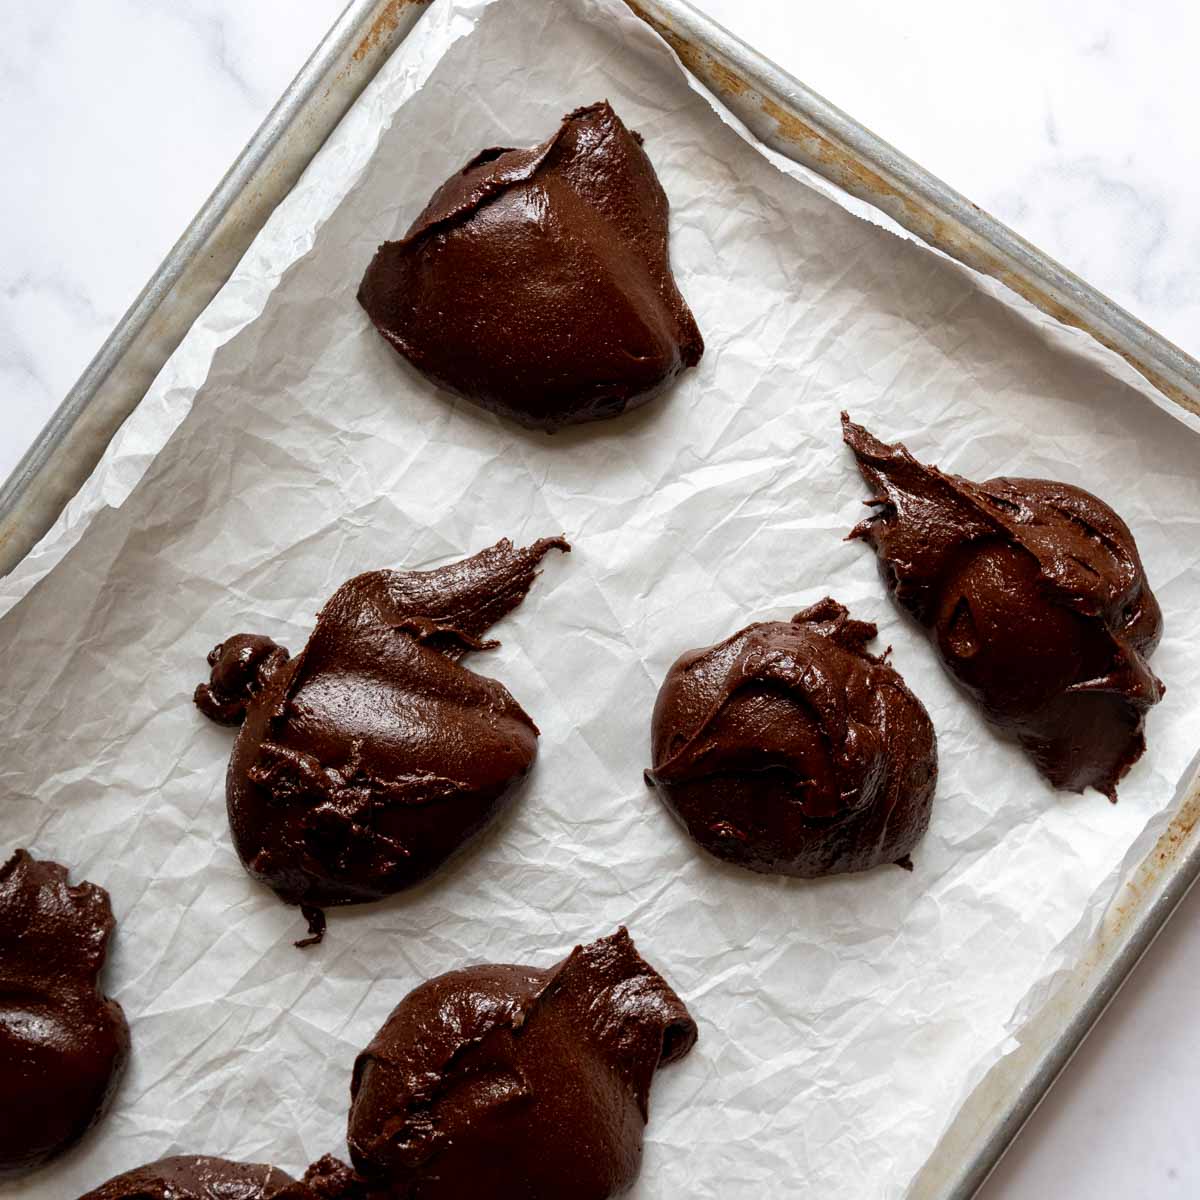
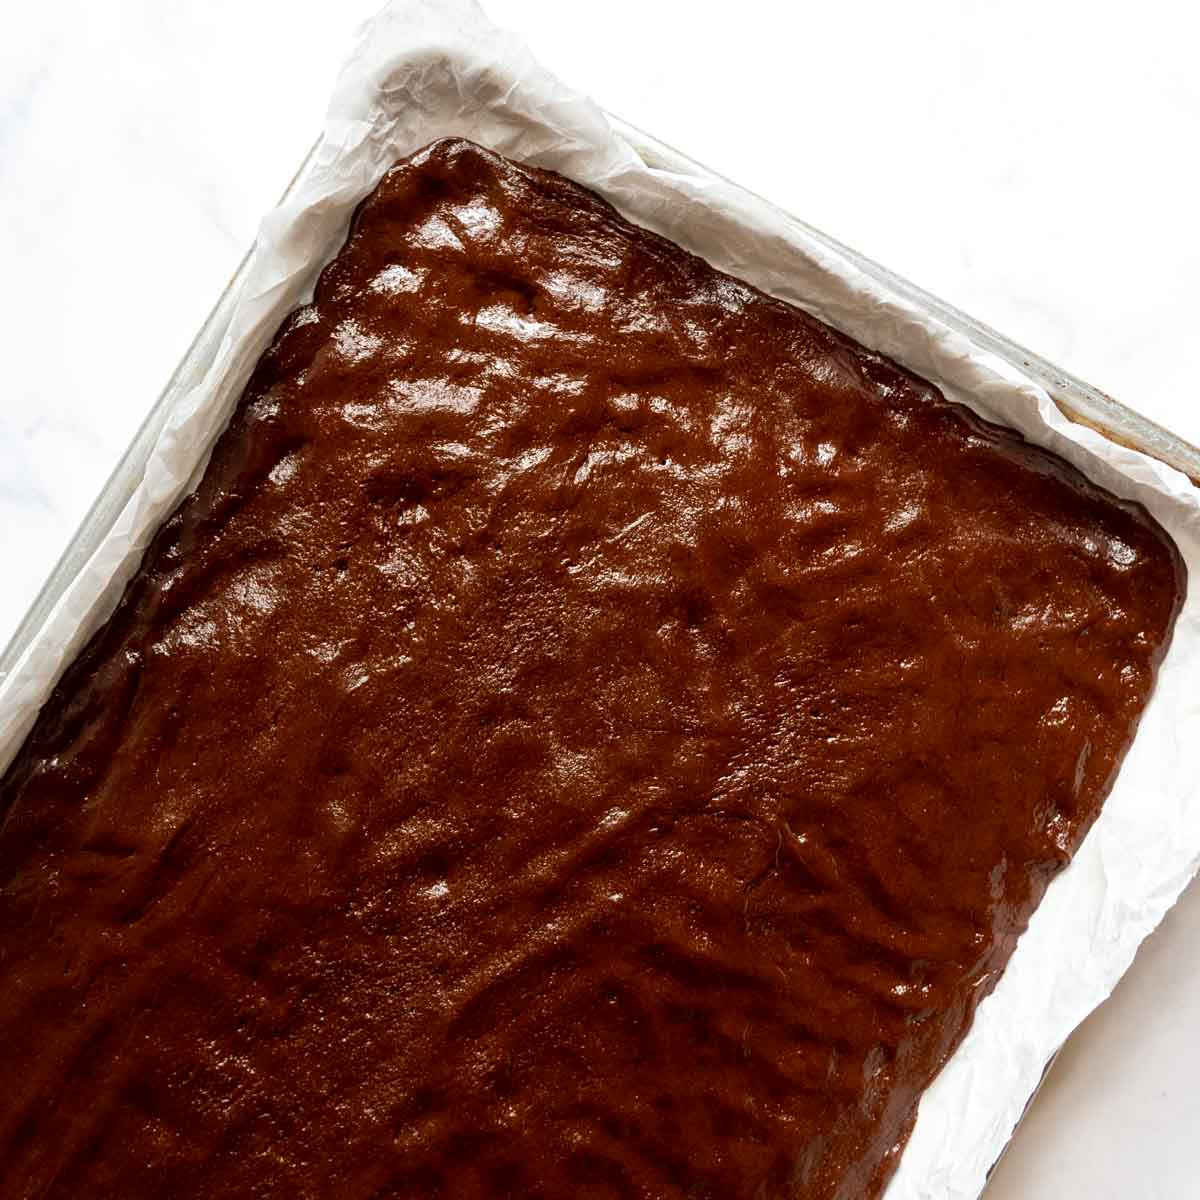
Spread it out
Since the batter is so thick, it’s best to dollop it on different sections on the baking sheet. Use an offset spatula to spread as best as you can. After it is spread out some I use my fingers to press the mixture evenly in the pan, going all the way to the edges. Make sure it’s an even layer so you have uniform thickness throughout.
Soften ice cream to spread on
Before you place the wafer cookie bars in the oven, move the ice cream from the freezer to the fridge to soften. It will continue to soften as the bars bake and cool before spreading it on.
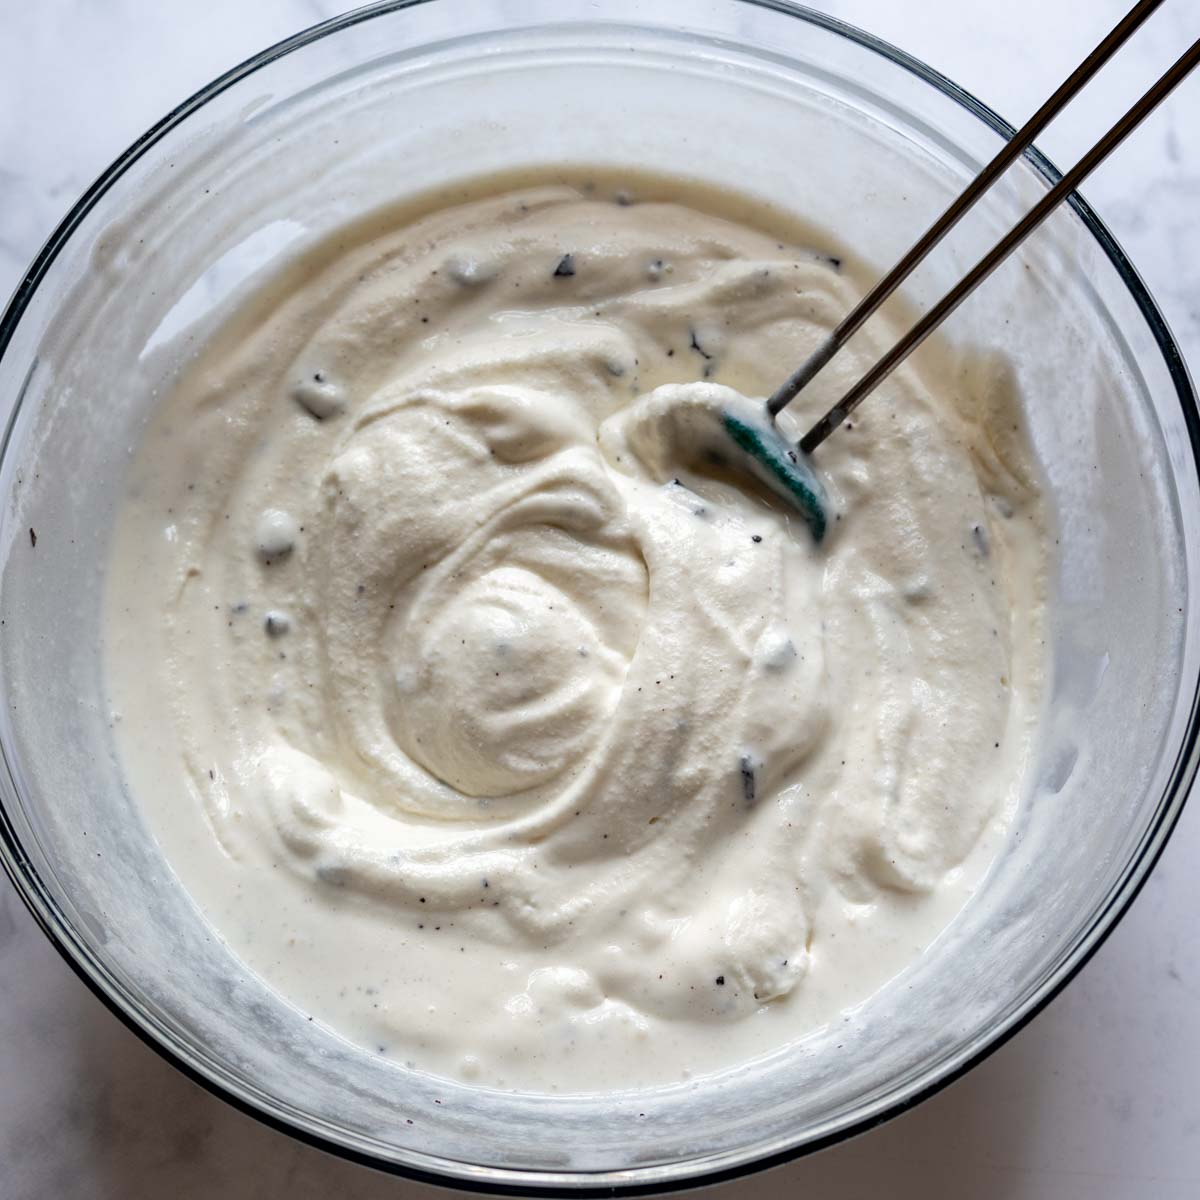
Remove the ice cream from the refrigerator and transfer to a large bowl. Use a large spoon to stir so it is an uniform softened mixture. This will make it easier to spread evenly on the bars.
Assemble and refreeze
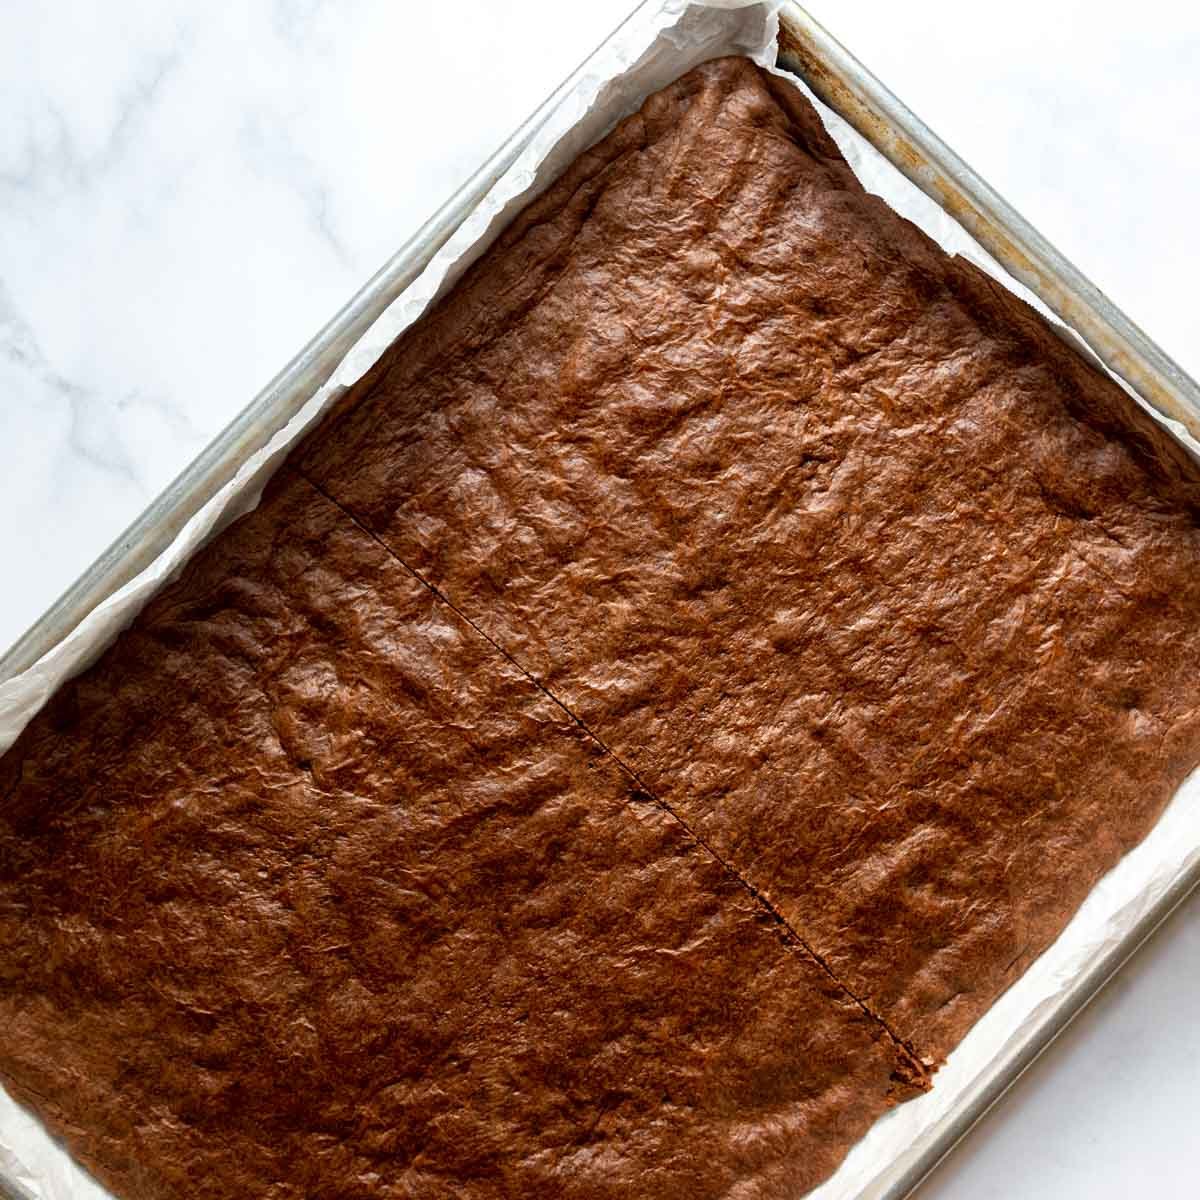
Cut exactly halfway down the middle so you have two halves that are 9″X13″ (see image below). Place the pan in the freezer to freeze until solid, about 30 minutes.
Once frozen, flip one half over so the top is now facing down. Evenly spread the ice cream on using the offset spatula. Place the second half on top. Return to the freeze for 1-2 hours, or until the ice cream is solid again.
Use a large sharp knife to score the slices before cutting through into 12 bars. Once you have the bars scored evenly, slice through. For easier slicing run the knife through very hot water, wipe dry and then cut through.
If not serving immediately, wrap individual bars in plastic wrap and place in a gallon ziplock freezer bag to grab whenever the fancy strikes!
Gluten Free Ice Cream Options
Luckily a quality GF ice cream brand is not hard to come by at your local grocery store. Many popular brands, such as Breyer’s, Edy’s, and Blue Bell offer varieties that are safe.
However, take precaution when picking out an ice cream safe for those with celiac disease. Some flavors incorporate mix-ins that are not gluten-free, such as cookie dough or cookies and cream. Other varieties add flavorings or may become cross-contaminated during production.
It’s best to refer directly to the company’s website for which flavors are safe to consume before enjoying or using in a gluten-free frozen dessert!
Best Way To Soften Ice Cream
Spreading on properly softened ice cream creates the best smooth and even layer between the sandwiches. Of course, you can just let the ice cream sit out for awhile, but I find there’s an even better way.
If you let the ice cream sit at room temperature, the outer edges will become melted while the center is still hard. Softening ice cream in the refrigerator for about 30-45 minutes works better for gradually softening the whole container.
After it has sat in the fridge, transfer the contents to a bowl and stir to combine. This will uniformly mix the ice cream so it has the same consistency throughout, making it easy to spread on.
Save this recipe to your pinterest board!
Let’s be friends on Pinterest! I’m always sharing great recipes!
Did you make this recipe? I love hearing from you! Leave a star rating and comment below the recipe card. It helps others when searching for recipes and I appreciate feedback from our community. You will always hear back from me! -Melissa

World’s Best Gluten-Free Ice Cream Sandwiches
Ingredients
- 8 tablespoons unsalted butter
- 1 cup semi-sweet chocolate chips
- 2 large eggs, room temperature
- ⅓ cup light brown sugar
- ⅓ cup granulated sugar
- 1 teaspoon vanilla extract
- 1 ½ cup gluten free all purpose flour, (I use and recommend Cup4Cup gluten-free flour)
- ½ cup unsweetened cocoa powder
- ½ teaspoon baking powder
- ¼ teaspoon salt
- 1 ½ quart gluten-free ice cream, any preferred flavor
Equipment
Instructions
- Preheat the oven to 350ºF. Crumble a large piece of parchment paper, unfold, and then press it into 13"X18" baking sheet. Crumbling makes it lay flatter. You may also want to fold the edges so the paper fits snuggly in the pan.
- In a medium saucepan melt together the butter and chocolate chips over low heat. Once they are about 80% melted, remove from the heat and stir until fully melted. This will prevent accidentally over-heating the mixture.8 tablespoons unsalted butter, 1 cup semi-sweet chocolate chips
- Let the mixture cool slightly, about 10 minutes. Whisk in the eggs, granulated sugar, brown sugar, and vanilla extract.2 large eggs, ⅓ cup light brown sugar, ⅓ cup granulated sugar, 1 teaspoon vanilla extract
- To the saucepan add the gluten-free flour, unsweetened cocoa, baking powder, and salt. Stir to combine. The mixture will be very thick.1 ½ cup gluten free all purpose flour, ½ cup unsweetened cocoa powder, ½ teaspoon baking powder, ¼ teaspoon salt
- Dollop the batter all over the baking sheet. Use an offset spatula to spread as best as you can. The mixture is very thick, so after it is spread out some, use your fingers to press the mixture evenly in the pan, going all the way to the edges. Make sure it's an even layer so you have uniform thickness throughout.
- Before you place the bars in the oven, move the ice cream from the freezer to the fridge to soften. Bake the bars for 12-13 minutes, rotating pan halfway through. It is done when a toothpick inserted in the middle comes out clean and it loses its shininess on top.1 ½ quart gluten-free ice cream
- Cool the bars (leaving in the pan) for 20 minutes on a wire rack. Cut exactly halfway down the middle so you have two halves that are 9"X13" (see image in post). Place the pan in the freezer to freeze until solid, about 30 minutes
- Remove the ice cream from the refrigerator and transfer to a large bowl. Stir until it's an uniform softened mixture. This will make it easier to spread evenly on the bars.
- Take the bars from the freezer. Flip one half over so the top is now facing down on the baking sheet. Evenly spread the ice cream on that half, going all the way to the edge. Place the second half, right side up, on top. Return to the freeze for 1-2 hours, or until the ice cream is solid again.
- Use a large sharp knife to score the slices before cutting through. You should have twelve 4-inch by 1.75-inch bars. Once you have the bars scored evenly, slice through. For easier slicing run the knife through very hot water, wipe dry and then cut through. Repeat as needed. If not serving immediately, wrap individual bars in plastic wrap and place in a gallon ziplock freezer bag to store.
Notes
Dairy-Free Modification
Replace the butter with an equal amount of plant based, vegan butter sticks or melted coconut oil. For the chocolate chips, use a dairy-free baking chip, such as Enjoy Life, or 6 ounces of chopped dairy-free chocolate. Use any preferred dairy-free and gluten-free ice cream brand.Flavor Variations
- In softened vanilla ice cream, stir in crushed gluten-free Oreos for a cookies and creme twist.
- Use other gluten-free ice cream flavors, such as mint chip, strawberry, butter pecan, or peanut butter cup. Read labels carefully before using
- For chocolate dipped ice cream bars, prepared the sandwiches as directed and freeze until solid. Melt together 2 cups chocolate chips with 2 1/2 tbsp coconut oil. Use a fork to dip into the melted chocolate and place on a parchment-lined baking sheet. After they have been dipped return to the freezer to solidify.
- To make cookie ice cream sandwiches, make a batch of gluten-free chocolate chip cookies and spread softened ice cream between the two cookies.
This post contains affiliate links. My opinions are always my own. If you purchase a product through an affiliate link, I make a small commission – at no cost to you. Read full disclosure policy here.


Wow! You have to plan ahead to make these, but they’re worth it. The cookie is brownie-esque and absolutely delicious! I would love if the recipe was in grams (the less dirty dishes, the better!)