Gluten-free french fried onions are an even better tasting homemade recipe with a crispy, easy coating made in minutes. Now you never have to live without the French’s Onions topping on from-scratch gluten-free green bean casserole again!
Want to Save This Recipe?
Enter your email below & we'll send it straight to your inbox. Plus you’ll get affordable and easy gluten-free recipes delivered each week!
SERIOUSLY Good Crispy Gluten-Free Fried Onions
I’m going to be honest, I did not have high expectations when attempting a gluten-free fried onions recipe. I imagined a messy, complicated process with disappointing results.
Seriously. I could not have been more wrong. From-scratch gluten-free french fried onions are not only simple to throw together, but the end result absolutely blew me away.
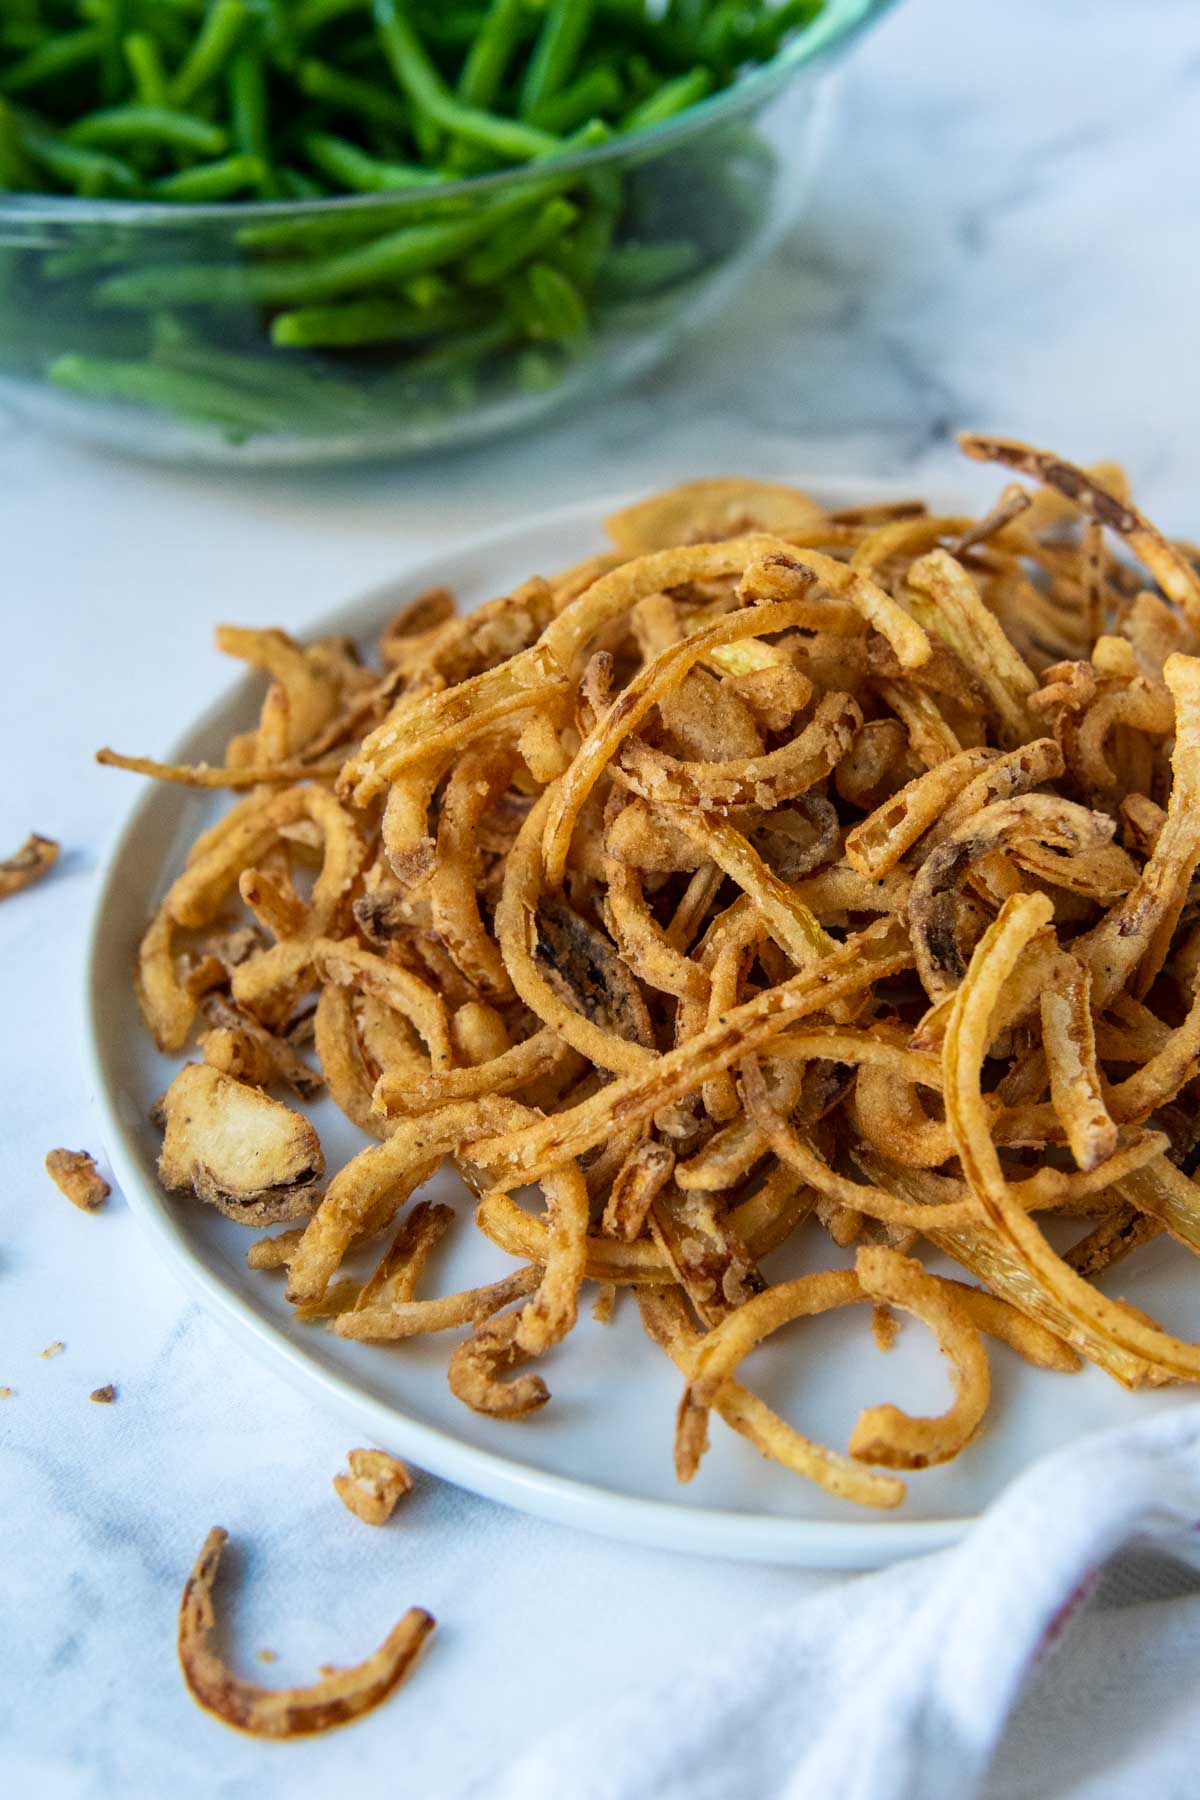
Picture those crispy haystack onion straws that are impossible to stop snacking on. Not only could I not stop stealing bites, but everyone in the family wouldn’t stop eating them. I had to make another batch so I would have enough for the Thanksgiving gluten-free green bean casserole!
Whether you need a gluten-free onion straw topping for the traditional green bean casserole or just want to have a guilty pleasure snack, like gluten-free mozzarella sticks, you have found the winning recipe!
I will never use fried onions in a container again!!! I am gluten intolerant and these are the best ever.
—Susan
Free Guide! Receive a Free Gluten Free Dinners Cookbook
TOP 5 Highest Rated Recipes!
Ingredient Tid Bits
Make from scratch, homemade French’s Onions, but with an easy GF recipe. What couldn’t be more to love?! Beware, they disappear fast, so if you are making for something other then snacking, like topping a casserole or as a side for battered gluten-free fish, I would “hide” them from sneaky snackers.
- Onion – You will need one large Spanish or Vidalia onion for best taste. I have used a yellow onion in a pinch, though, and it still tasted great!
- Buttermilk / Milk – Rather than buy buttermilk, I used a homemade soured milk mixture, which also works great if you need a dairy-free recipe.
- Gluten-Free Flour – The brand isn’t really important here. Any gluten-free alternative will work since you only need a small amount.
- Oil – For frying I use canola or vegetable oil. You will need at least a couple cups, depending on the size of your pan, to make the oil 2 inches deep.
Equipment to Get the Job Done
For optimal results and ease, I do recommend a few kitchen essentials to have on hand.
- Heavy-bottomed, deep skillet – This is an investment, but something you will never have to replace. A stainless, heavy skillet is ideal for maintaining the temperature of oil and conducts heat significantly better than cheaper versions. However, a cast iron skillet also works great too.
- Instant Read Thermometer – Thermoworks Thermapen is pretty much my most prized kitchen possession. It not only reads meat temps quickly and accurately, but also serves as a candy thermometer, or, in this case maintaining the correct temperature of oil. This is key for cooking the fried onions for an even brown coating.
- Wire Skimmer – A wire skimmer quickly removes the onions from the oil, letting the excess oil drip away. If you do not have one, a slotted spoon may also be used.
Watch This Recipe
Let’s Make This Together!
(Below shows step-by-step photos and modified instructions. For the complete recipe, along with ingredient amounts, scroll down to the recipe card.)
Soak the sliced onions
If not using buttermilk, first make the soured milk or dairy-free version. Add 1 ½ tablespoons vinegar to a liquid measuring cup, then add enough milk or milk alternative to make 1 ½ cups total. Stir and let sit for 5 minutes.
Then pour the soured milk or buttermilk in a large bowl. Add the thinly sliced onions and let sit for 10-30 minutes. This helps mellow the onions out. Since they don’t cook very long, it subdues the strong taste of an raw onion. It also helps the flour and seasonings to have something to stick to.

Drain and shake
Use a wire skimmer or slotted spoon to remove the onions and transfer them to a paper-towel lined baking sheet. This will absorb the extra liquid. Add the dry ingredients to large ziplock freezer bag and shake to combine. See, easy prep!


Fry time
Add enough oil to a large, deep skillet so the oil is 2 inches deep. Heat oil over medium heat until the oil reaches a temperature of 350ºF. This will take about 10 minutes to heat up. Make sure the oil temperature is maintained at 350ºF the whole time you are frying. Otherwise the onion straws will be greasy (oil’s not hot enough) or burn.
Without crowding the pan, add the coated onions to the hot oil in 3-4 batches. Stir briefly with the wire skimmer so the onions don’t stick together and brown evenly. Fry for 3 minutes, or until the coating is golden brown. Use the wire skimmer to transfer them to another paper-towel lined baking sheet. Try not to “snack” on them all before using. Seriously.


Other Ways To Enjoy Crispy Onion Straws
Of course, french fried onions are the ideal topping for green beans , but what other ways can they be enjoyed?
- Gluten-Free Haystack Onion Straws – Dip in ranch, thousand island or ketchup
- Side dish idea for chili or fun topping
- Just like onion rings, a great side dish or as a burger topping
- Casserole topping
- Mashed potatoes
- Burger topping
- Crispy soup or salad topping
Save this recipe to your pinterest board!
Let’s be friends on Pinterest! I’m always sharing great recipes!
Did you make this recipe? I love hearing from you! Leave a star rating and comment below the recipe card. It helps others when searching for recipes and I appreciate feedback from our community. You will always hear back from me! -Melissa

Crispy Gluten-Free French Fried Onions (Easy Prep)
Ingredients
- 1 ½ cups buttermilk or soured milk*, see recipe notes for soured milk
- 1 large Vidalia or Spanish onion, halved and thinly sliced
- 6 tablespoons gluten-free all purpose flour
- ½ teaspoon seasoned salt
- ⅛ teaspoon pepper
- vegetable or canola oil, for frying
Instructions
- If not using buttermilk, first make the soured milk. Add 1 ½ tablespoons vinegar to a liquid measuring cup. Then add enough milk to make 1 ½ cups total. Stir and let sit for 5 minutes. Pour the soured milk or buttermilk in a large bowl.1 ½ cups buttermilk or soured milk*
- Add the thinly sliced onions to the milk and let sit for 10-30 minutes. Meanwhile, add the gluten-free flour, seasoned salt, and pepper to a large ziplock bag. Shake to combine and set aside.1 large Vidalia or Spanish onion, 6 tablespoons gluten-free all purpose flour, ½ teaspoon seasoned salt, ⅛ teaspoon pepper
- Use a wire skimmer or slotted spoon to remove the onions from the milk and transfer to a paper-towel lined baking sheet to briefly drain. Transfer the onions to the ziplock bag and shake to combine.
- Add enough oil to a large, deep skillet so the oil is 2 inches deep. Heat over medium heat until the oil reaches a temperature of 350ºF. This will take about 10 minutes. Make sure the oil temperature is maintained at 350ºF the whole time you are frying so the onion straws don't become greasy or burnt. Line a baking sheet with a double layer of paper towels and set aside.
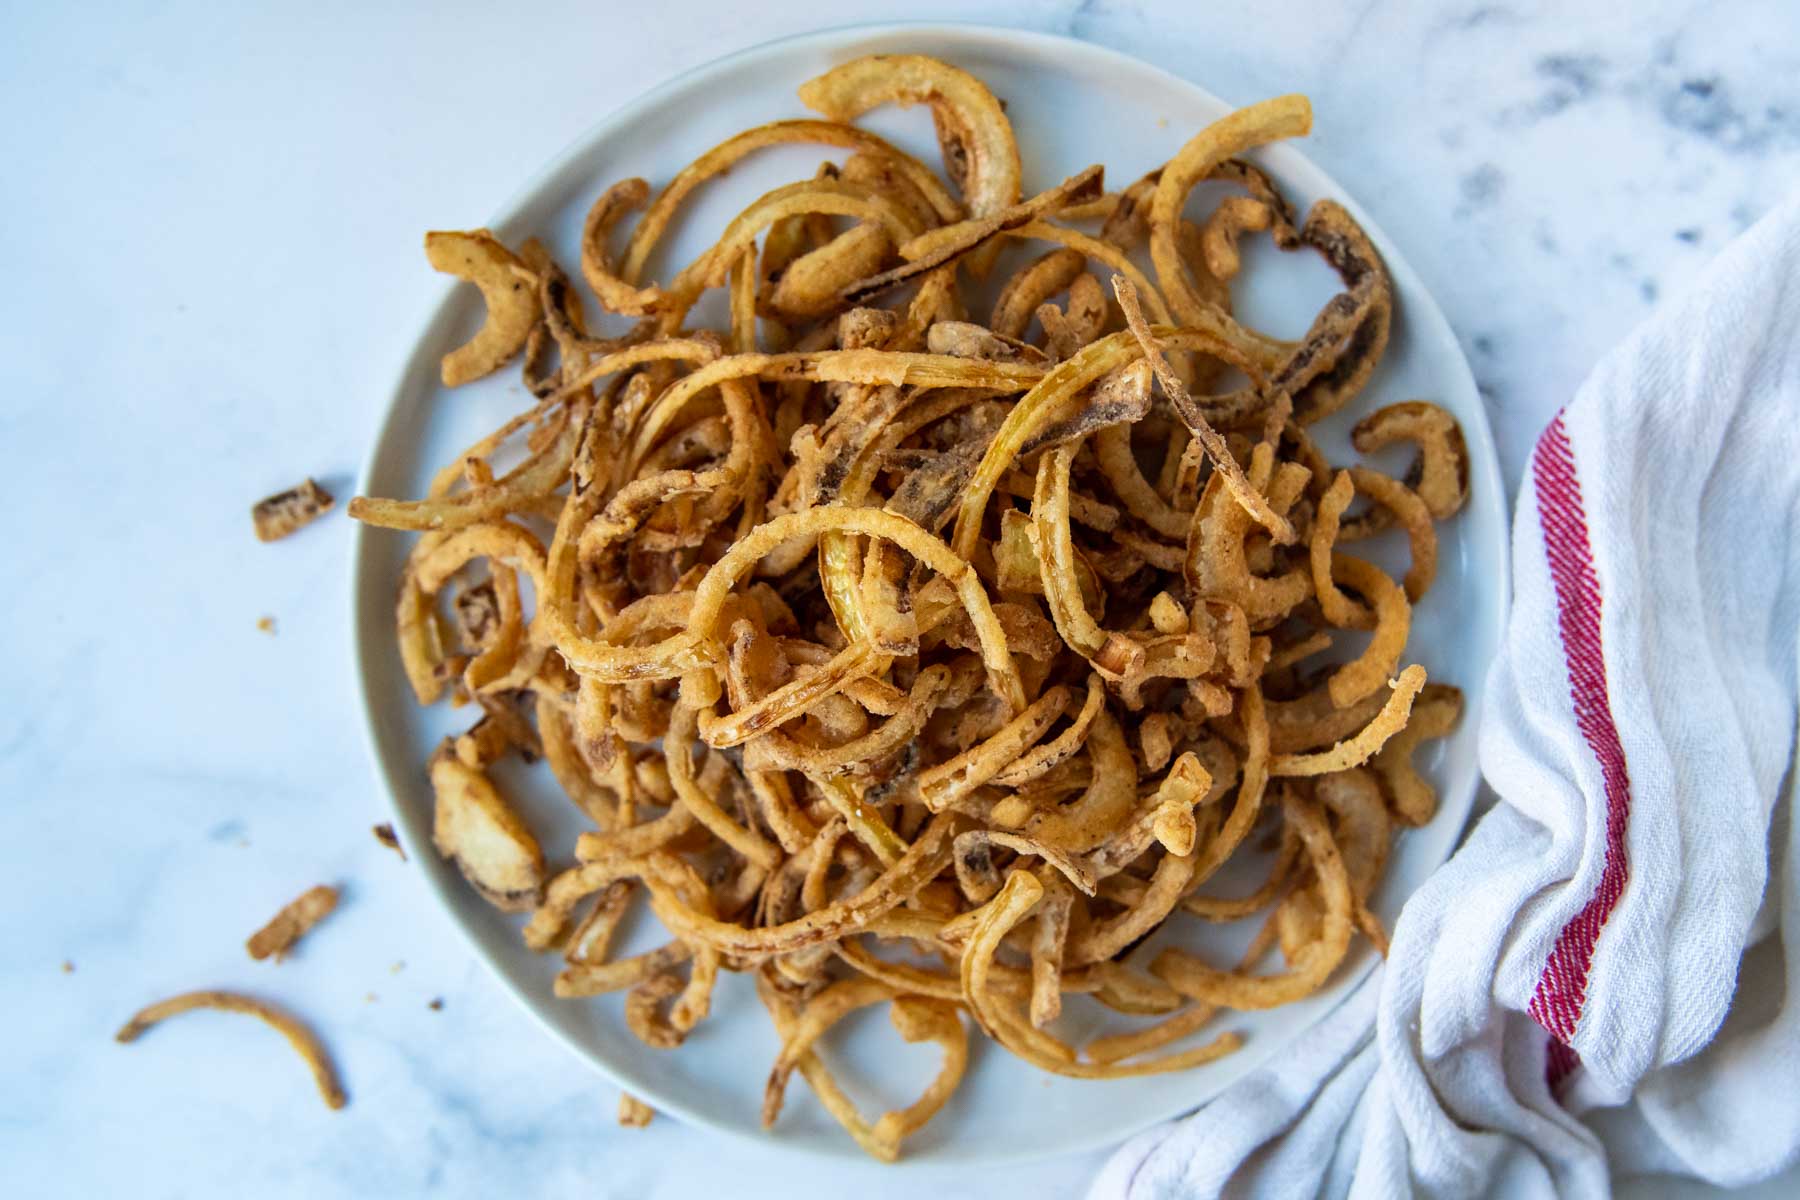
- Without crowding the pan, add the coated onions to the oil in 3-4 batches. Stir briefly with the wire skimmer so the onions don't stick together and brown evenly. Fry for 3 minutes, or until the coating is golden brown. Remove the onions to the paper towel lined baking sheet to soak up an excess oil. Repeat with the remaining onions until they have all been fried. Serve immediately or use as casserole topping.
Notes
storing tips
Once cooled, homemade fried onions keep for 2-3 days at room temperature in an airtight container. Do not refrigerate or they will become soggy. To reheat, place them on a dry baking sheet and bake in 350ºF oven until crisp. I have not experimented with freezing the onions, but I don’t think it would be an issue. If you find them to be soggy once thawed trying crisping them in a 350ºF oven.This post contains affiliate links. My opinions are always my own. If you purchase a product through an affiliate link, I make a small commission – at no cost to you. Read full disclosure policy here.


Great for my green bean casserole with gf cream of mushrooms
Thanks so much much for taking the time to let me know, Lindsay! I appreciate it.
Best,
Melissa
How would you make these in an air fryer.
Hello,
This is from another comment,
“For anyone wondering, these also work in the air fryer at 350! I don’t know how long it took – maybe around 12 minutes – I just kept an eye on them. I did spritz them with oil when I put them in, and once more when I gave them a shake to redistribute. Thanks for the easy recipe!”
Best,
Melissa
Wow! We just made these and I am so impressed. They taste fantastic and will be better than the canned ones by far. Thank you!
Aren’t they?! And they come together pretty fast!
Best,
Melissa
For anyone wondering, these also work in the air fryer at 350! I don’t know how long it took – maybe around 12 minutes – I just kept an eye on them. I did spritz them with oil when I put them in, and once more when I gave them a shake to redistribute. Thanks for the easy recipe!
OOOHH, thanks for sharing, Annie! Yay! What a win 🙂
Best,
Melissa
could this work in an air fryer? hoope so but if not I am desperate enough to do your method. thank you for sharing! I have to be wheat free so veryb thankful.
also blood sugar issues.
Yes! Another reader, Annie, just commented how it works in an air fryer and shared what she did.
Best,
Melissa
Would it work to under fry them a bit and then do a final bake on top of the green bean casserole when it’s about to come out of the oven?
Hi Kris,
I fry them all the way, mix some in the green bean casserole, and the rest I sprinkle on top. They are fine fried all the way and baked on the casserole. You can make them ahead of time too and store in an airtight container or freeze until ready to mix in.
Best,
Melissa
Just made these for the Thanksgiving green bean casserole and they are so good! I was eating them as they cooled and they were so tasty! Made with oatmilk and used King Arthur 1:1 gf flour. My only issue was keeping a consistent oil temp but they still came out crispy and fairly even colored.
Thanks for sharing, Jennifer. Yep, keeping the oil at a consistent temp when you are doing it on the stove, versus a deep fryer, does require some frequent checking, but I’m glad it worked out!
Best,
Melissa
So I’m literally not even done making these but of course y’know Thanksgiving is on Thursday, it’s midnight on a Tuesday (or Wednesday really) and I’m tasting these to figure out if they’re worthwhile for the green bean casserole. Holy crap. When I tell you I almost cried…. I could make onion rings like this, with a bit more seasoning. I haven’t tasted anything like this in a decade. I’m just. So freaking pleased. I’m so excited. And this is right on the heels of a failure with gluten free rolls that I was so disappointed in because I put in the time and effort to let them rise and EVERYTHING but this MORE than makes up for that defeated feeling. This is a bit of a time suck as well don’t get me wrong but it’s so incredibly worth it. At least while the onions soak in the buttermilk you can do other things.
Of note: I measured the seasonings with my heart and I used garlic powder. 🙂 might use even more salt next time, we’ll see!!
Hey Kirsten,
Thanks for your lovely comment and making me so happy! I just made these too and it’s so hard to not eat them as they come out of the oil! They are so addicting. I agree, if you were just eating them straight up, without adding them to a green bean casserole, you can really play up the seasonings. Have a wonderful Thanksgiving.
Best,
Melissa
P.S. I do have a GF dinner roll recipe on the site that makes me want to cry with happiness every time I eat them. I hope you give them a try!
I do not understand any of the positive comments. I did exactly as told with this recipe and after mixing in the plastic bag, all it did was clump together. This was such a complete total waste of time, effort, and most importantly ingredients. Because, wasting food is a sin.
So sorry to hear this Stephanie. I wish I could have been there to help figure out what went wrong. As you can see from the images in the post, they shouldn’t all clump together. The only thing I can think of what too much liquid was added to the plastic bag when you removed them from the milk. Did you use a slotted spoon?
Best,
Melissa
I will never use Fried Onions in a container again!!! I am gluten intolerant and these are the best ever.
Yay! Thank you, Susan!
I have made this recipe for 3 years in a row now. This year I decided to use cornstarch instead of GF flour, and they turned out great! So it would be a good (and much cheaper) alternative to buying an entire bag of gluten free flour. Just thought I’d share 🙂
Thank you! I’m making right now and the cornstarch is a great tip!
Best,
Melissa