



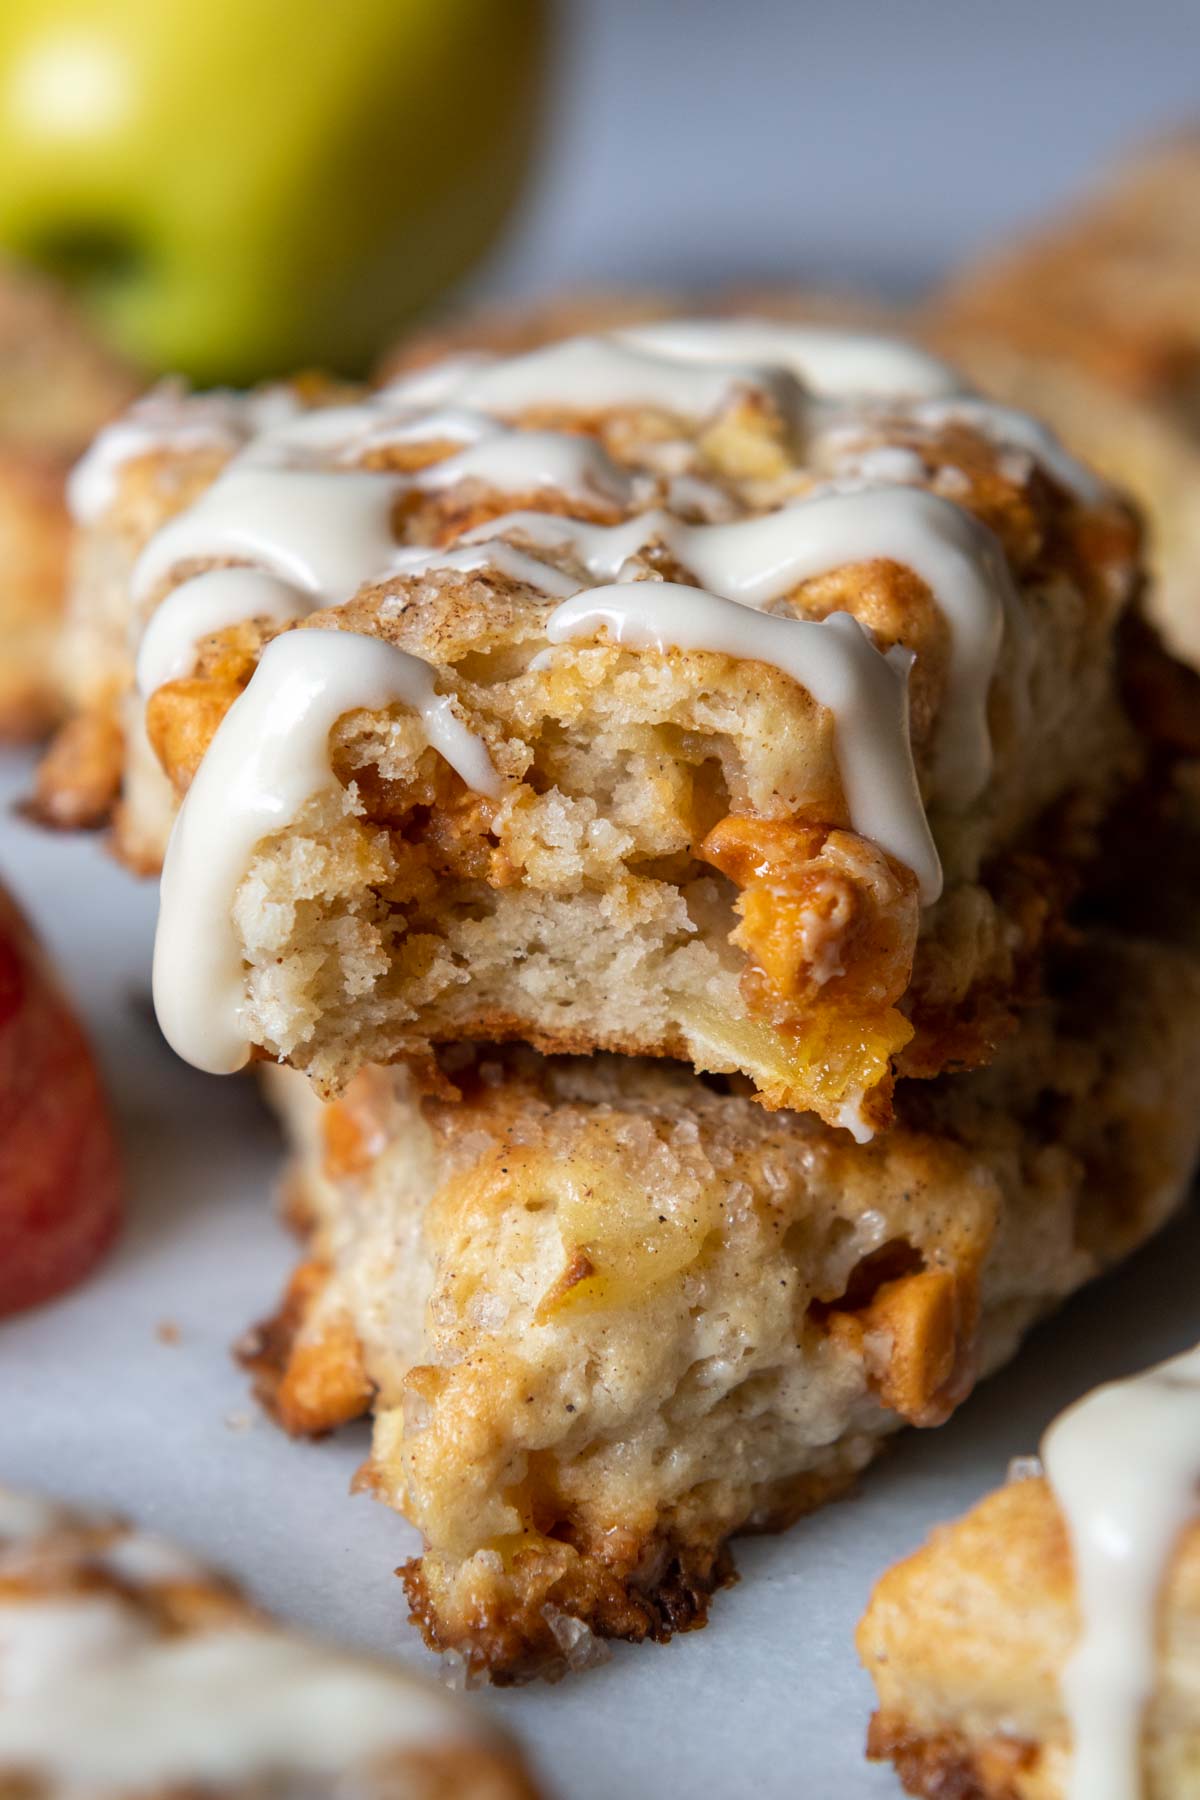
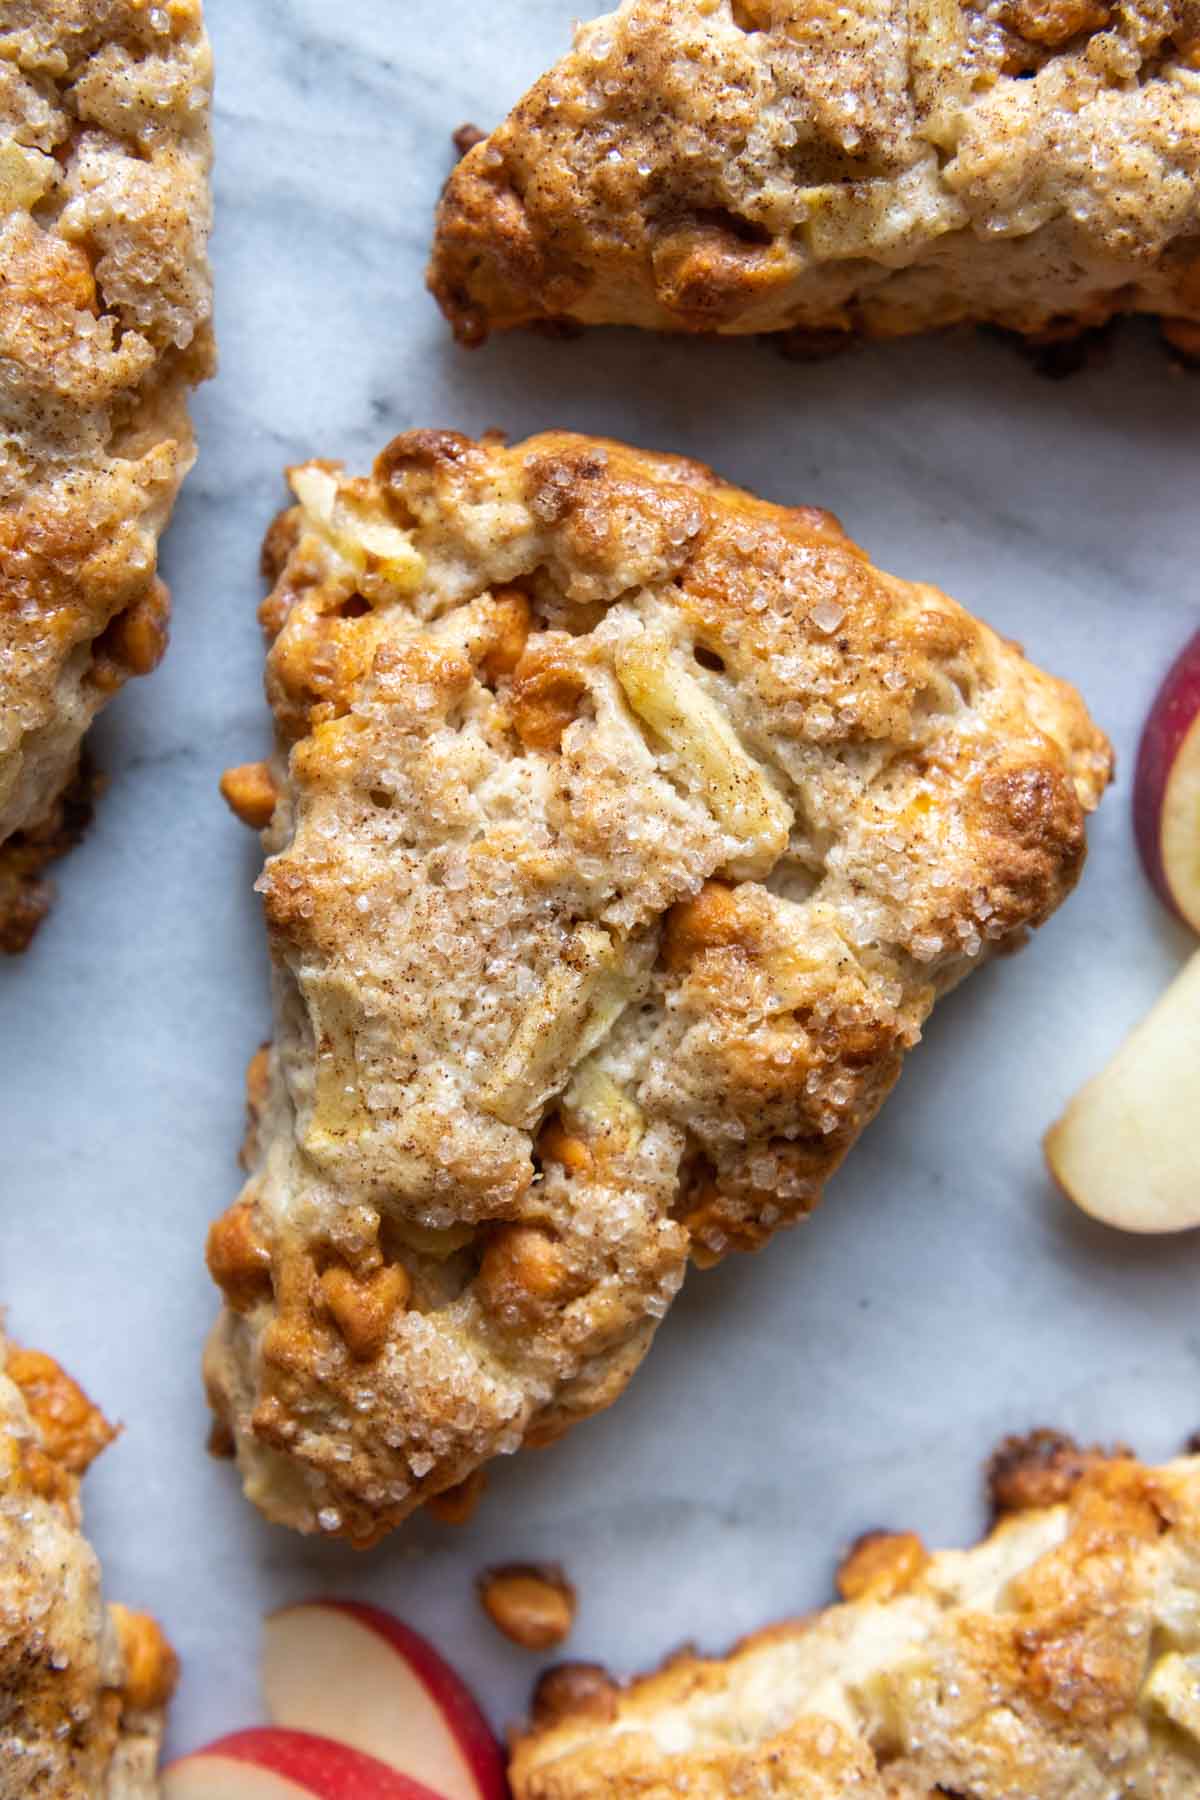
What makes these gluten-free apple scones the best? They’re tender, fluffy, and taste like they came from a high-end bakery, but my recipe is easy enough that even a gluten-free baking newbie can pull it off. Sour cream is the secret – it coats the gluten-free starches for a soft crumb, never gritty, while juicy apple chunks, warm cinnamon spice, and gooey butterscotch chips will have you swooning.
Want to Save This Recipe?
Enter your email below & we'll send it straight to your inbox. Plus you’ll get affordable and easy gluten-free recipes delivered each week!
My Favorite Gluten-Free Apple Scone Recipe
When developing a recipe for tried-and-true gluten-free apple scones, I turned to my back-pocket tricks that have made loads of gluten-free muffins and scones such smash hits. None of these tips are complicated or intimidating, whether you are new to gluten-free baking or not.
First, I leaned into an ingredient that works wonders in homemade gluten-free drop biscuits – sour cream. Combining it with cold butter coats the GF starches to eliminate a gritty, dry texture. It can be swapped out with yogurt for the same results.
Plus, adding creamy sour cream builds in a little insurance for variable gluten-free flour blends. Since they are made of different starches, they absorb moisture differently. Instead of relying on buttermilk, which absorbs unpredictably, sour cream offers the same tangy flavor without risking a dry or gummy crumb.
Next, it was time to settle on the best apple cinnamon scone flavor. My inspo? Old fashioned gluten-free apple bread with gooey glaze. I wanted to showcase the apples juicy, bright flavor with caramel spiced undertones. Of course, cinnamon is a the natural choice, but with butterscotch chips added in? Forget about it. No one can resist.
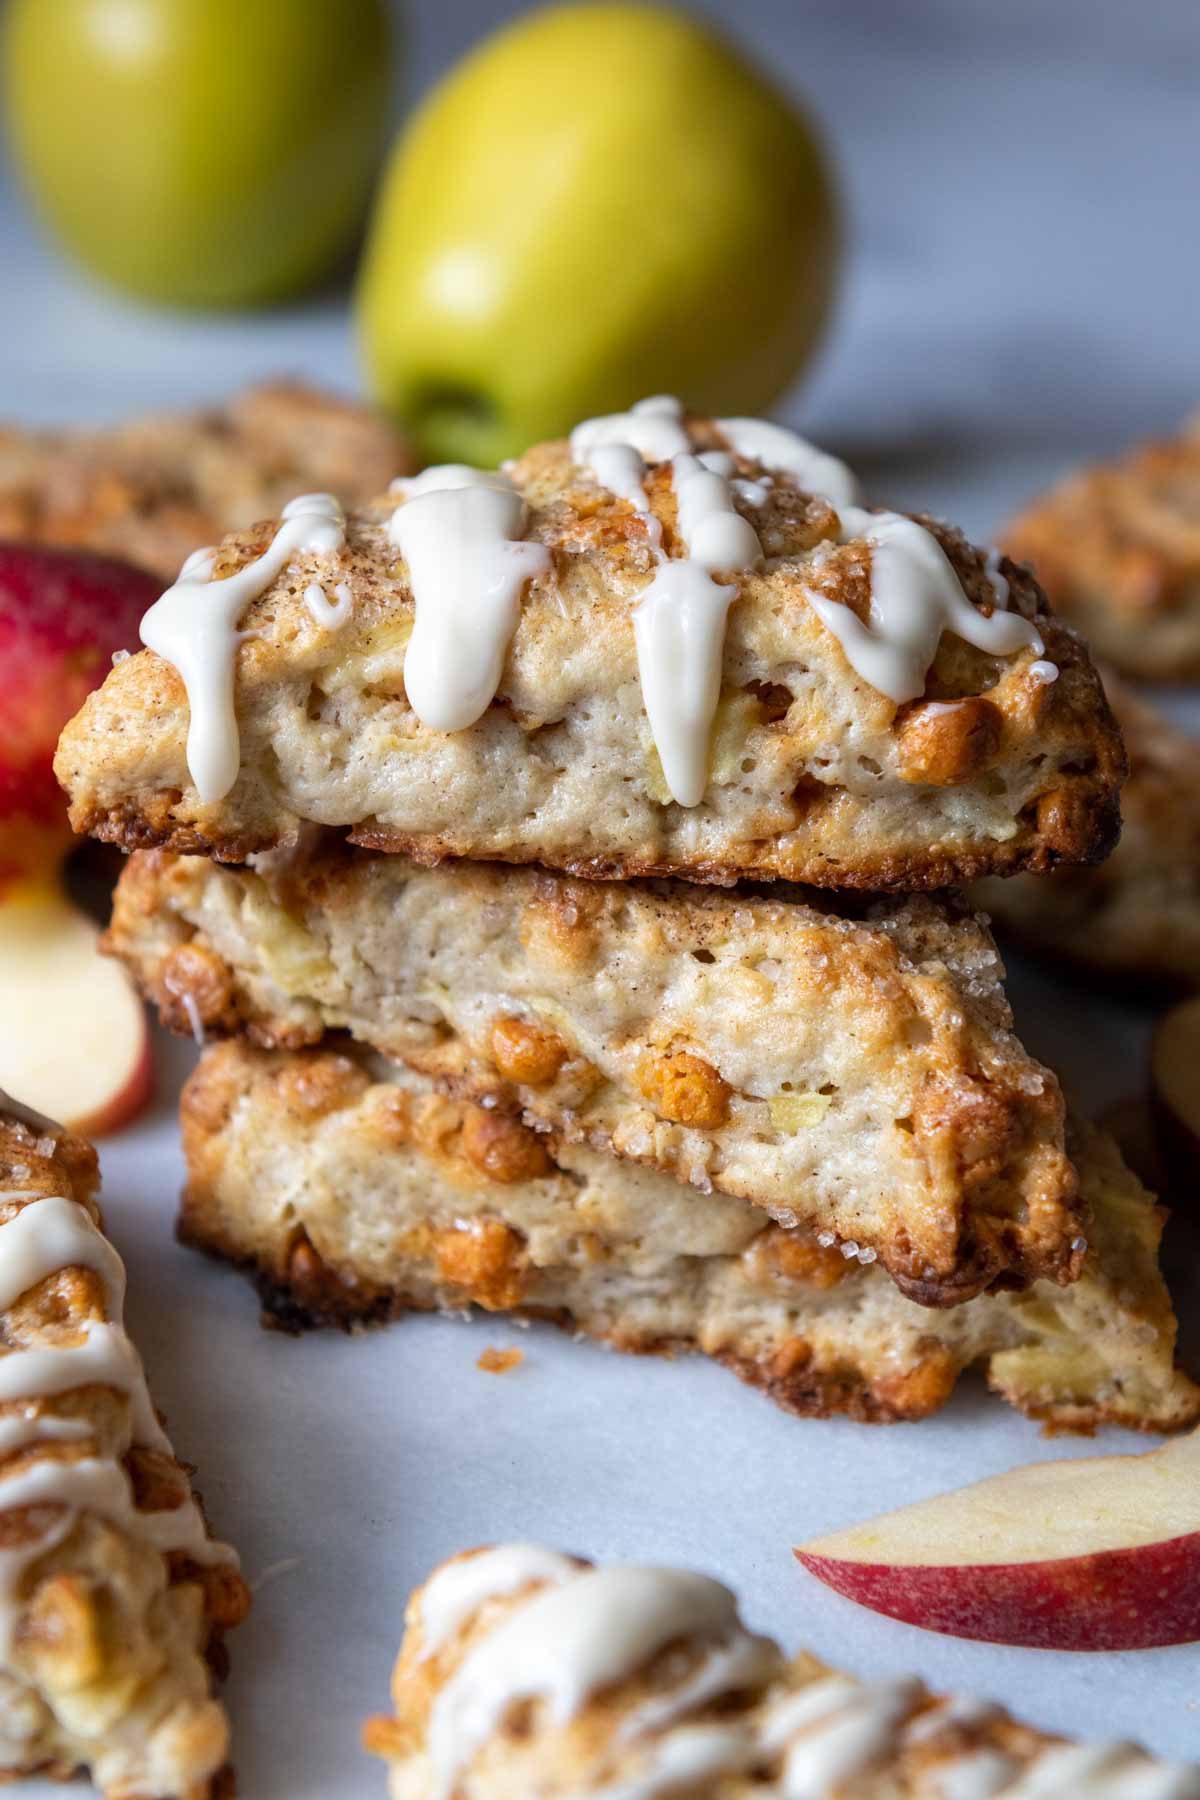
The top is sprinkled with coarse sugar for a crunchy sweet finish, and if you really want to layer on the goodness, a quick, gooey glaze really does the trick.
They are perfect pulled warm right out of the oven, but I’ve also made these as a make-ahead treat for holidays and company. Mix up the dough, shape into triangles and then freeze unbaked. When ready to enjoy, pop them into the oven, straight from frozen. It’s pro-level entertaining without breaking a sweat. 👊
This was my first time using gluten-free flour and I am so happy that it turned out well! I took the scones to a luncheon and got two requests for the recipe.
—Kelley
Free Guide! Receive a Free Gluten Free Breakfasts Cookbook
TOP 5 Highest Rated Recipes!
Ingredient Tid Bits
Below are the suggested ingredients, including any workable substitutions. If you have any additional questions about modifications, be sure to leave me a comment below the recipe card.
- Gluten-free flour – Through my GF baking experiments, I’ve found Cup4Cup to be the best. The cornstarch in the blend helps absorb moisture and adds a fluffy texture. Other brands might require a little more liquid the bind the ingredients together. You can add in the whole egg or additional sour cream.
- Egg yolk – Since gluten-free flour doesn’t absorb liquids as readily, use just the yolk to help with binding, while reducing liquid.
- Apples – It’s important to choose an apple that maintains it’s shape during baking and doesn’t break down. My preferred choice are golden delicious, but in the recipe notes below I share other varieties that work well.
- Butterscotch chips – Be sure to read labels carefully for gluten-free. Baking chips can sometimes have some sneaky ingredients. Gluten-free brands include Great Value (Walmart), Baker’s Corner (Aldi), Hershey’s and Guittard.
Let’s Make This Together!
To keep the recipe easy and no-fail, each step is broken down. To make gluten-free scones with apples a success, the butter and yogurt should be very cold. Also, for best results, do not skip resting the dough in the refrigerator before baking.
(Below shows step-by-step photos and modified instructions. For the complete recipe, along with ingredient amounts, scroll down to the recipe card.)
Whisk dry ingredients and blend in butter
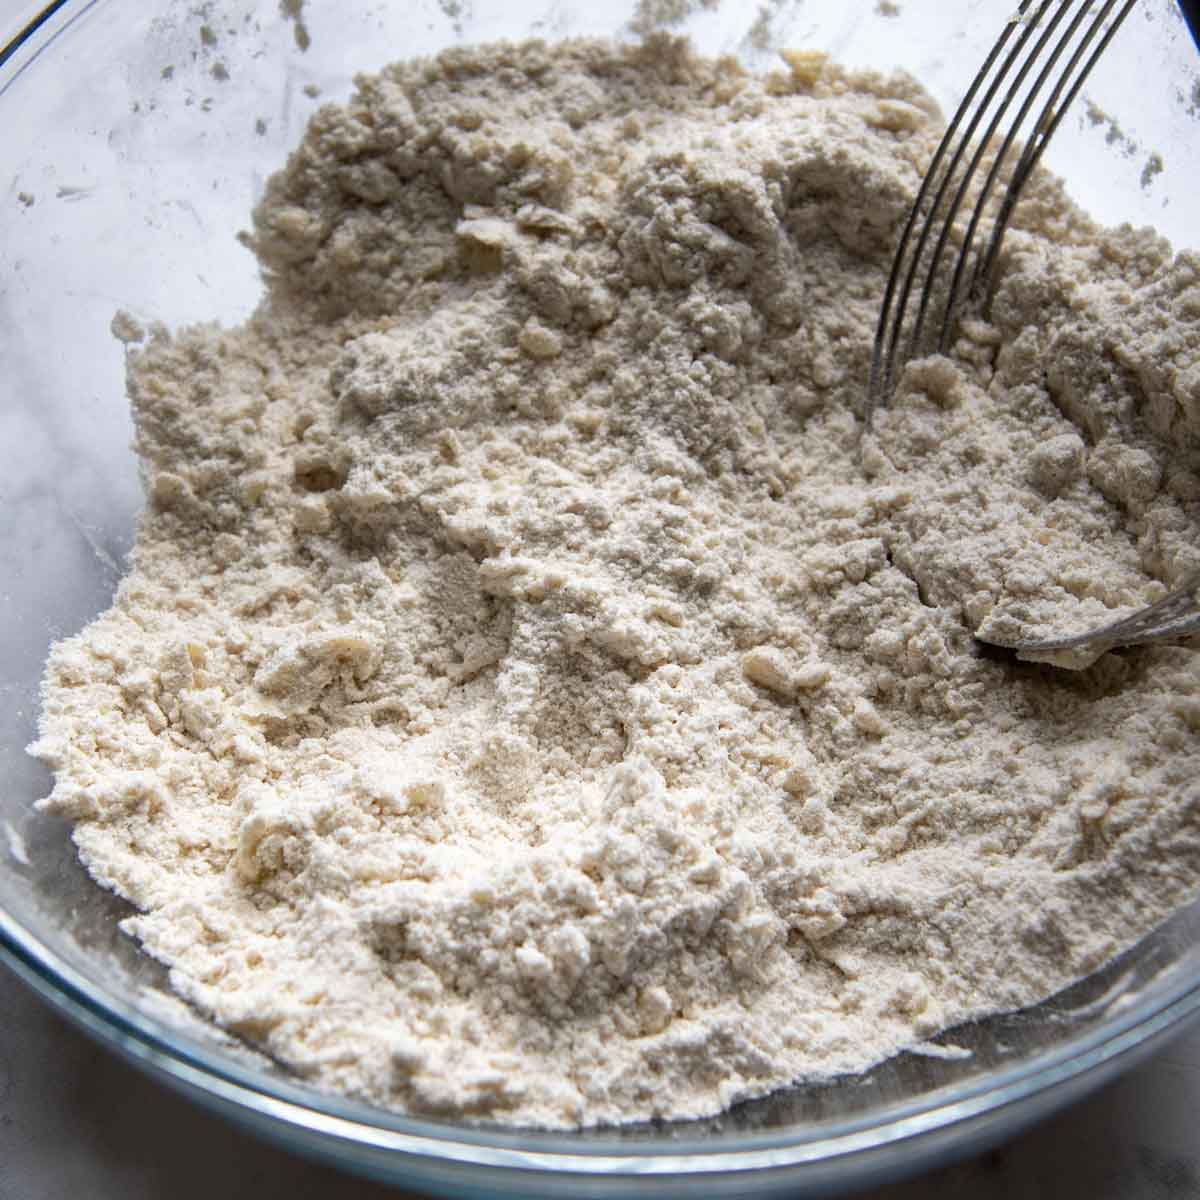
Begin by whisking together the dry ingredients in a large mixing bowl – gluten-free flour, sugar, baking powder, cinnamon and salt. Use a pastry blender, fork, or your fingers to cut in the cold butter until the mixture is dry and sandy.
Mix in apple goodness
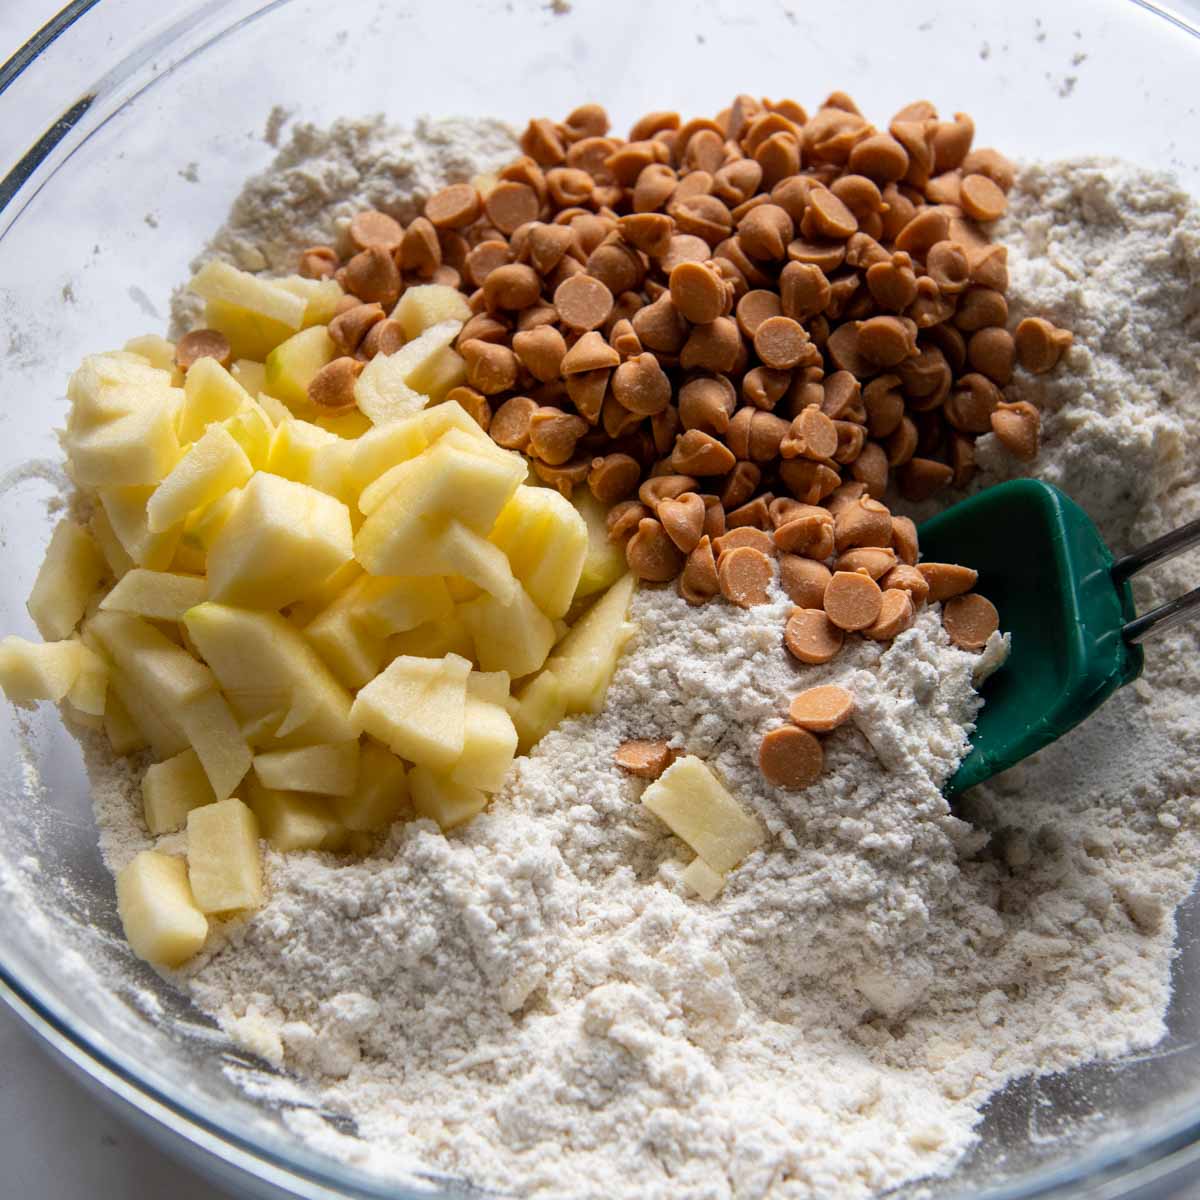
At this point I like to stir in the apples and butterscotch chips, to not overmix the dough. Once the liquids have been added the dough will be tougher to stir.
Essential tip – rest the dough!
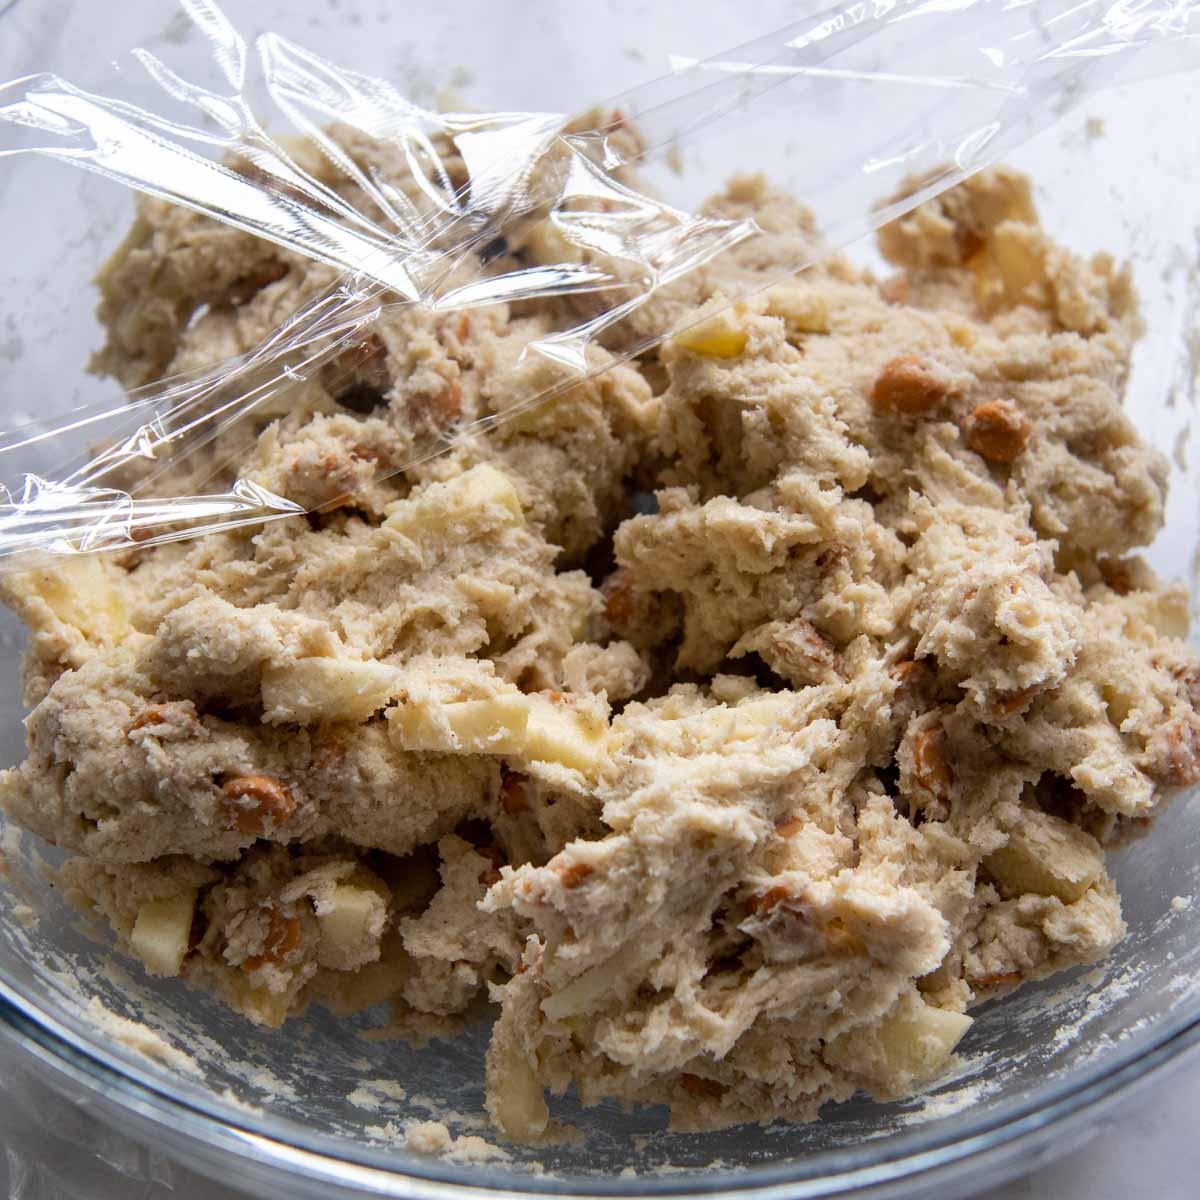
In a separate small bowl whisk together the sour cream, yolk, and vanilla extract. Stir into the flour / apple mixture. If the dough doesn’t come together, add an additional egg yolk or more sour cream. This will depend on your GF flour brand.
Cover the bowl with plastic wrap and refrigerate for 30 minutes while the oven preheats. This gives time for the moisture to absorb into the starches, avoiding a gritty texture. It also helps make the dough easier to shape in the next step.
Time to shape and bake
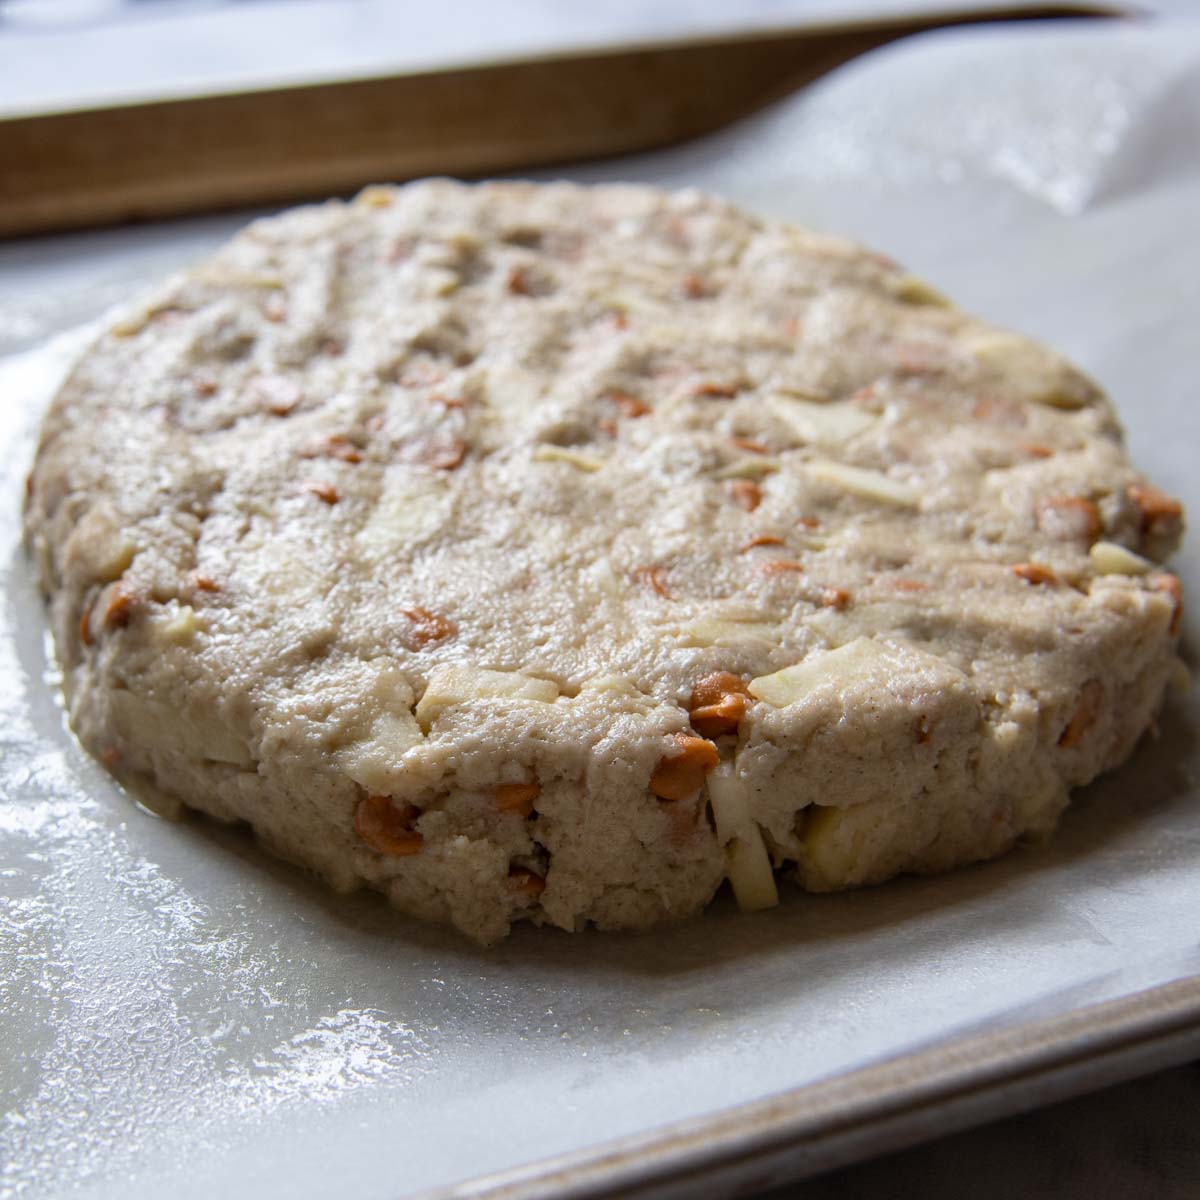
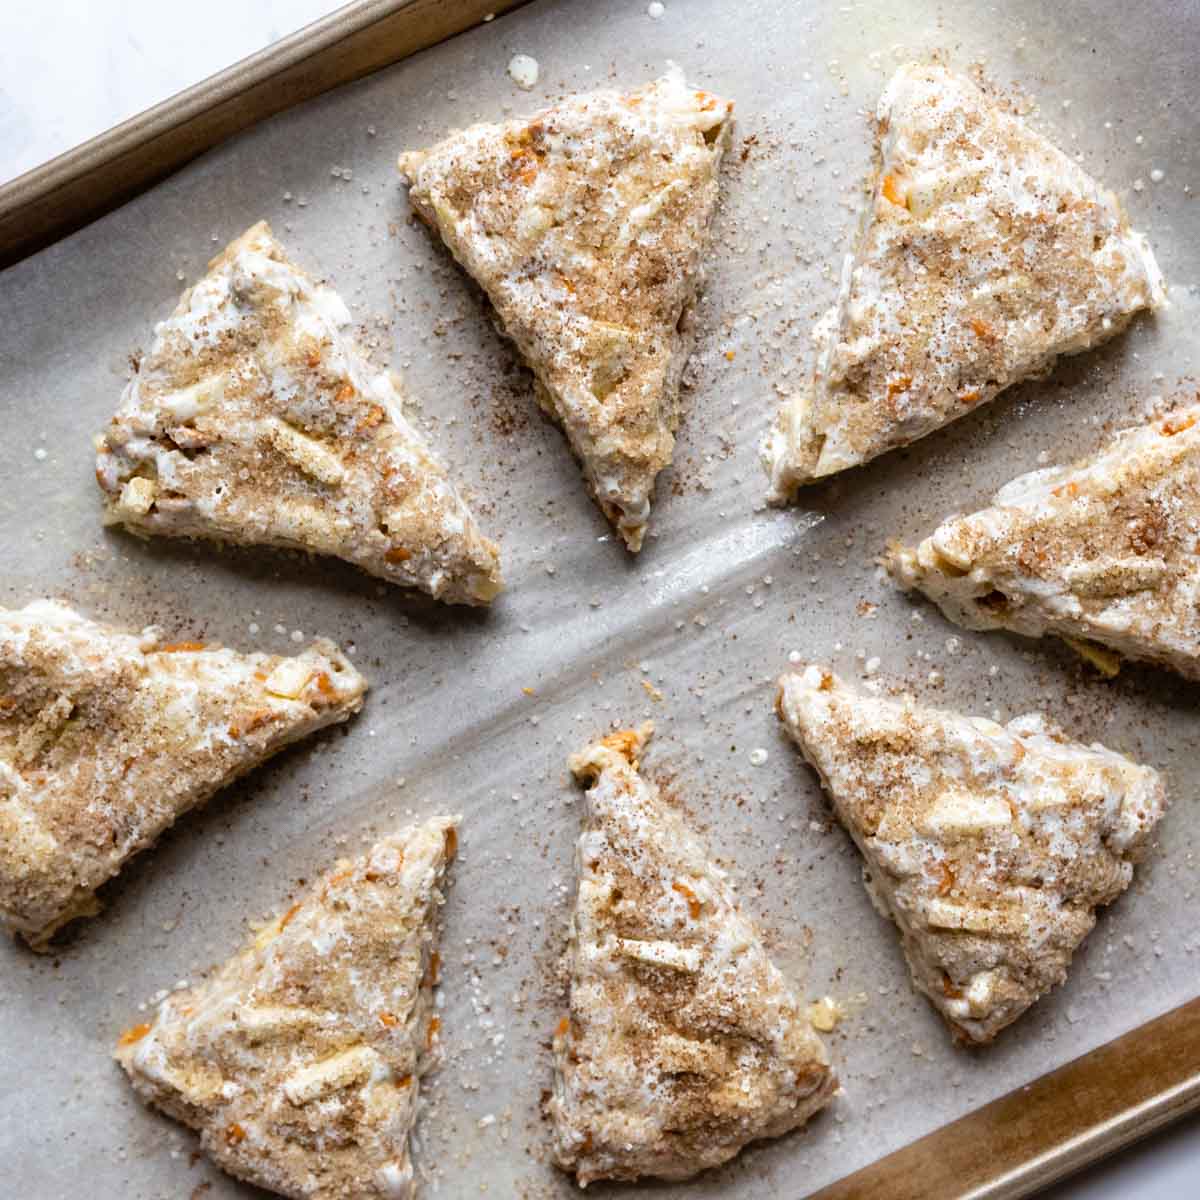
On a baking tray with greased parchment paper, shape the dough into a 7-inch disc that is 1-inch thick. Use a sharp knife to cut into 8 triangles. Spread the scones out, brush tops with milk or cream, and sprinkle with optional coarse sugar.
Since this bakes at a high oven temp (450℉), bake on the LOWER MIDDLE rack for 16-18 minutes, rotating the pan halfway through. Allow the scones to cool slightly before transferring to a wire rack and topping with the optional glaze.
Feeling Zany? More Mix-In Ideas
My apple butterscotch scones are bursting with flavor, but there’s always room for more! To keep the dough to mix-in ratio, add a total of 1 ¾ cup of add-ins, scaling back on apples or butterscotch chips, if need be.
- Chopped nuts, such as walnuts, pecans, pistachios or almond
- Dried fruit, such as raisins, cranberries, cherries, figs, or currants.
- Omit the cinnamon and add ¾ cup freshly grated sharp cheddar for apple cheese scones.
- Add additional spices, such as ground cloves, ginger, or nutmeg.
- Replace the butterscotch chips with caramel baking bits (read label for gluten-free)
Save this recipe to your pinterest board!
Let’s be friends on Pinterest! I’m always sharing great recipes!
Did you make this recipe? I love hearing from you! Leave a star rating and comment below the recipe card. It helps others when searching for recipes and I appreciate feedback from our community. You will always hear back from me! -Melissa

Fluffy Gluten-Free Apple Scones with Butterscotch

Ingredients
Gluten Free Scones
- 1 ¾ cup (245 g) gluten-free all purpose flour, I use and recommend Cup4Cup brand
- ⅓ cup (67 g) granulated sugar
- 1 tablespoon (14 g) baking powder
- 1 teaspoon ground cinnamon
- ¼ teaspoon salt
- 6 tablespoons (85 g) unsalted butter, chopped into ½” pieces and chilled
- 1 cup (125 g) peeled and diced apples, see recipe notes for recommended varieties
- ¾ cup (120 g) gluten-free butterscotch chips
- ⅔ cup (153 g) sour cream, may substitute yogurt
- 1 egg yolk
- 1 teaspoon vanilla extract
Optional Topping
- 1 tablespoon milk or cream
- 1 tablespoon turbinado (coarse) sugar
Optional Glaze
- ½ cup (60 g) powdered sugar
- ½ – 1 tablespoon milk or cream
- ½ teaspoon vanilla extract
Instructions
- In a large bowl whisk together the gluten-free flour, sugar, baking powder, cinnamon, and salt. Use a pastry blender or fork to cut in chopped butter until the butter is uniformly mixed with the flour in very small, crumbly pieces.1 ¾ cup gluten-free all purpose flour, ⅓ cup granulated sugar, 1 tablespoon baking powder, 1 teaspoon ground cinnamon, ¼ teaspoon salt, 6 tablespoons unsalted butter
- In a small bowl whisk together the sour cream, egg, and vanilla extract. First, gently stir in the apples and butterscotch chips into the flour mixture. Then, pour in sour cream mixture and gently combine until no flour pockets remain. The dough will be quite thick. Cover bowl with plastic wrap and refrigerate for 30 minutes while the oven preheats.1 cup peeled and diced apples, ¾ cup gluten-free butterscotch chips, ⅔ cup sour cream, 1 egg yolk, 1 teaspoon vanilla extract
- Preheat the oven to 450°F (230°C). Line a baking sheet with parchment paper and spray with nonstick cooking spray.
- Place the dough in the center of the prepared baking sheet and shape it into a ball. Flatten the dough with your hands into a 7-inch (18 cm) disc, 1-inch (2.5-cm)–thick. If the dough is sticking, spray your fingers with cooking spray to shape. Cut the disc into 8 triangles, using a sharp knife. Use a small spatula to spread the cut scones around the baking sheet so they are about 2 inches (5-cm) apart.
- If topping with sugar, brush on milk or cream and sprinkle tops with sugar. Bake on the LOWER MIDDLE rack for 16-18 minutes, rotating halfway through, until the tops and bottoms start to turn golden brown. Cool on the baking sheet for 5 minutes, then transfer to a wire rack to cool.1 tablespoon milk or cream, 1 tablespoon turbinado (coarse) sugar
- For glaze, mix together ingredients. The glaze should be thin enough to drizzle on, but thick enough it stays on the scone. Place a piece of waxed paper under the cooling rack and then use a small spoon to drizzle glaze over the tops. Allow glaze to harden before stacking or storing.½ cup powdered sugar, ½ – 1 tablespoon milk or cream, ½ teaspoon vanilla extract
Notes
Storing, freezing, and make-ahead tips
Storing: They may be kept in an airtight container at room temperature up to 2 days, but will lose optimal taste and texture quickly. Refrigerating will dry out the scones, and is not recommended. Freezing: If not enjoying the same day, individually wrap the scones after they have completely cooled (at least 3 hours). Transfer to a ziplock freezer bag and freeze up to 3 months. Thaw on the counter for 1 hour or, for a grab-and-go breakfast, unwrap and defrost in the microwave. Make-Ahead: To bake the scones right before serving, shape the dough in triangles and place the baking tray in the freezer until they are solid. Wrap the unbaked scones in plastic wrap and transfer to a ziplock freezer bag. Freeze up to 3 months. To bake, place unwrapped, frozen scones on a parchment-lined baking sheet. Bake at 425ºF (220ºC), extending the baking time by a few minutes.Recommended Baking Apples
Use one of the following so the apples don’t break down or become mealy during baking – honeycrisp, golden delicious, granny smith, braeburn, pink ladyThis post contains affiliate links. My opinions are always my own. If you purchase a product through an affiliate link, I make a small commission – at no cost to you. Read full disclosure policy here.


These were delicious! I had to increase the wet ingredients (sour cream and egg yolk) by almost double, but otherwise didn’t make any changes. Will absolutely be making these again!
I appreciate you taking the time to comment, Sarah!
Best,
Melissa
Great recipe! I made dairy free by omitting the butterscotch chips and using palm shortening and coconut yogurt. Worked well with my flour blend as well (basmati rice, sweet rice, millet, arrowroot flour). I’ve also made an apple pumpkin version too using your recipe! Absolutely wonderful! Thanks for sharing!
Oh, what a great idea with the apple pumpkin. Yum! Thanks for sharing and I’m glad you enjoyed the recipe!
Best,
Melissa
Really tasty! My batter would not stick together so I added extra sour cream. Seemed to do the trick. I’m used to a dense, crumbly scone. These were light and fluffy. My non gluten free husband loved them! Definitely a repeat!
Thank you so much, Kristy. Great call with the sour cream. Adding liquid would risk them being gummy. Perhaps your GF flour blend required a little more moisture. Glad you were able to have success!
Best,
Melissa
This was my first time using gluten-free flour and I am so happy that it turned out well! I took the scones to a luncheon and got two requests for the recipe.
That’s amazing, Kelley! That’s a much better start than I had when I started baking gluten-free!
Best,
Melissa
These were delicious, but I ended up using the whole egg and added a bit more yogurt as well. The batter did not come together with just the yolk. Loved the addition of butterscotch!
Thanks for sharing, Kathy! I’m glad you were able to adapt the recipe. 🙂
Best,
Melissa