


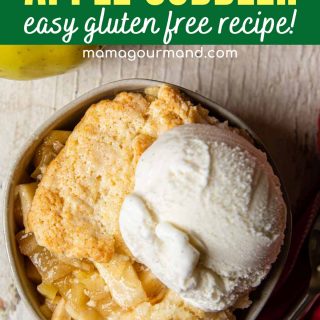
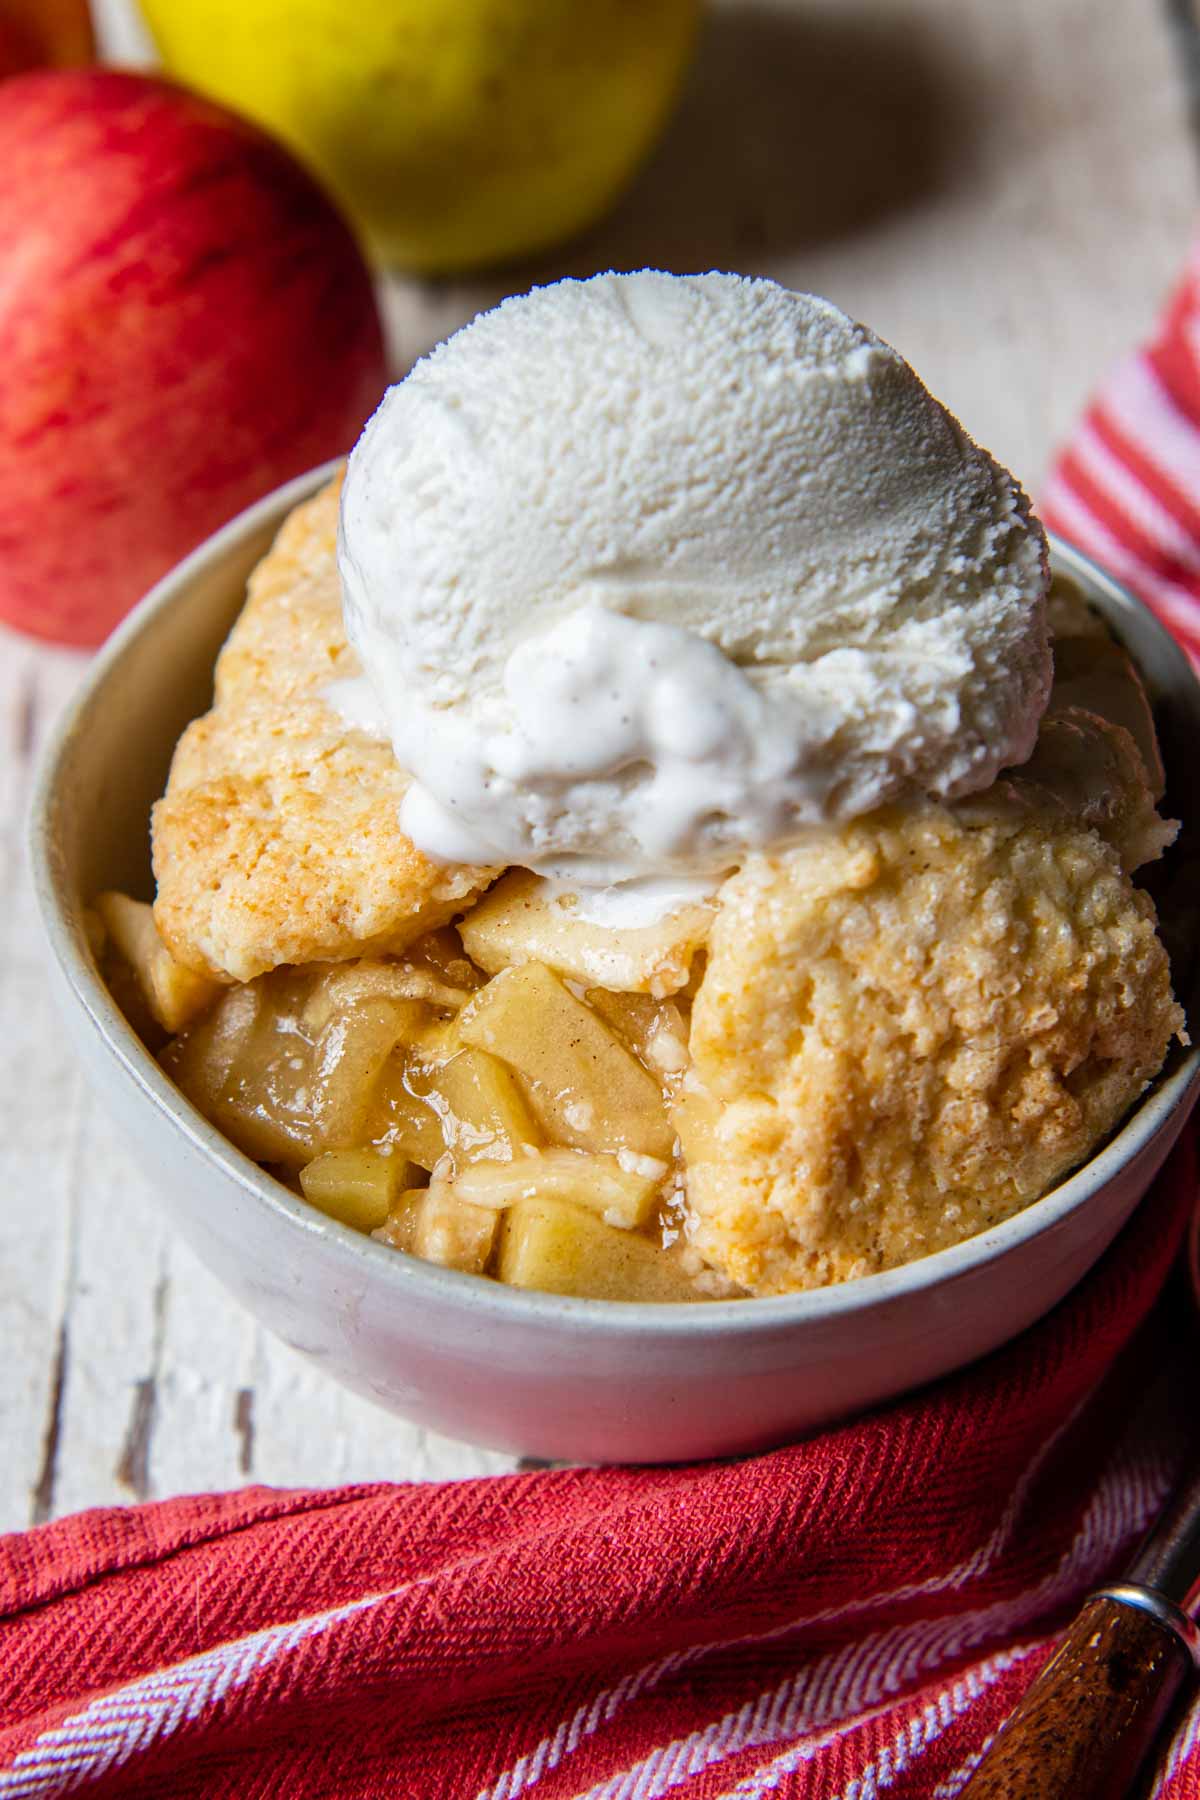
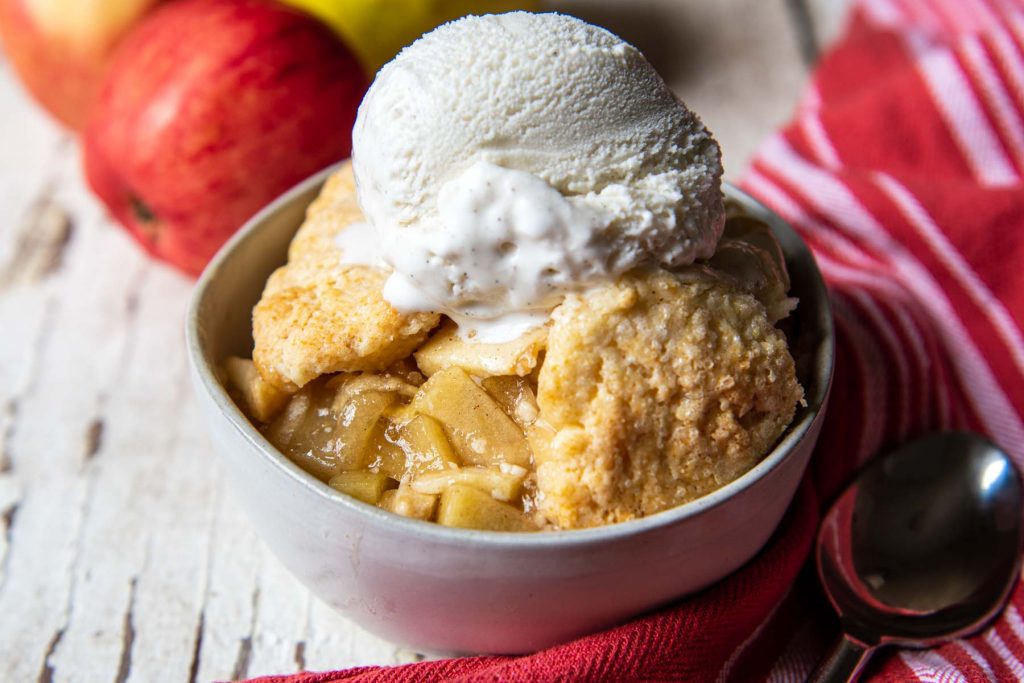
Make the best gluten-free apple cobbler with my timeless, old fashioned recipe! Gluten-free cobbler has an ideally sweetened cinnamon apple filling that bakes up juicy, tender, and perfectly thickened, thanks to an easy trick of adding a grated apple. It is topped with buttery, soft drop biscuit topping – easy enough for a GF baking novice to pull it off. I’ll show you how, step by step!
Want to Save This Recipe?
Enter your email below & we'll send it straight to your inbox. Plus you’ll get affordable and easy gluten-free recipes delivered each week!
Best Gluten-Free Apple Cobbler Recipe with Fresh Apples
Apple season is here and we need to gather all the gluten-free desserts with apples to justify the small fortune you just laid down at a U-pick orchard. (Guilty! The question is, why am I shocked every time…) If you want to put those apples to work, an old fashioned, homemade apple cobbler made gluten-free is your next win.
Similar to one of my other go-to fall recipes, better-than-Gramma’s (shh! 🤫) homemade gluten-free apple crisp with oat topping, this recipe has two parts to make one epic dessert. First, fresh apples are mixed with a little sugar and thickener for a juicy filling. I use an easy hack for a filling that isn’t over thick or runny – grate one of the apples to break down and naturally thicken while it bakes.
Next, it’s time to prepare the GF cobbler topping. If those words intimidate you, don’t fret. The mix-and-drop biscuit topping has the buttery, slightly sweet taste of homemade gluten-free shortcake, but it’s easy to shape and pat over the apple filling.
This was such a great treat!! Haven’t had a cobbler since going gluten-free and this was so simple and delicious! Thank you so much for sharing!
—Grey
Free Guide! 5 easy tips for baking like a gluten-free pro!
Simple hacks for fail-proof gluten-free dishes every time!
Ingredient Tid Bits
- Apples – I prefer Golden Delicious, which bakes into a texture that softens, but still holds it shapes.
- Cornstarch – Used to thicken the apples, but there are a variety of gluten-free fruit thickeners. Replace the cornstarch with an equal amount of arrowroot or quick-cooking tapioca.
- Butter – I’ve made this recipe with and without the melted butter in the filling. I like the creamy, rich punch of flavor it adds.
- Gluten-free all purpose flour – I use and recommend Cup 4 Cup gluten-free flour, but if you have another preference check out the comments below where readers do a great job of adding their adaptations
Let’s Make This Together!
(Note: This is a step-by-step tutorial with pictures. For more specific instructions, along with ingredient amounts, see the recipe card at the bottom of the post.)
Fresh apple filling with grated apple trick!
First make the fruit filling by whisking together together sugar, brown sugar, water, vanilla extract, lemon juice, cornstarch, cinnamon, nutmeg, and salt. Then add the chopped apples, and grated apple.
The trick of grating one apple in the filling with the chopped apples is a technique Cook’s Illustrated uses. The grated apple breaks down during baking, leaving the filling juices optimally flavored and thicken.
I’ve tried it both ways (because grating an apple is an extra step), but taking the time to grate an apple definitely makes the filling SO much better!

Perfectly thickened with partial bake first
Most apple cobbler recipes with fresh apples will bake everything all together, but I find this makes inconsistent results. The filling needs a lot longer than the cobbler topping to bake. Therefore, cover the apples with foil to create steam and quicken the process. Bake for 20 minutes while you prep the biscuit dough.

Best gluten-free cobbler topping (for real)
Whisk together the flour, sugar, baking powder, and salt. Add the chilled butter pieces to the flour mixture and use a pastry blender until only small, crumbly pieces remain. If don’t have a pastry blender, just use a fork or your fingers. It all works! Then use a spoon to stir in the milk until no flour pockets remain. You will have a stiff, yet soft, dough.
To eliminate any potential grittiness for GF flour blends, you can borrow a hack from old fashioned gluten-free chicken and biscuits – chill the dough for 20 minutes before scooping onto of the filling.


Pat and bake
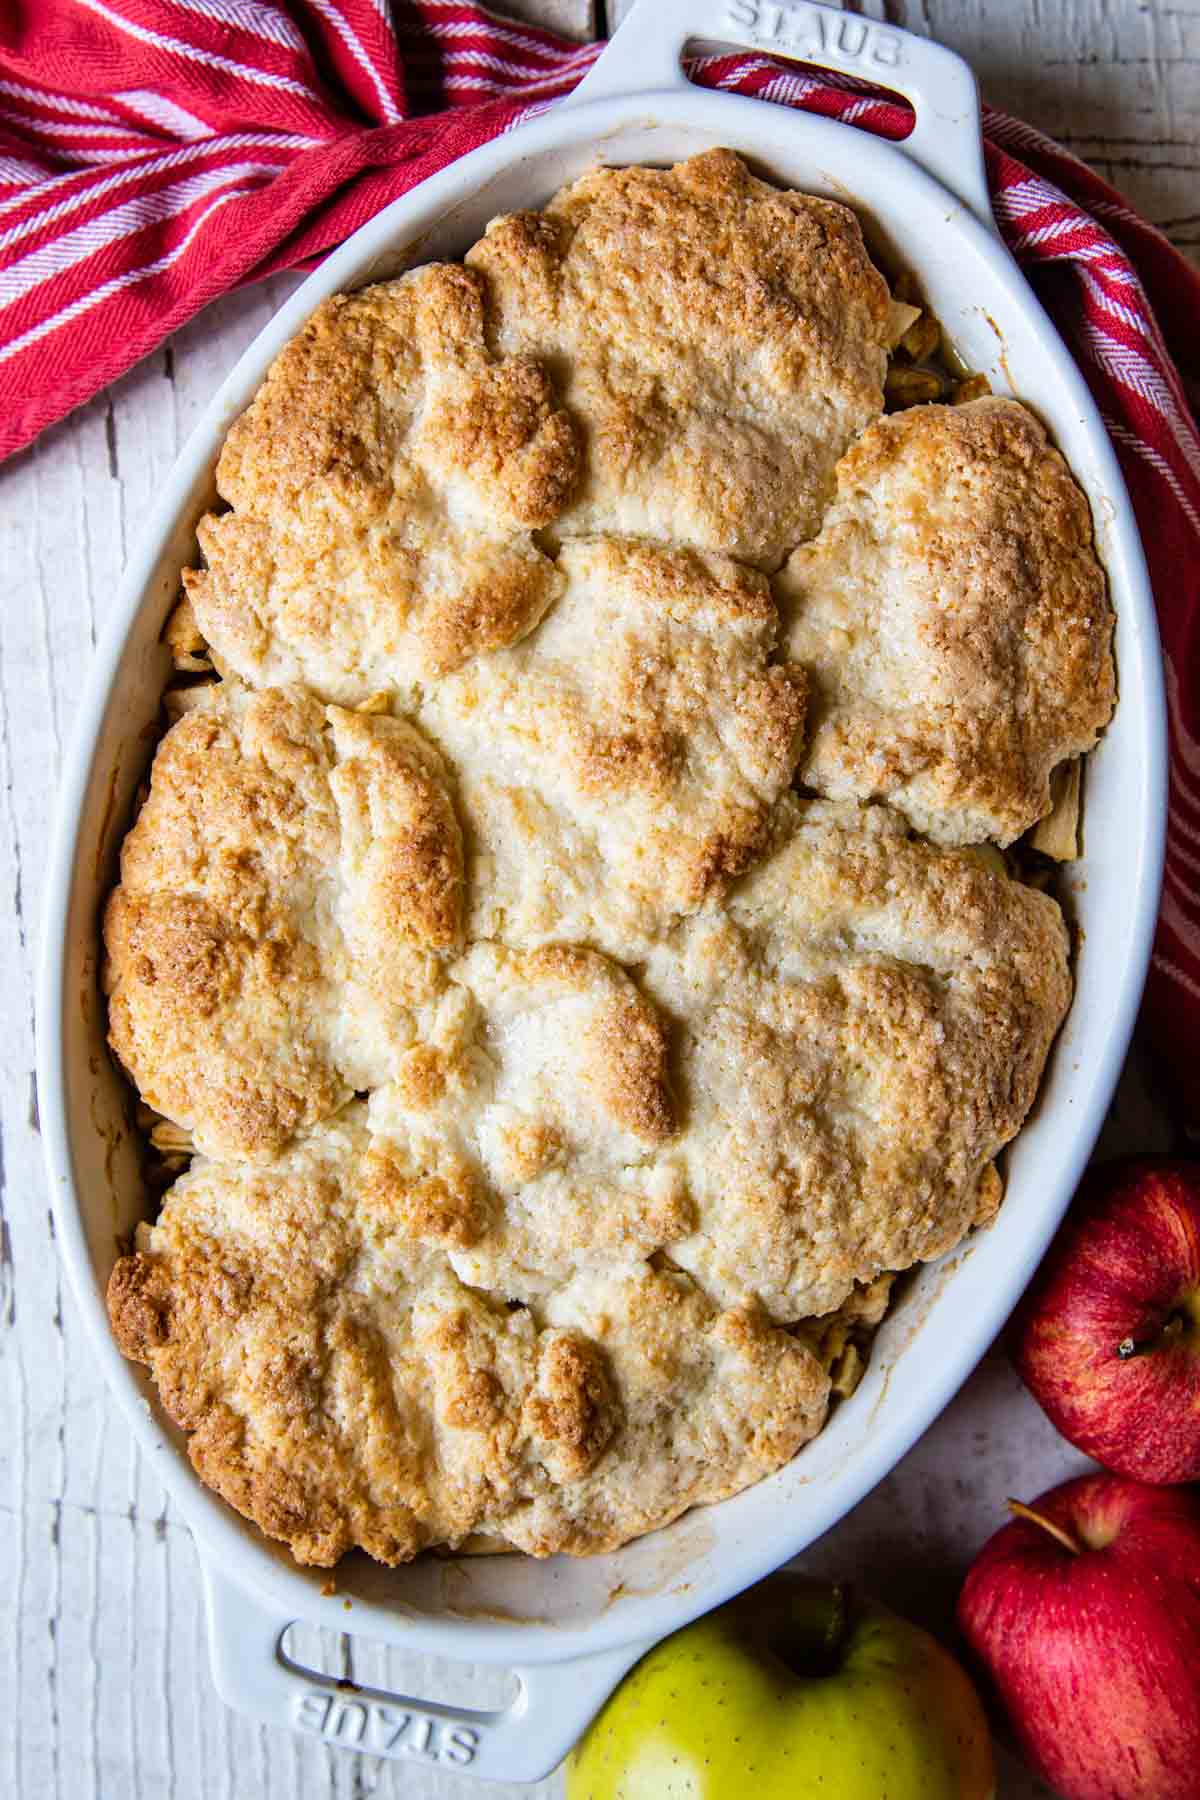
Pat the biscuit dough into flat rounds and place them each on top of your fruit filling. It’s okay if the fruit is showing through. If you would like to add a little extra flavor and texture, use a pastry brush to brush milk over the tops of the biscuit batter and sprinkle with coarse sugar. Bake for 40 minutes, or until the cobbler topping start to brown and toothpick inserted in middle comes out clean.

Save this recipe to your pinterest board!
Let’s be friends on Pinterest! I’m always sharing great recipes!
Did you make this recipe? I love hearing from you! Leave a star rating and comment below the recipe card. It helps others when searching for recipes and I appreciate feedback from our community. You will always hear back from me! -Melissa
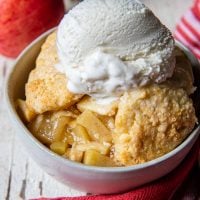
No-Fail Gluten-Free Apple Cobbler with Biscuit Topping

Ingredients
Apple Filling
- ⅓ cup (67 g) granulated sugar
- 2 tablespoons (30 g) brown sugar
- 1 tablespoon water
- 1 tablespoon lemon juice
- 1 ½ tablespoons cornstarch
- 1 teaspoon vanilla extract
- ½ teaspoon ground cinnamon
- ⅛ teaspoon ground nutmeg
- ⅛ teaspoon salt
- 2 ¾ pounds (1.25 kg) (about 5 large) Golden Delicious apples, peeled and cut into ½" cubes
- 1 Golden Delicious apple, peeled and grated
- 2 tablespoons (28 g) unsalted butter , melted
Cobbler Topping
- 1 ⅓ cup (129 g) all purpose gluten-free flour, I recommend Cup4Cup gluten-free flour
- ⅓ cup (67 g) granulated sugar
- 1 ½ teaspoons baking powder
- ¼ teaspoon salt
- ⅓ cup (76 g) unsalted butter, chopped
- ⅓ cup (80 g) (80 mL) milk
- 1 tablespoon coarse sugar, optional for topping
- 1 tablespoon milk, optional for topping
- ice cream or whipped cream, , for serving
Instructions
Apple Filling:
- Preheat oven to 400ºF. Grease a 11X7 or 2 quart baking dish.
- In a large bowl whisk together sugar, brown sugar, water, vanilla extract, lemon juice, cornstarch, cinnamon, nutmeg, and salt. Add chopped apples and grated apple. Stir to combine.⅓ cup granulated sugar, 2 tablespoons brown sugar, 1 tablespoon water, 1 tablespoon lemon juice, 1 ½ tablespoons cornstarch, 1 teaspoon vanilla extract, ½ teaspoon ground cinnamon, ⅛ teaspoon ground nutmeg, ⅛ teaspoon salt, 2 ¾ pounds (about 5 large) Golden Delicious apples, 1 Golden Delicious apple
- Transfer to prepared baking dish. Pour melted butter over top of apple filling. Cover tightly with foil and bake for 20 minutes.2 tablespoons unsalted butter
Cobbler Topping:
- Whisk together the flour, sugar, baking powder, and salt. Add the chilled butter pieces to the flour mixture. Use a pastry blender, fork, or fingers to cut butter into the flour until small, crumbly pieces remain.1 ⅓ cup all purpose gluten-free flour, ⅓ cup granulated sugar, 1 ½ teaspoons baking powder, ¼ teaspoon salt, ⅓ cup unsalted butter
- Gently stir in the milk until no flour pockets remain. Pat the dough into flat rounds and place on top of fruit filling. It is fine if fruit is showing through.⅓ cup (80 mL) milk
- If desired, use a pastry brush to brush milk on top of biscuits and sprinkle with coarse sugar. Bake for 35-40 minutes, or until biscuits start to brown and toothpick inserted in middle comes out clean. Serve warm with ice cream or whipped cream.1 tablespoon milk, 1 tablespoon coarse sugar
- Let cool for 30-60 minutes before serving. Filling will thicken as it cools. Serve slightly warm with ice cream or whipped cream.
Notes
Dairy-Free / Vegan Adaptations
Sub out the regular milk with your favorite dairy-free milk of choice and substitute the butter with either shortening or plant-based butter sticks, such as Earth Balance. To serve, use a store-bought coconut whipped cream, such as CocoWhip, or make homemade coconut whipped cream. Supermarkets also carry many vegan / dairy-free ice cream options as well.HOW TO STORE AND REHEAT COBBLER
- Cover fruit cobbler with foil and store at room temperature for up to 3 days. It may also be refrigerated up to one week.
- Reheat individual servings in the microwave.
- To maintain texture, heat it in the oven. Allow it to come to room temperature. Bake at 250ºF for about 20 minutes or until warmed through. You may want to loosely cover with foil to prevent the biscuits from becoming overcooked.
- To freeze, bake the entire cobbler and allow to cool completely. Wrap the cobbler tightly in plastic wrap and foil, and mark the date on the outside of the foil, and freeze for up to two months.
This post contains affiliate links. My opinions are always my own. If you purchase a product through an affiliate link, I make a small commission – at no cost to you. Read full disclosure policy here.


I just made this, my hubby loved it and I loved it! Now I don’t feel like I am missing out. I also added it in my popular app (lose it). I put the name of your website with your name. Thank you so much for sharing this yummy treat 🥰
So glad you both loved it! Thanks for taking the time to share, Shonda! I appreciate it.
Best,
Melissa
Just made your Apple Cobbler recipe and it was so very delicious! And I have tried many recipes. I used a DIY GF Flour blend that’s made with White Rice flour, Tapioca or Arrowroot Starch, Sorghum flour and Xanthan gum. I used both Fuji and Honeycrisp apples and they worked fine. Am planning on making this recipe again next week; that’s how good it is.
That’s so sweet of you, Mary. Thanks for sharing. I’m so happy the recipes work with a DIY mix! So much more affordable 🙂
Best,
Melissa
This was such a great treat!! Haven’t had a cobbler since going gluten-free and this was so simple and delicious! Thank you so much for sharing!
Thank you so much! I appreciate you taking the time to let me know!
Best,
Melissa
Great recipe!
Thanks so much!
Best,
Melissa
OMG!!!!! This is the best apple cobber I have ever had and I have been baking for over 50 years and gluten free for the last five. I have never had such a delicious cobbler with or without wheat flour. It’s half gone now and I’m already planning on making it again next week. Thank you so much for this heavenly recipe!
Oh you are so sweet, Pegi! Thank you so much for making my day!
Best,
Melissa
Just made but instead of forming biscuits I just sprinkled the mixture over the apples so it’s like a thick layer of crumbles over the apples. I also was lazy and used pie filling so Hope this will also work and turn out ok! I didn’t put any milk on top but I did sprinkle with brown sugar. Fingers crossed!
Would love to hear how this easy hack turned out!
Best,
Melissa
Great recipe! My gluten free dairy free version is AMAZING! The hubs and kiddos Love it! Thank you!
So glad to hear, Kate! This makes me so happy!
Best,
Melissa
Just pulled this beauty out of the oven! Perfect biscuits!!! I made it with Ambrosia apples as I wanted it a little sweeter and little more floral. The boyfriend asked for this for his birthday! So happy that the time and effort that went into this is so appreciated!
What a lovely comment, Heather. Thank you so much!
Best,
Melissa