
Follow this easy recipe at home to make great gluten-free crepes, just as good as the originals! These skillet crepes are the perfect base for any sweet or savory toppings! As a seasoned gluten-free baker, I’ve perfected my method for preparing the best ultra-thin, crispy edged gluten-free crepes at home. It comes down to two important recipe adjustments — let me explain.
Want to Save This Recipe?
Enter your email below & we'll send it straight to your inbox. Plus you’ll get affordable and easy gluten-free recipes delivered each week!
Seriously Easy Gluten-Free Crepes Recipe
This gluten-free crepe recipe was adapted from one of my favorite cookbooks (before my own gluten-free cookbook was published, of course!). America’s Test Kitchen’s How Can It Be Gluten-Free Cookbook inspired not only this crepe recipe, but some of the website’s most popular gluten-free breakfast recipes!
Traditionally, French crepes are made with buckwheat flour, similar to buckwheat flour pancakes, making them naturally gluten-free. However, sweet crepes are typically made with white wheat flour, which means they are not safe for a GF diet.
Crepes made with gluten-free flour aren’t as easily adapted by simply swapping GF flour in a traditional recipe. When testing this, it led to a gummy, rubbery texture because GF starches do not absorb moisture as well.
To make great gluten-free breakfast crepes, just as good as the originals, first the amount of liquid needs to be reduced. Secondly, lowering the heat and cooking for a slightly extended time also allows enough time for moisture to evaporate.
Thank you!! Was so worried to attempt making gluten free crepes for a friend. Hosting a party and she is the only one, this recipe was so easy to follow, love the details and they came out great!
—Nancy
Free Guide! Receive a Free Gluten Free Breakfasts Cookbook
TOP 5 Highest Rated Recipes!
Ingredient Tid Bits
The ingredients are simple and readily available in your kitchen. Below I share any workable ingredient substitutions for the gluten-free crepe batter.
- Gluten-free flour – I usually recommend Cup4Cup gluten-free flour for baking, but when I did a blind taste test with my family, they preferred the King Arthur Measure-For-Measure, which incidentally is also easier to spread. Below I go over both and any adjustments that need to be made to the recipe, depending on GF flour used.
- Milk – For a richer, buttery taste use whole milk, or at least 2%. To make a dairy-free recipe, substitute your favorite non-dairy substitute, such as almond milk or coconut milk.
- Butter – If using salted butter, omit the salt from the recipe. For a dairy-free, use plant-based butter sticks, such as Earth Balance vegan butter sticks.
- Sugar – The amount of sugar may be adjusted or left out completely if making savory crepes.
Watch This Recipe
Let’s Make This Together!
(Below shows step-by-step photos and modified instructions. For the complete recipe, along with ingredient amounts, scroll down to the recipe card.)
Prep and whisk ingredients – quick and easy!
In a medium bowl whisk together the dry ingredients – gluten-free flour, sugar, and salt. In a separate bowl whisk together the eggs with the milk. The amount of milk added depends on the GF flour used. C4C requires 1 ½ cups milk, while blends like KA or Bob’s use a little less, 1 ⅓ cup milk.
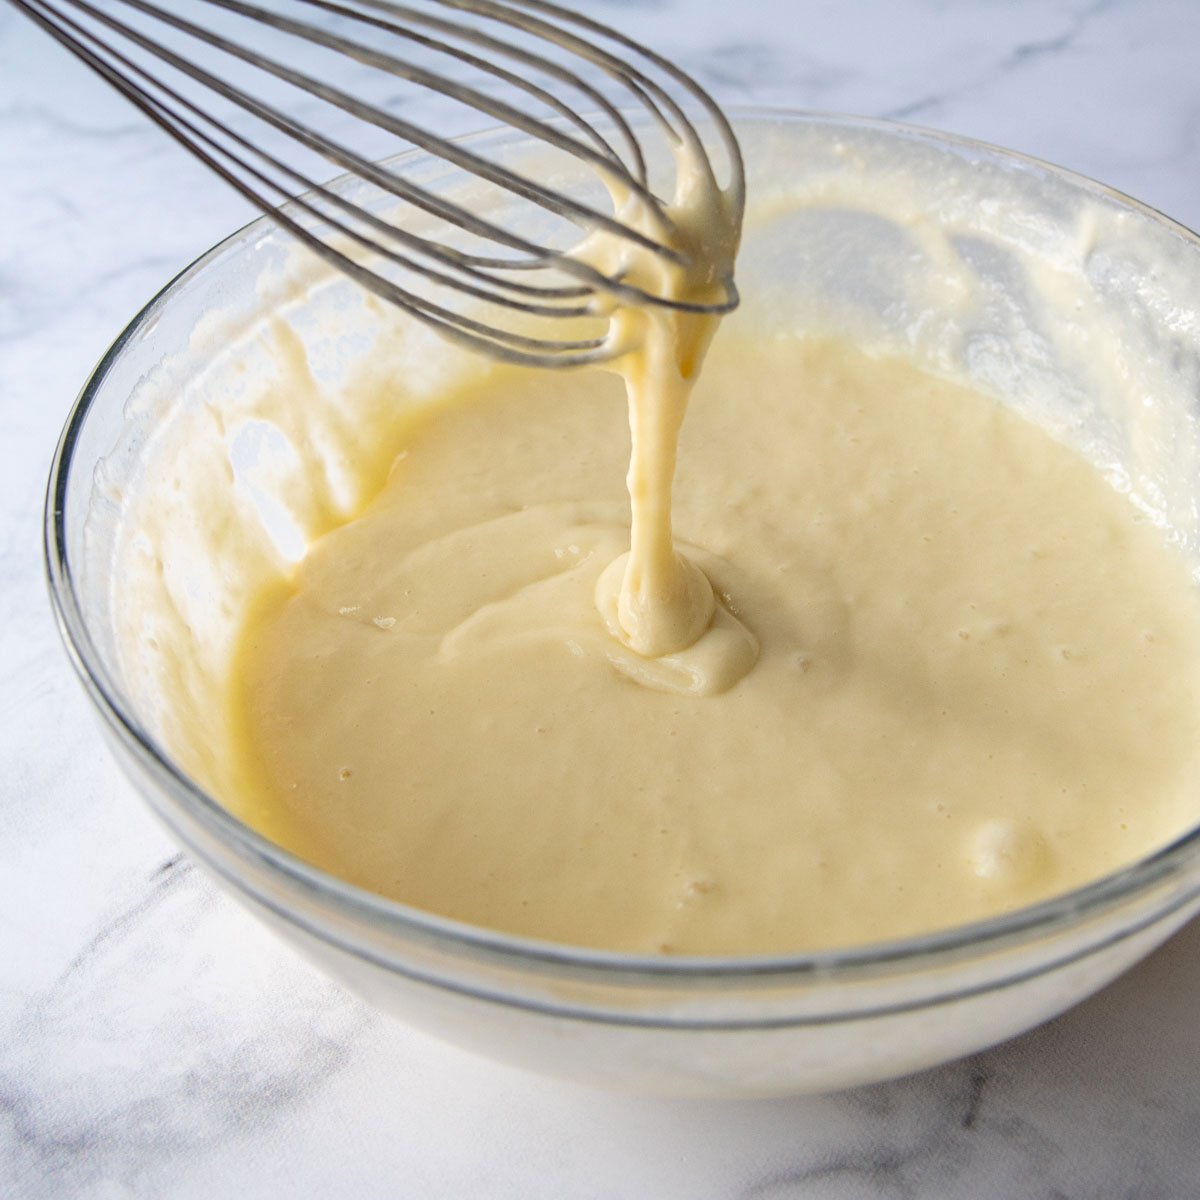
Add three-fourths of the milk / egg mixture to the flour and whisk until smooth. Add the remaining wet ingredients and melted butter, then whisk again until well combined.
The consistency. of the batter will also depend on the GF flour. Cup4Cup is shown below. It’s thicker (due to the cornstarch), which other blends will be thinner. Adding additional milk to C4C will just result in a gummier crepe recipe, so I recommend keeping it as is and simply spreading in the pan (shown below).
Wait a tad…then cook
Let the mixture sit while your crepe pan preheats. This allows time for the gluten-free starches to relax and hydrate. Heat a 10-inch nonstick skillet or crepe pan over medium low heat for 5 minutes.
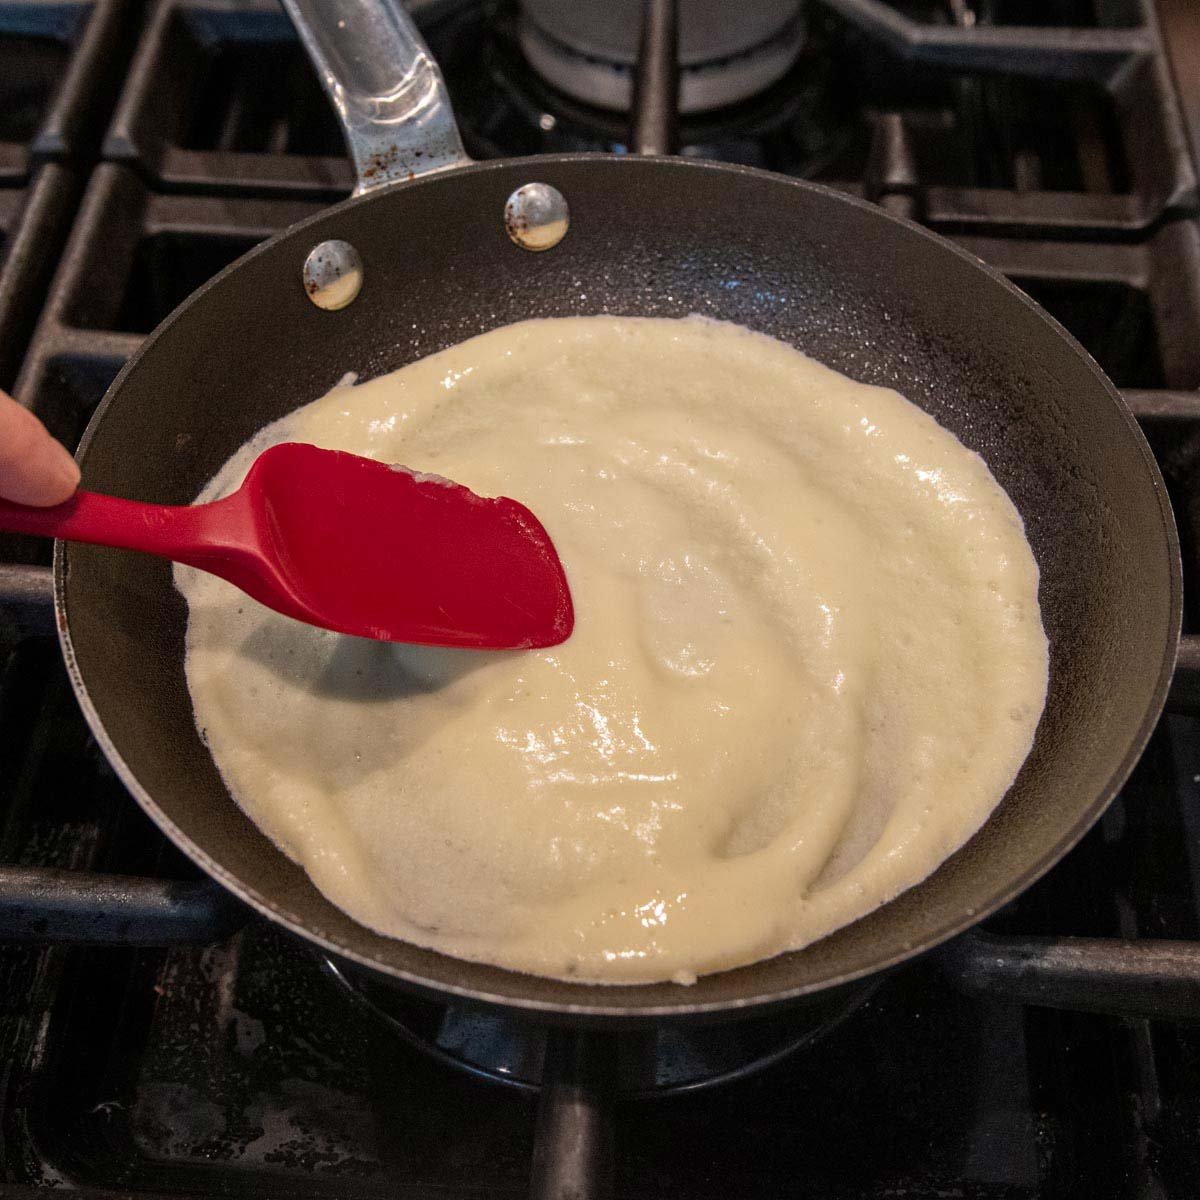
Pour in 1/4 cup batter and spread out in the pan if the batter is thicker. Otherwise you can tilt the pan until it’s about a 8-inch circle. Cook for about 20 seconds per side, or until lightly golden. That’s it!
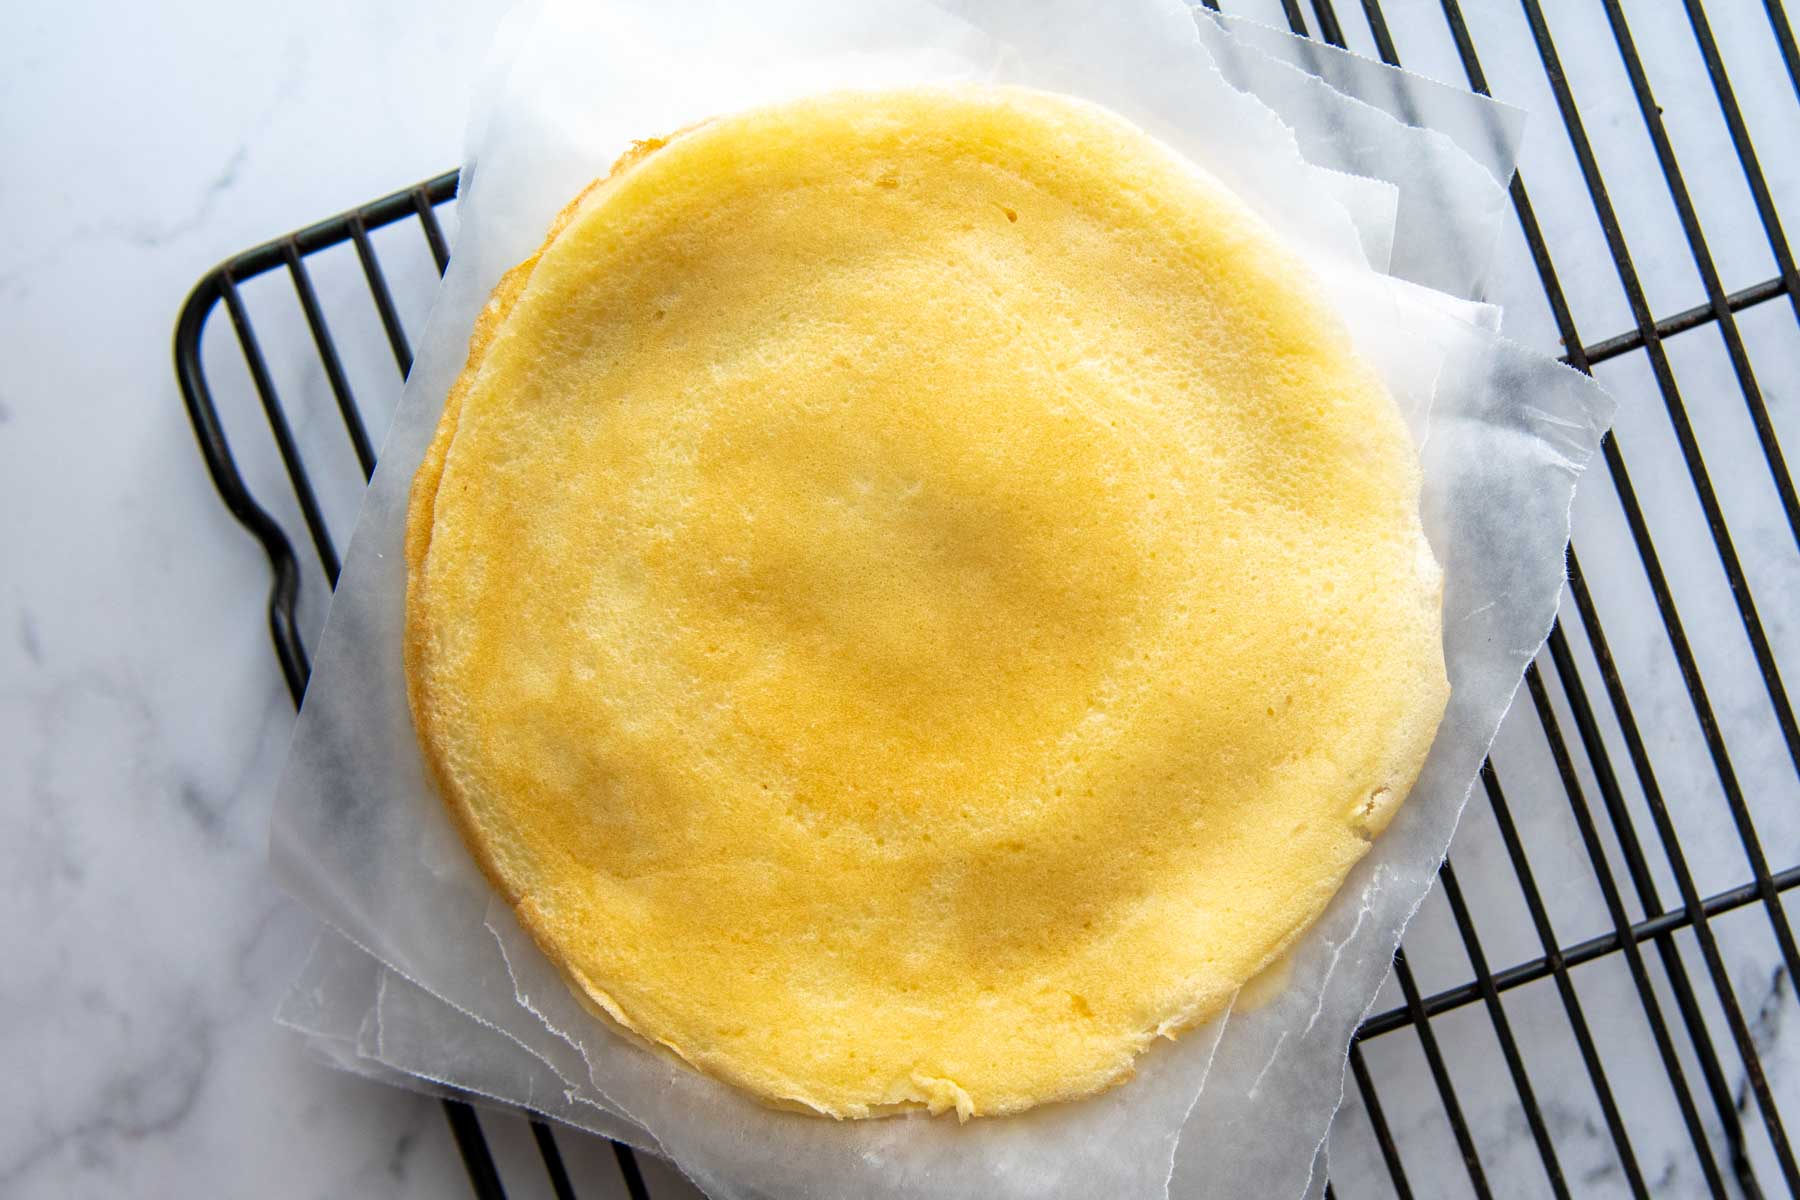
Stack and enjoy!
I like to stack cooked crepes with wax paper in between to keep them warm. If you plan on storing them to enjoy later I would lay them out, without stacking, so they cool completely. Once cooled you can stack with wax paper sheets, transfer to an airtight container, then refrigerate or freeze.
Do I Need A Crepe Pan?
Although there are many kitchen gadgets available for making homemade crepes, dedicated speciality equipment is not required. In fact, I used a standard nonstick skillet to make mine.
There is an ideal size pan size for making crepes, though. An 8-inch skillet will produce slightly thicker crepes, which are still tasty but have a firmer texture. Ideally, use a quality 10-inch skillet for even cooking temperature and a superior nonstick surface.
Below are some more commercial kitchen tools and appliances commonly used to make crepes.
- 10-inch crepe pan – These have shallower sides for easier flipping and are very affordable. There are more heavy-duty cast iron pans as well, but I don’t find the jump in price makes that much of difference.
- Electric Crepe Griddle – A plug-in unit with a controllable temperature dial also has no sides for easier flipping. However, they could be a bit cumbersome to store and only cook one side, which isn’t recommended for crepes made with GF flour.
- Crepe Spreader – Used to evenly distribute batter in a pan. I don’t find them necessary for homemade crepes, but could come in handy if making several batches at one time.
Save this recipe to your pinterest board!
Let’s be friends on Pinterest! I’m always sharing great recipes!
Did you make this recipe? I love hearing from you! Leave a star rating and comment below the recipe card. It helps others when searching for recipes and I appreciate feedback from our community. You will always hear back from me! -Melissa

Quick Gluten-Free Crepes (Thin with Crisp Edges)
Ingredients
- 1 ¼ cups all purpose gluten-free flour, see recipe notes for recommended flour
- 3 tablespoons granulated sugar
- ¼ teaspoon salt
- 1 ⅓ – ½ cups whole or 2% milk, (depends on GF flour, see recipe notes)
- 2 large eggs
- 2 tablespoons unsalted butter, melted and cooled
- oil, for greasing pan
Instructions
- In a medium bowl whisk together the gluten-free flour, sugar, and salt. In a separate bowl whisk together the eggs with the milk.1 ¼ cups all purpose gluten-free flour, 3 tablespoons granulated sugar, ¼ teaspoon salt, 1 ⅓ – ½ cups whole or 2% milk, 2 large eggs, 2 tablespoons unsalted butter
- Add three-fourths of the milk / egg mixture to the flour and whisk until smooth. Add the remaining wet ingredients and melted butter, then whisk again until well combined.
- Let the mixture sit while your crepe pan preheats. This allows time for the gluten-free starches to relax and hydrate. Heat a 10-inch nonstick skillet over medium low heat for 5 minutes.
- Use a pastry brush to brush on a thin smudge of oil in the skillet. Otherwise, drizzle on a bit and wipe with a paper towel so the pan has a thin film of oil. Whisk the batter again and then pour 1/4 cup batter into the pan. If the batter is a little thicker, use a rubber spatula to evenly cover the bottom of the pan with batter. Otherwise, tilt the pan around to make about a 8-inch circle. Cook, without moving, until the top surface is opaque and dry, about 20-30 seconds.
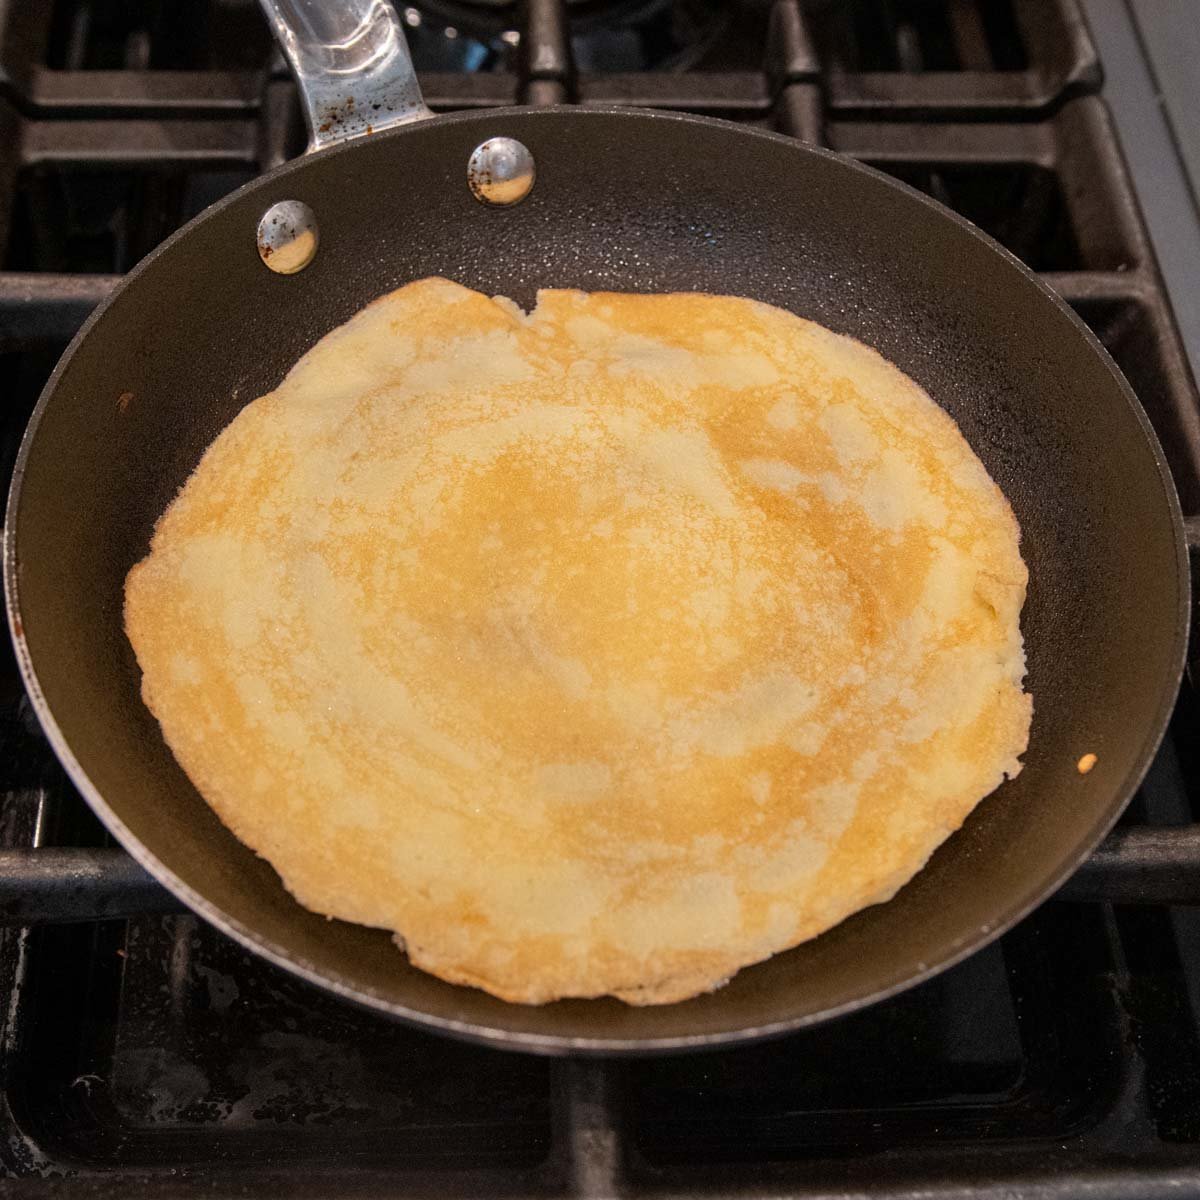
- Gently release the edges with a rubber spatula and flip to cook the other side until both sides are lightly browned, about 20 seconds longer. Slide onto a wire cooling rack and repeat the oil / cooking process with the remaining batter. Makes 8-10 crepes.
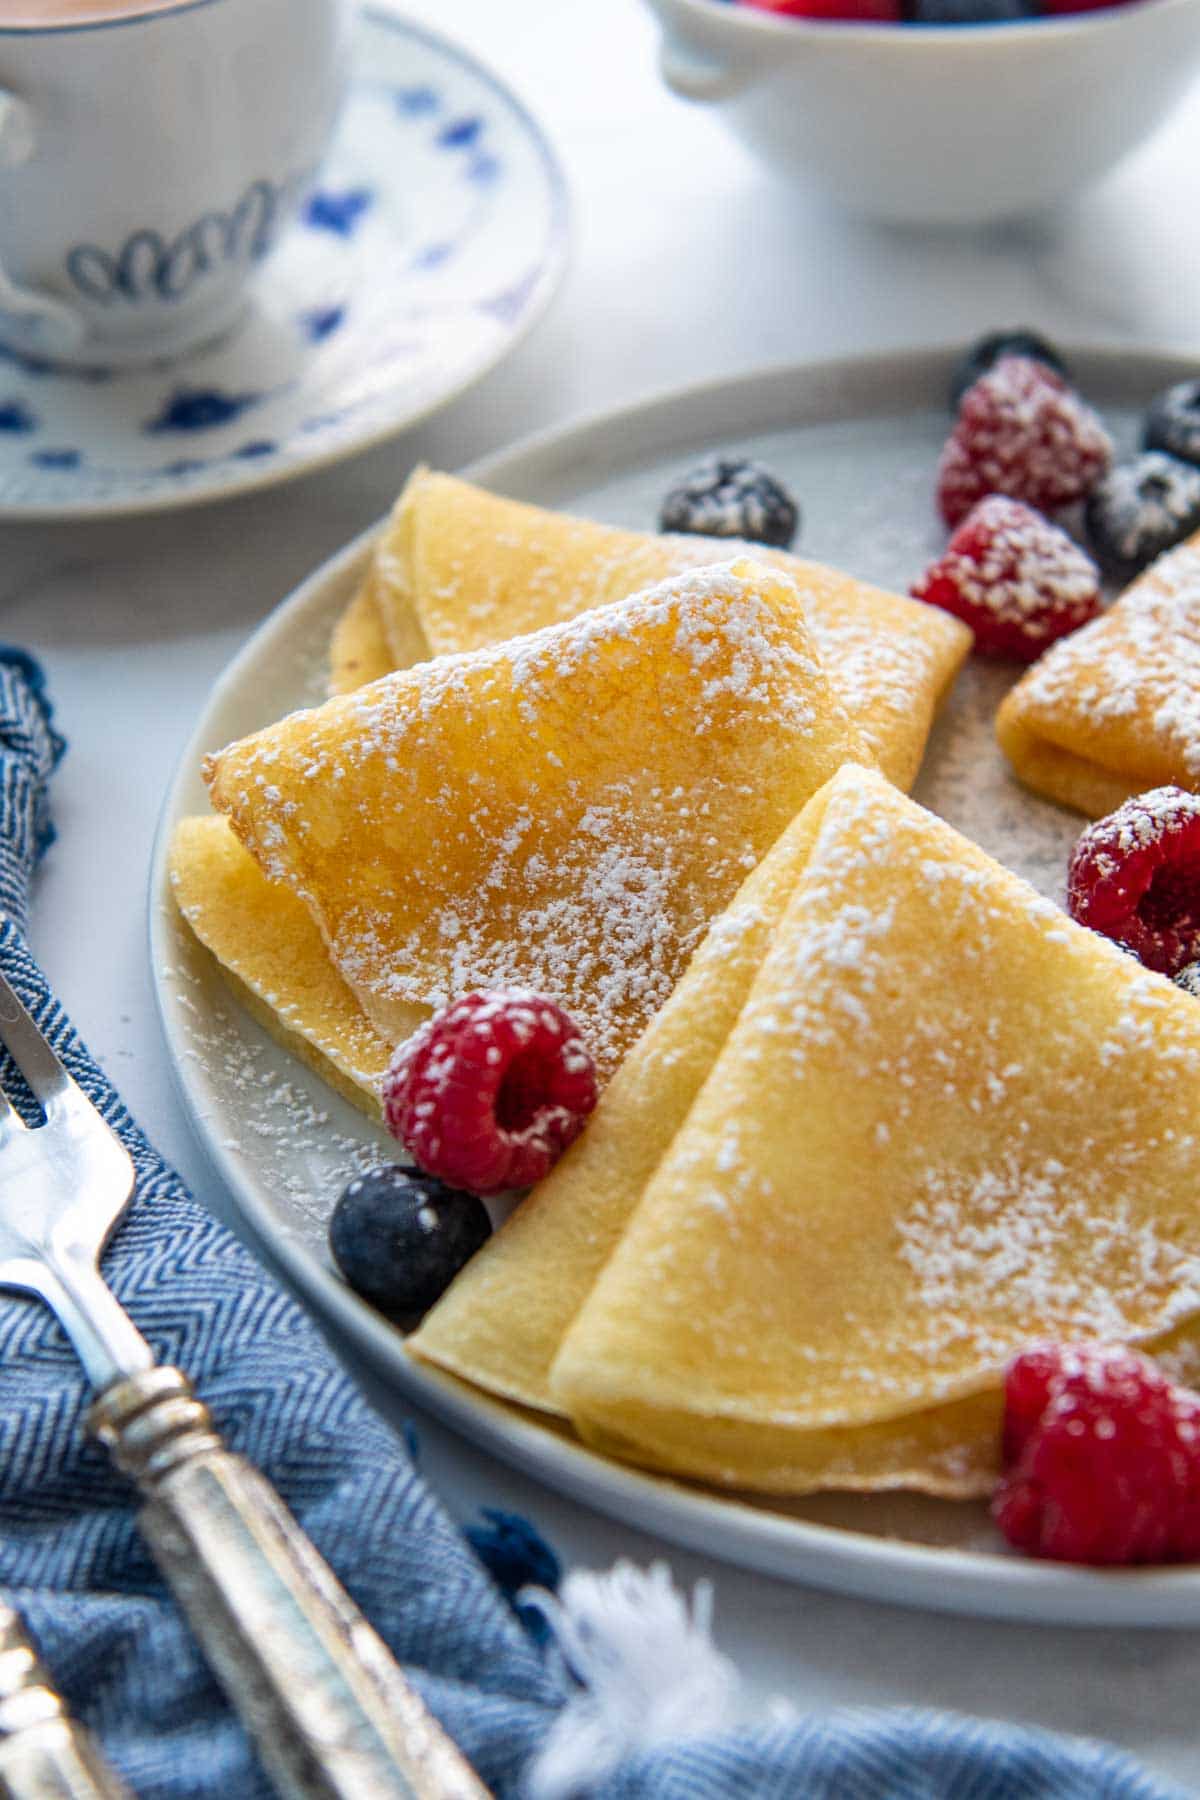
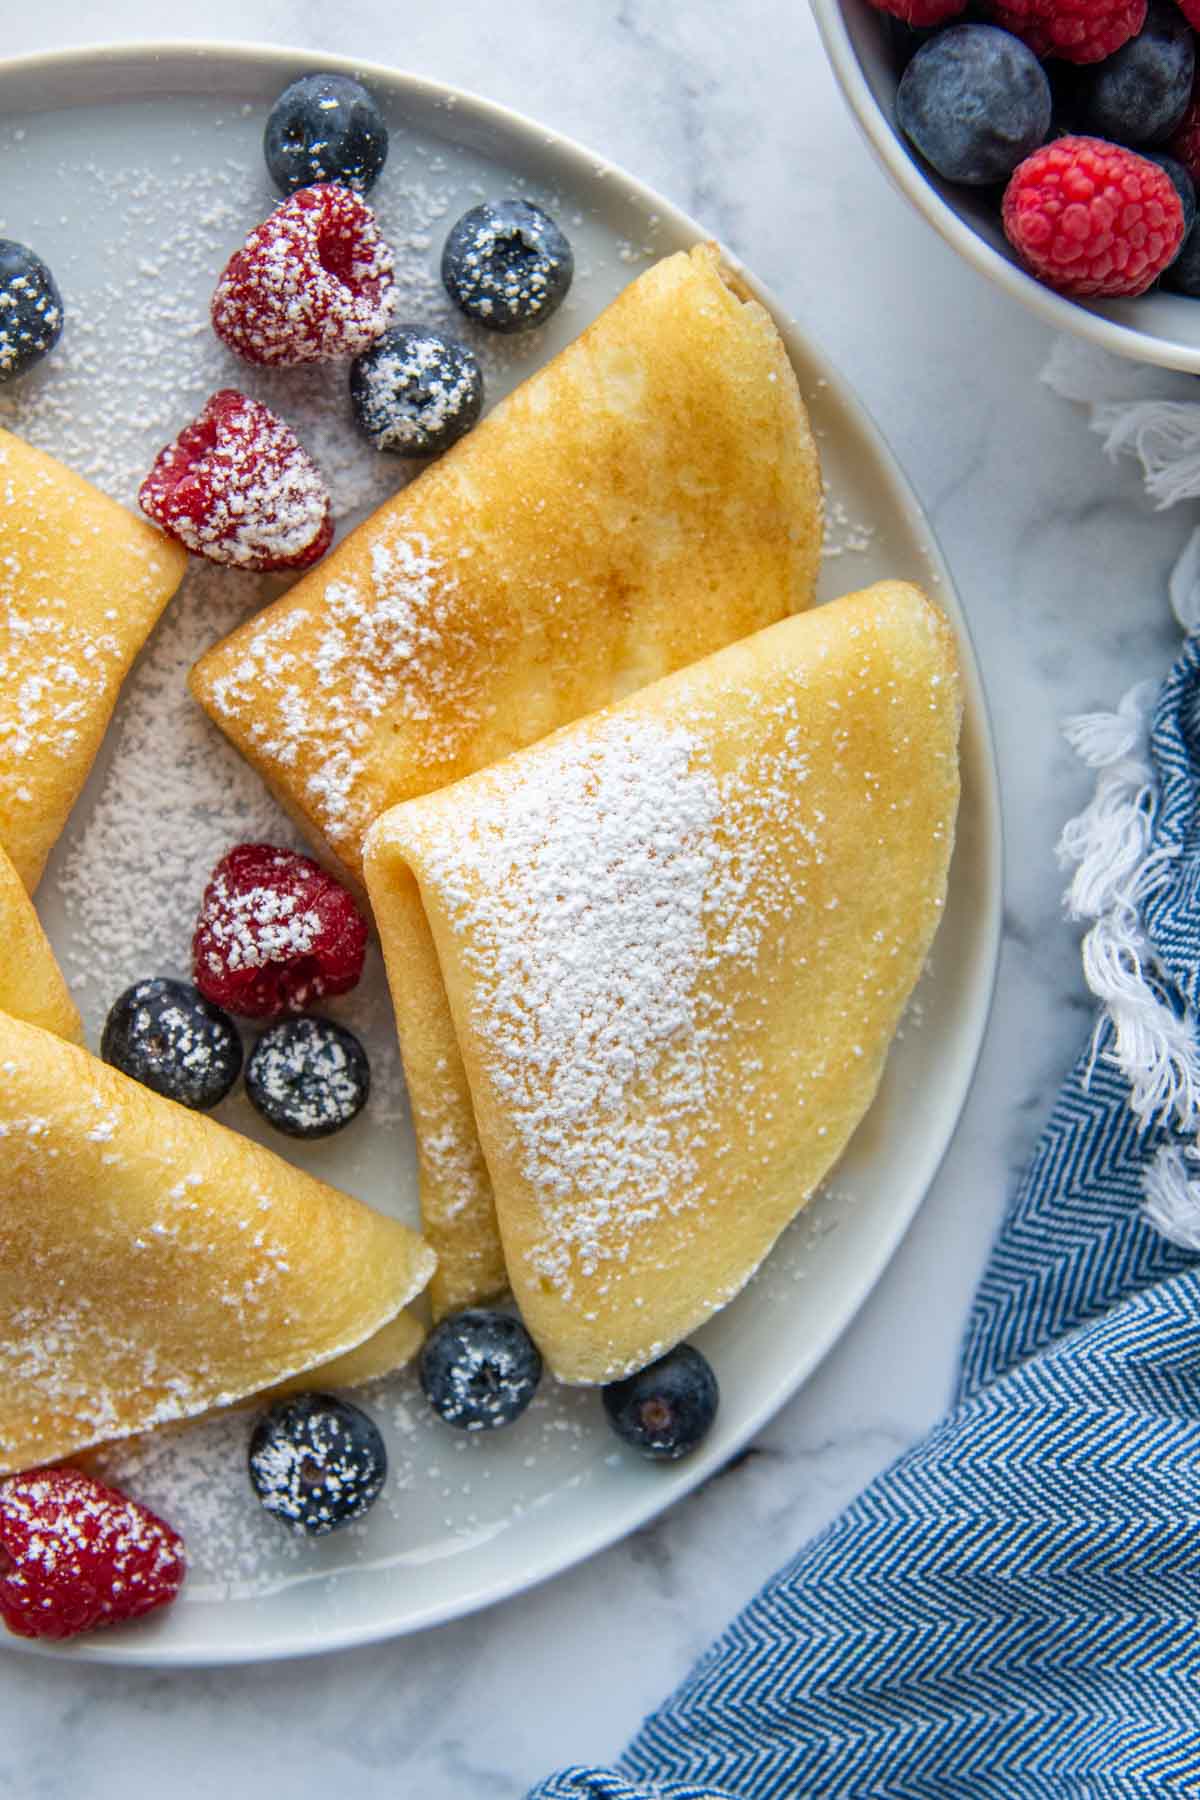
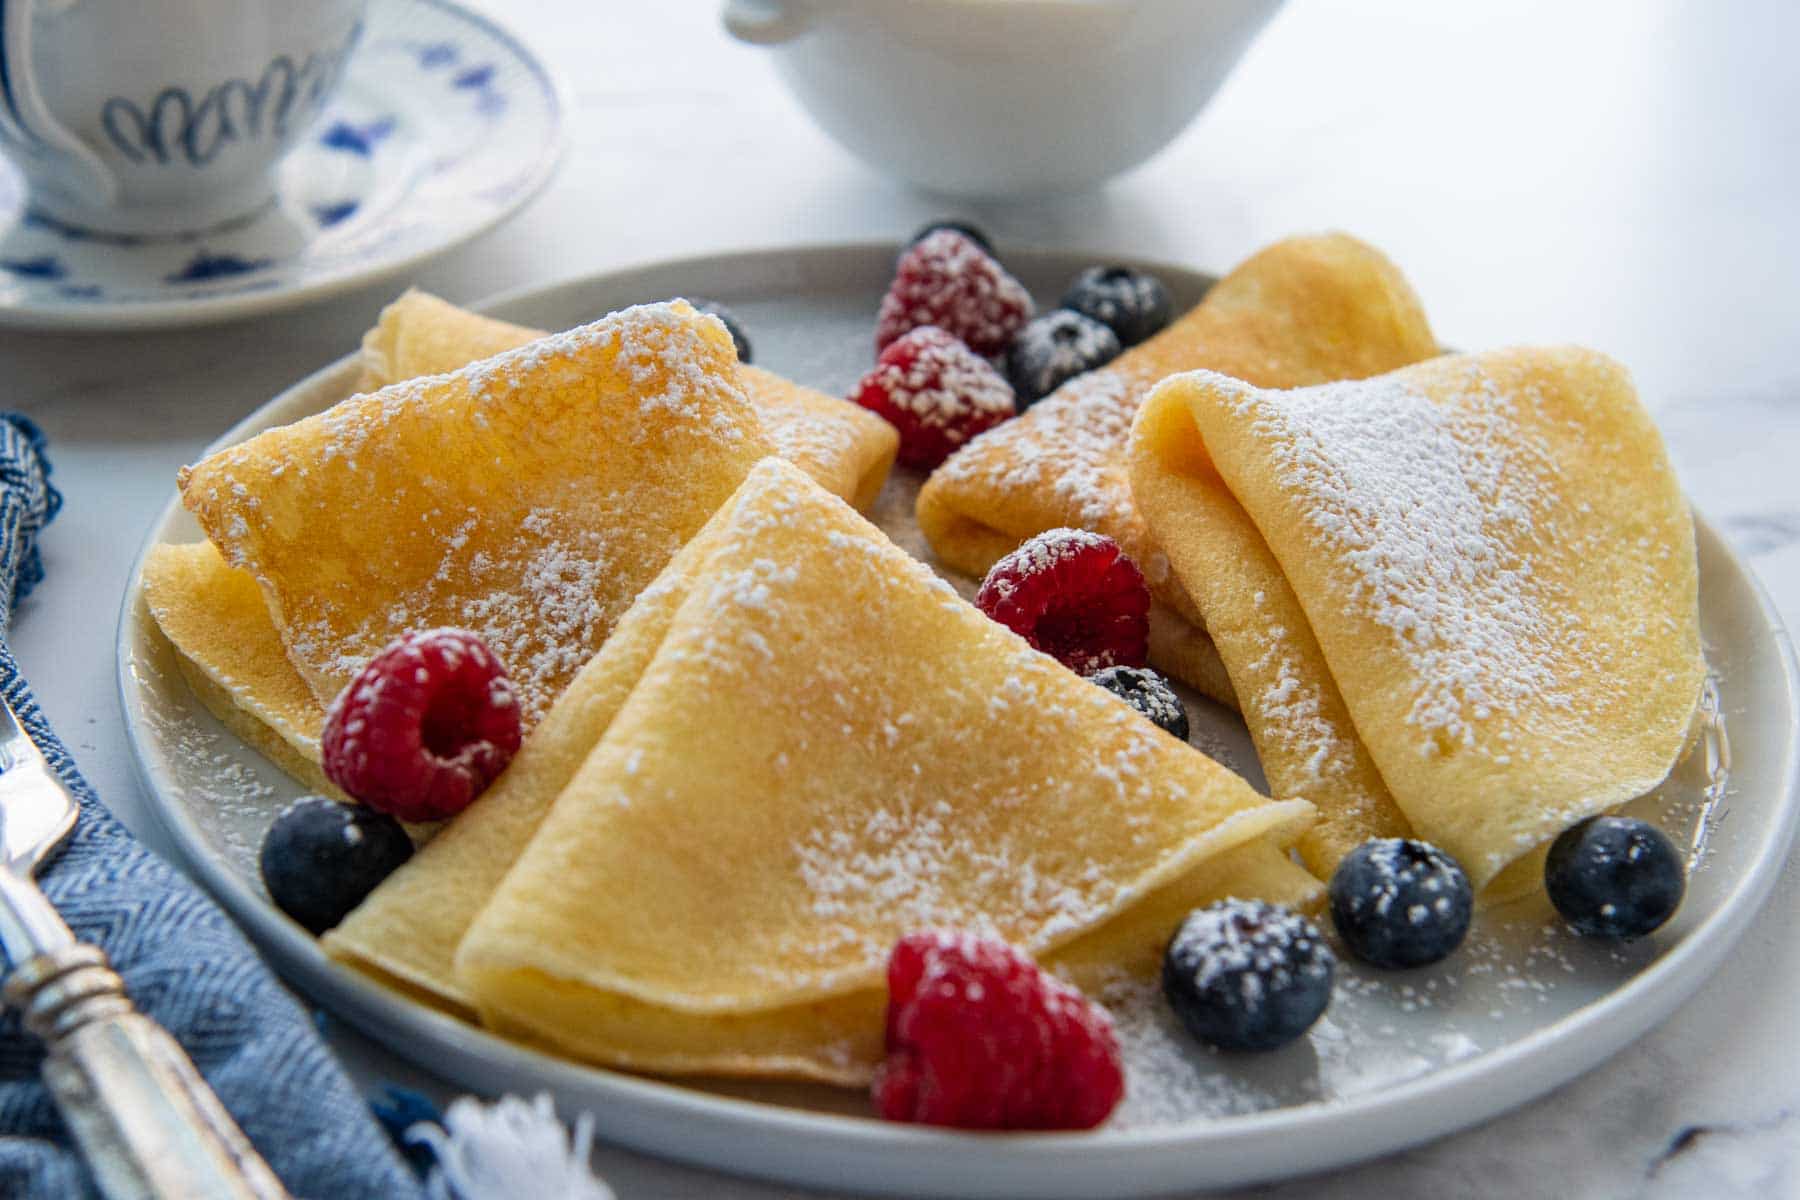
- To serve, place the crepe on a plate, laying flat. Top with desired fillings and roll or fold into a triangle.
Notes
Gluten Free Flour
Originally I made this recipe with Cup4Cup gluten-free flour, which results in a slightly thicker batter, but still cooks into tasty, flexible crepes. If using C4C, use 1 ½ milk (no more or they will be gummy), and spread the batter in the pan until it’s an 8-inch circle. King Arthur Measure-For-Measure, and other GF flours without cornstarch, will make a thinner batter and only 1 ⅓ cup milk is needed. The batter will move more freely and can be tilted around on the pan to make a 8-inch circle.Pro Tips To Remember
- Test the pan’s temperature before cooking by making a tiny “mini-crepe” first. The bottom of the crepe should become golden in about 20-30 seconds if the pan is heated properly.
- Between each crepe, grease the pan with a little vegetable and wipe excess oil with a dry paper towel so a thin film is left.
- To keep the crepes warm while cooking them, stack with sheets wax paper in between.
Dairy-Free Modifications
To make dairy-free crepes, substitute your favorite dairy-free substitute, such as almond milk or coconut milk. For the butter, use vegan butter or melted coconut oil.storing, freezing, and reheating
Storing: Once cooled, store in an airtight container, refrigerated up to 3 days. To easily release the crepes from each other, I suggest placing square wax paper sheets in between. Freezing: Once cooled, stack the crepes with sheets of wax paper in between. Transfer to a ziplock freezer bag and freeze up to 3 months. Thaw overnight in the refrigerator and reheat when ready to serve. Reheating: Remove the wax paper and reheat in the microwave for 15-20 seconds before filling. To reheat a batch at one time, I used my microwave tortilla pouch, which duly serves as a warmer for serving. Recipe adapted from America’s Test KitchenThis post contains affiliate links. My opinions are always my own. If you purchase a product through an affiliate link, I make a small commission – at no cost to you. Read full disclosure policy here.


Thank you!! Was so worried to attempt making gluten free crepes for a friend. Hosting a party and she is the only one, this recipe was so easy to follow, love the details and they came out great again thank you
So lovely to hear, Nancy! I appreciate you taking the time to let me know!
Best,
Melissa
Best crepes ever. No modifications needed.
Thanks Karen! Appreciate it!
Best,
Melissa
I don’t see any note about dairy free milk as stated in the recipe.
I apologize about that! All fixed now. Thanks for pointing that out!
Best,
Melissa
The batter was a little bit thick so I added a teaspoon of milk at a time until it was a good consistency. When I put it in the pan it wouldn’t spread easily, was a weird consistency, and stuck to the non-stick pan with oil. It tasted good but didn’t make very many because I had to throw a few out because they got clumpy and stuck to the pan.
I’m sorry to hear that, Jolee. Would you mind telling me what brand of flour you used so I can troubleshoot?
Best,
Melissa
Honestly, while I was cooking them and you have to spread them out, I wasn’t expecting much.I have to say I was pleasantly surprised. They are on my list of good gluten free recipes, and its a short list. The thing that threw me was the thickness of the batter but spreading it around with the spatula works.
Glad the recipe made the list, Jeanette! I hesitate adjusting recipes to make GF batter / dough more “workable” because it usually has negative affects on the end product and texture. Adding more liquid here would make them gummy because it couldn’t evaporate in such a short cook time.
Best,
Melissa
I was so sad…. this recipe got such great reviews. I had namaste gluten-free flour in my freezer ready to go but the batter was so so thick. After mixing the ingredients there was no way I could swirl it around the pan without it just glopping.
I added more milk to thin it out but I just couldn’t get it thin enough and then the consistency was odd when they were cooked.
I consider myself a very good cook. Been cooking for years and I followed your recipe to a tee. I’m not quite sure what happened but I had to throw out all my batter:(
Hi Virginia,
I’m so sorry this happened to you! I’m guessing it was the brand of flour you used. I have tried the recipe with Cup4Cup and King Arthur, but not Namaste. When making GF recipes that have a thinner batter, like crepes, pizzelles, and pancakes the brand of flour really affects the outcome (but not as much with baked goods). It completely throws off the viscosity. I’m so sorry this happened to you!
Best,
Melissa