



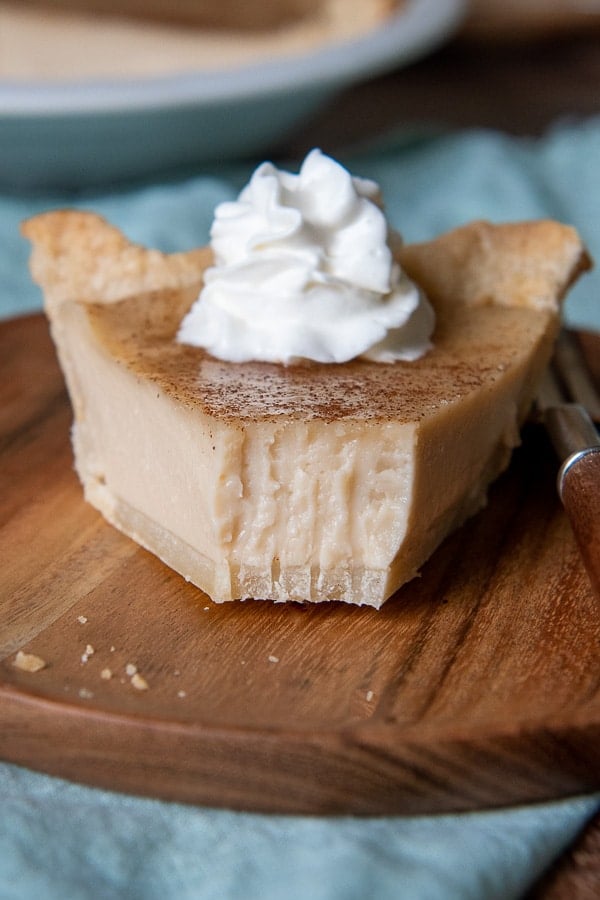
Sugar cream pie recipe is filled with a gloriously thick, creamy, vanilla custard, sprinkled with a cinnamon dusting and made with a handful of simple ingredients and easy steps. There are many ways to make an old fashioned Hoosier Pie, but this best, no-fail version uses a simple trick of starting the custard on the stove so it sets perfectly every time!
Want to Save This Recipe?
Enter your email below & we'll send it straight to your inbox. Plus you’ll get affordable and easy gluten-free recipes delivered each week!
Sugar Cream Pie Recipe – Indiana’s Greatest Gift!
Just ponder the name of this pie recipe. Are you kidding me?! How can this not be the best dessert you ever ate based on the TITLE ALONE.
Old fashioned sugar cream pie falls in the simpler-is-better category, and has quickly catapulted into one of the most requested of all our favorite homemade pie recipes. There’s not much too it, oh my, is it good. You know why it’s so good? Because there’s sugar, and cream, and pie. What more could you need?
This pie recipe is also known as Hoosier Pie because of its popularity in Indiana. Evidently the state legislature thought it was kind of a big deal too, so Indiana sugar cream pie became the official state pie in 2009.
It is also referred to as a “desperation pie.” Back in the day, when farmers ran out of apples or fruit, they could still make this pie. So apparently the best time to make this pie is ALWAYS. I’m down with that.
If you love recipes that could have come from vintage spiral bound church cookbooks (just like my tried-and-true moist carrot cake with crushed pineapple), this recipe has your name written all over it!
This was indeed much easier than the recipe I have been making for way over 20 years. It was on point and I did not have to shake the pie 6 times to make sure it was done.
—Robin
So What’s This Easy Baking Method?
Being a native Hoosier myself, I know from first-hand experience all sugar cream pie recipes aren’t created equal because I’ve tested a lot of them out (perks of the job).
There are a few methods for making this pie. The easiest way would be mixing the all ingredients in a bowl, pouring it into an unbaked crust, and letting it bake completely in the oven. Unfortunately, this method takes a long time to set, and there is uncertainty about when it’s actually done.
Next, the custard can be cooked completely on the stove-top and poured into a baked pie crust. However, the custard didn’t consistently set and the flavor isn’t quite as developed as with baking the custard.
Which brings me to why this method is the best. The custard partially cooks on the stove and finishes in the oven for an abbreviated amount of time. The filling sets solidly and is never runny.
Free Guide! 5 easy tips for baking like a gluten-free pro!
Simple hacks for fail-proof gluten-free dishes every time!
Let’s Make This Together!
(Below shows step-by-step photos and modified instructions. For the complete recipe, along with ingredient amounts, scroll down to the recipe card.)
Partially bake the crust and stove top custard
Since the custard first cooks on the stove it doesn’t need as long in the oven to set. In order to make sure the filling and crust are done at the same time, the crust is partially baked first. Line the bottom with a piece of foil or parchment. Fill with dried beans or my favorite handy dandy pie weight and bake until lightly brown.
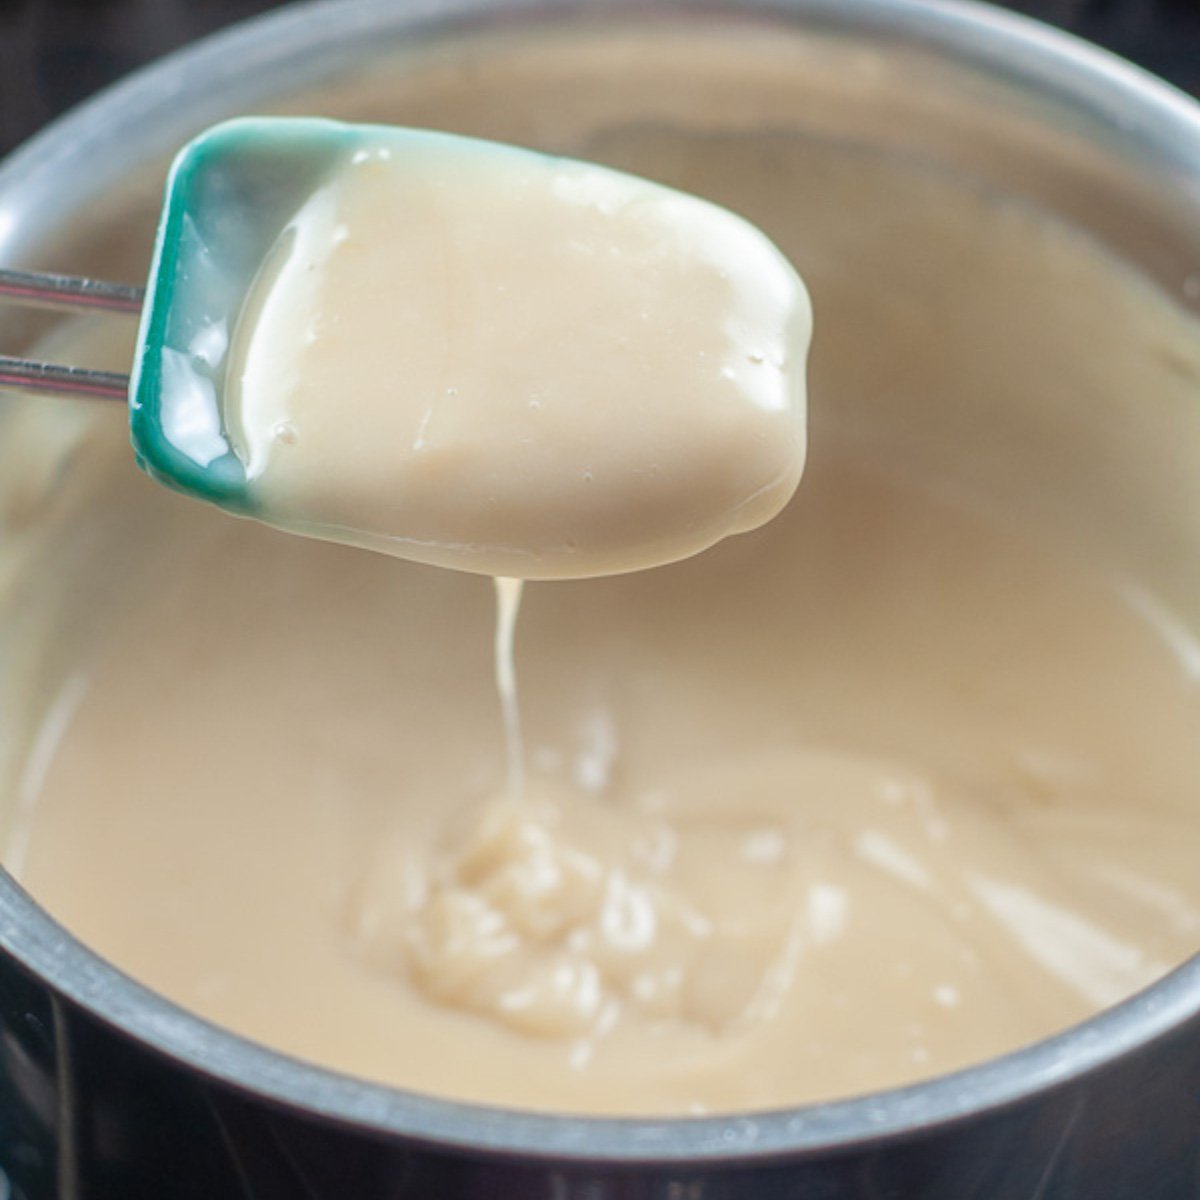
While that’s happening, start the filling. Mix together the dry ingredients in a saucepan and then pour in the cream. Bring the mixture to a boil and then stir until thickened.
Finish filling with flavor
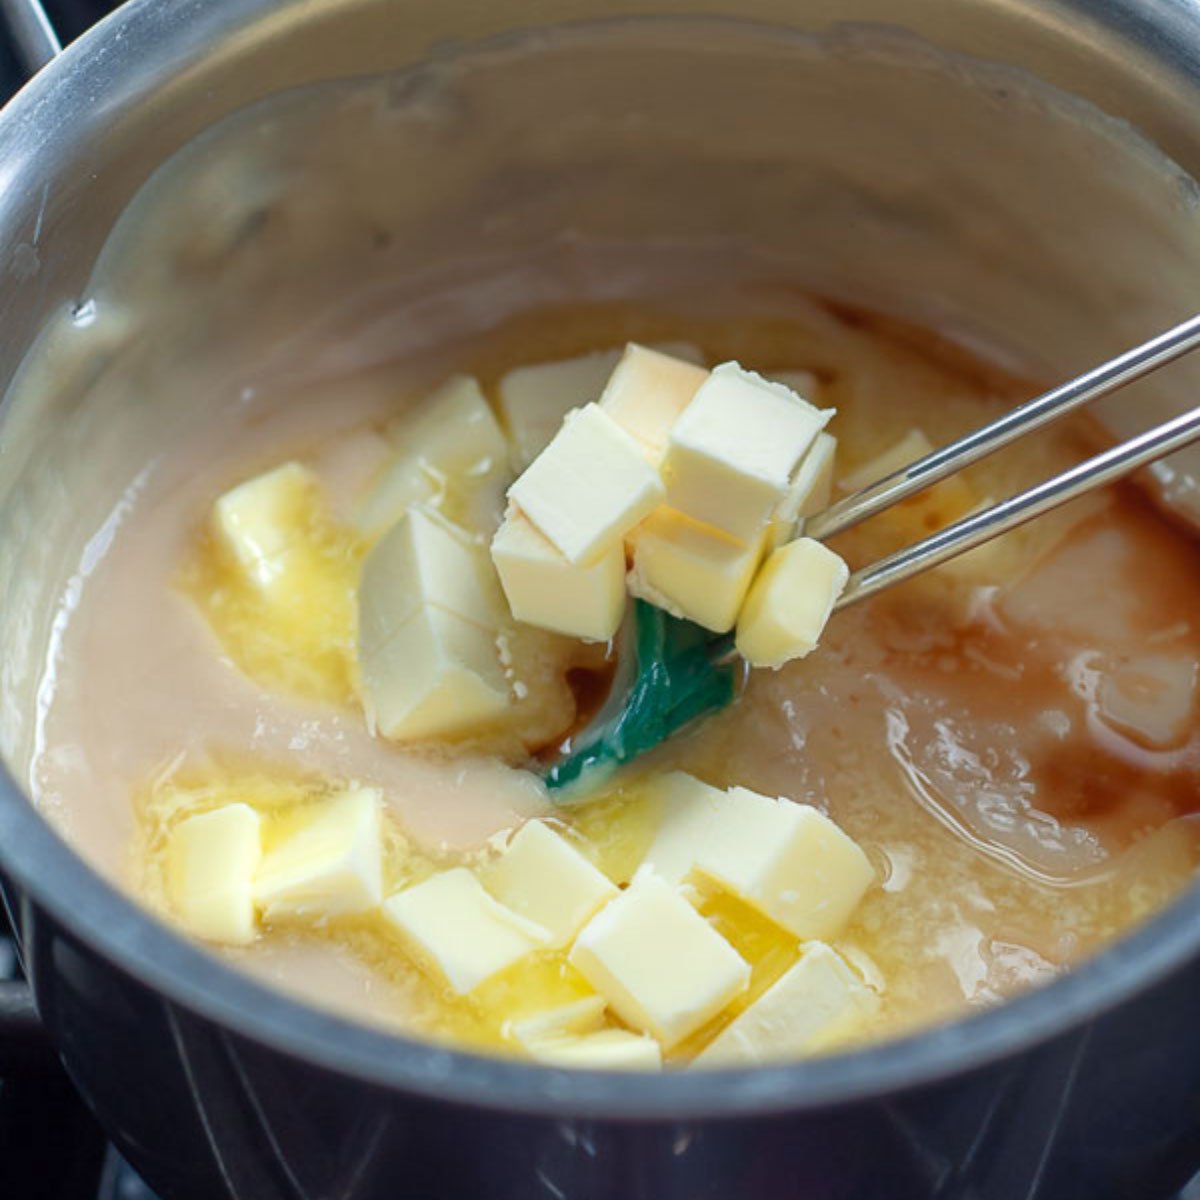
Remove from the mixture from the heat and stir in the cubed butter and vanilla. I like to add these for a little dimension of flavor. Without the butter, the taste is a little flat, so go for it!
Pour and bake
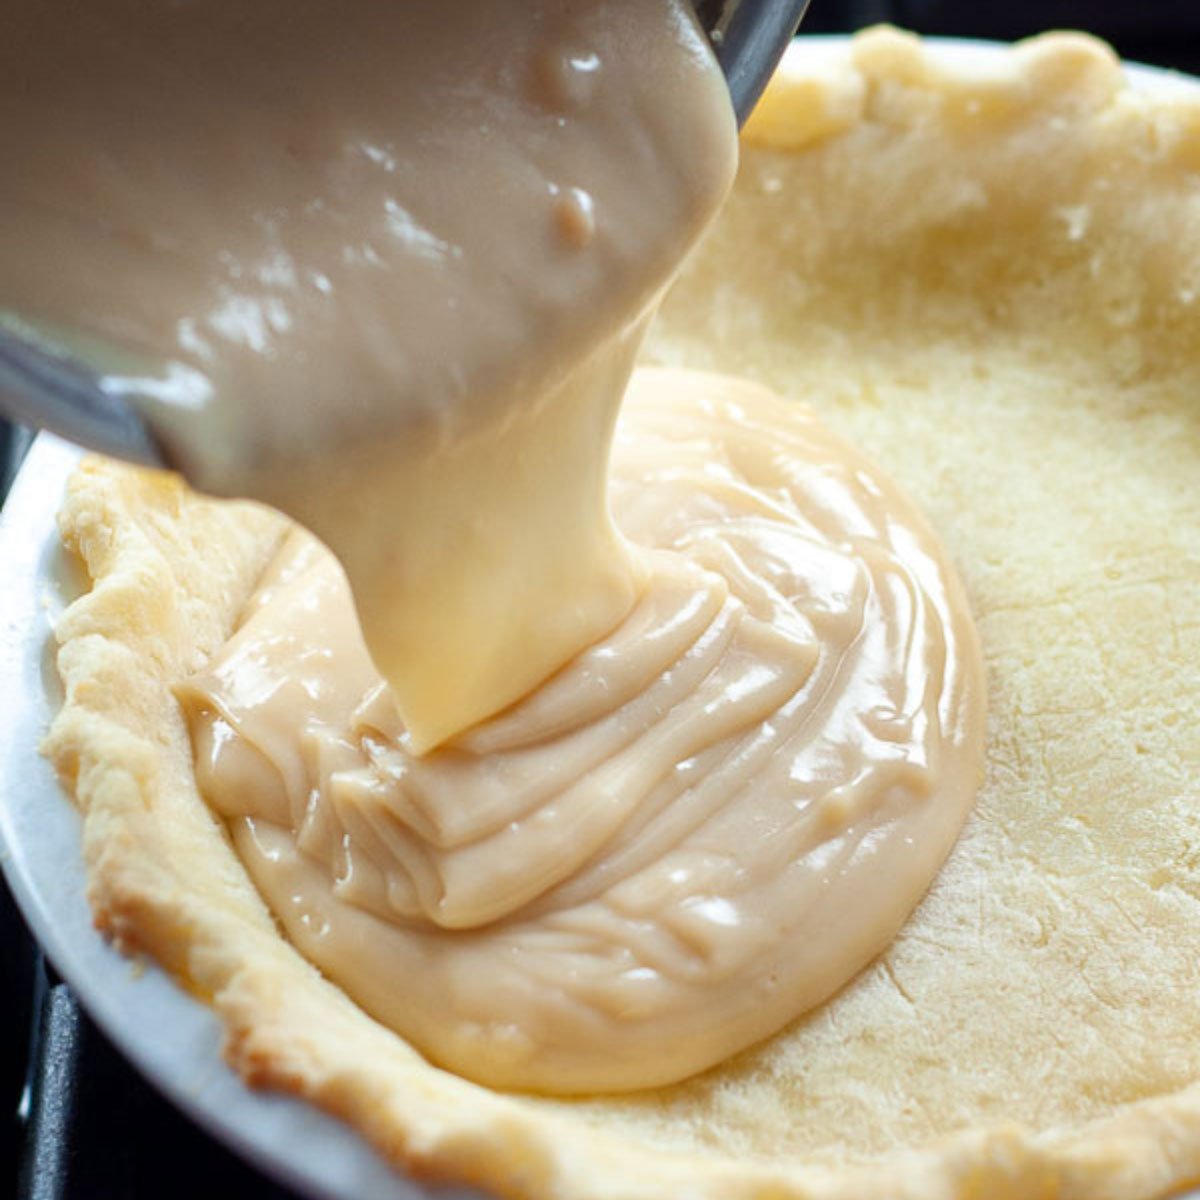
Pour the custard into the partially-baked pie crust. Bake until the pie filling is set, which takes about 20 minutes. It will be hard not to dig in immediately, but let it cool completely and then refrigerate for 1-2 hours before slicing.
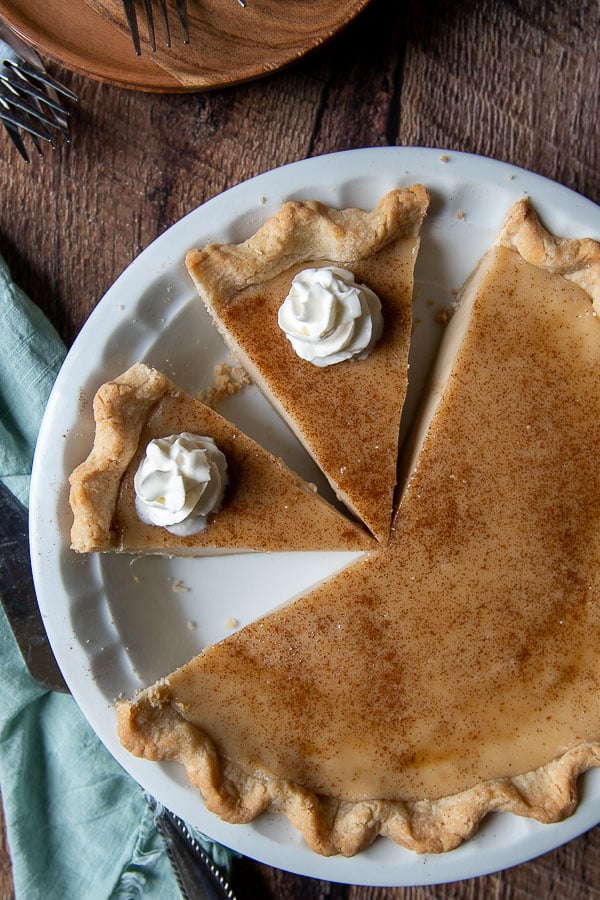
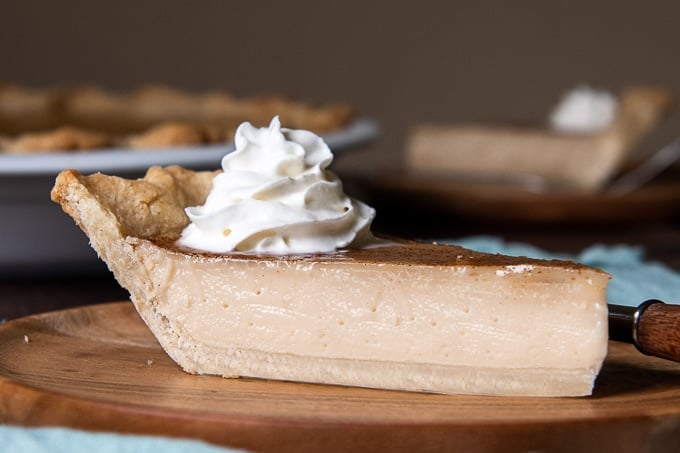
We like to serve ours with a dusting of cinnamon and dollop of whipped cream. Heaven.
Best Milk To Use
The main difference between versions of homemade sugar cream pie are the type of cream used. I like to use half and half because it’s a good go between heavy whipping cream and milk. It keeps the pie lighter, but still makes a rich, thick custard.
I don’t recommend milk because the custard will be too thin and won’t set enough to slice and serve.
For the ultimate rich and creamy treat, use heavy cream. The custard will also not take as long to thicken on the stove before pouring into the pie crust and you can bet it will taste divine.
Save this recipe to your pinterest board!
Let’s be friends on Pinterest! I’m always sharing great recipes!
Did you make this recipe? I love hearing from you! Leave a star rating and comment below the recipe card. It helps others when searching for recipes and I appreciate feedback from our community. You will always hear back from me! -Melissa
Failproof Hoosier Sugar Cream Pie (Easy Recipe)

Ingredients
- 1 unbaked 9" pie crust, or use gluten-free pie crust
- ½ cup granulated sugar
- ½ cup brown sugar
- ¼ cup cornstarch
- 2 cups half and half
- ½ cup butter, cubed
- 1 tablespoon vanilla
- optional cinnamon, for sprinkling
Equipment
Instructions
- Preheat oven to 425ºF and adjust rack to lower position. Roll out and fit the pie crust into a 9" pie pan. Line the bottom of the crust with foil or parchment and fill with dried beans or pie weights.1 unbaked 9" pie crust
- Bake for 15 minutes on LOWER RACK. Remove weights and foil and bake for 5-10 minutes longer, until crust starts to brown and almost completely baked.
- Cool the crust on wire rack and reduce oven temperature to 375ºF. Begin to make custard filling.
- In a large saucepan, whisk together sugar, brown sugar, and cornstarch. Whisk in the half and half.½ cup granulated sugar, ½ cup brown sugar, ¼ cup cornstarch, 2 cups half and half
- Bring mixture to a boil over medium heat, stirring frequently. Once it starts to boil, reduce heat slightly to a simmer. Cook and stir for 2 minutes, or until thickened. Remove from heat and immediately stir in the butter and vanilla.½ cup butter, 1 tablespoon vanilla
- Pour filling into par-baked crust (the crust doesn't have to be cooled completely) and sprinkle the filling with dusting of cinnamon, if desired. Bake for 20 minutes, or until the crust is golden brown and filling is set. Tip: If crust starts to brown too much before filling is set, cover the crust loosely with foil or use a pie shield.
- Remove from the oven and cool completely. Refrigerate for at least 1-2 hours before slicing and serving. Store any leftovers in the refrigerator.
Notes
Tips To Remember
- Bake the crust on the lower rack so the bottom crust turns golden.
- When filling a pie shell with weights, make sure the shell is very cold first. After rolling out the dough into the pie plate, refrigerate it for 30 minutes or freeze for 10 minutes.
- While the pie shell is initially baking, you may begin making the custard filling. The shell does not have to cool completely before pouring it in.
- Every time I bake pies, I use a pie shield to prevent the edges from becoming too browned.
- For best results with cutting and serving, cool the pie completely at room temperature then move to the refrigerator to chill for at least 1-2 hours before slicing.
This post contains affiliate links. My opinions are always my own. If you purchase a product through an affiliate link, I make a small commission – at no cost to you. Read full disclosure policy here.


Hi Melissa. This recipe is wonderful. I made one slight change I substituted heavy whipping cream for the half and half as it was all I had in my fridge. It was a great success this Thanksgiving. It was amazing how it came all together. I added sour cherry fruit spread (made in the jam small business I work in) to the very top, delicious. Thank you so much for sharing your recipe! Love it! 😃
It’s my pleasure, Jess! So glad this was a hit. Thanks for for taking the time to share. I appreciate it!
Best,
Melissa
Not only is it a very good pie, but I love the fact that you put the ingredient list for every step, so you dont have to keep looking back at the ingredient list. Thank you!!
Thanks for commenting, Karen! And I”m glad the ingredient list is helpful.
Best,
Melissa
Great easy way to make this pie. The Sugar Cream pie mother made was from the old recipe for the “True Indiana Finger Sugar Cream pie. It used flour instead of cornstarch. The pie shell was baked with the filling. The ingredients for the filling were placed in the shell and then mixed with your finger before baking. Friday was always baking day in the olden days. Weekends were for resting. When there was extra pie dough left, this figure pie was the way they used up the extra pie. Nothing was wasted. dough.
Love this, Estel! Thank you so much for taking a moment to share. I love learning how old fashioned recipes came about.
Best,
Melissa